I think we all know by now that the Mama is a Pinterest Addict.
So when she discovered this pin on how to decorate ceramics with Sharpies, she immediately started to wonder if she could “dogify” this.
The short answer is no.
Well, that’s all we have or you! Thanks for joining us at Kol’s Notes today! Happy Monday…
BOL! Just kidding!
You guys don’t think the Mama would give up that easily?
The concept was simple: Draw on ceramics with sharpies, bake the ceramics at 350F for 30 minutes to set the marker and TA-DA! Custom glassware that anyone can make. It probably would have worked too – except that Mama couldn’t find a ceramic jar – only glass ones.
She followed all the directions and BOOF! The jar exploded in the oven. Back to the drawing board, eh?
Mama regroup, bought a new jar and started again.
This time she shopped smart. She chose a heavier glass jar and started again.
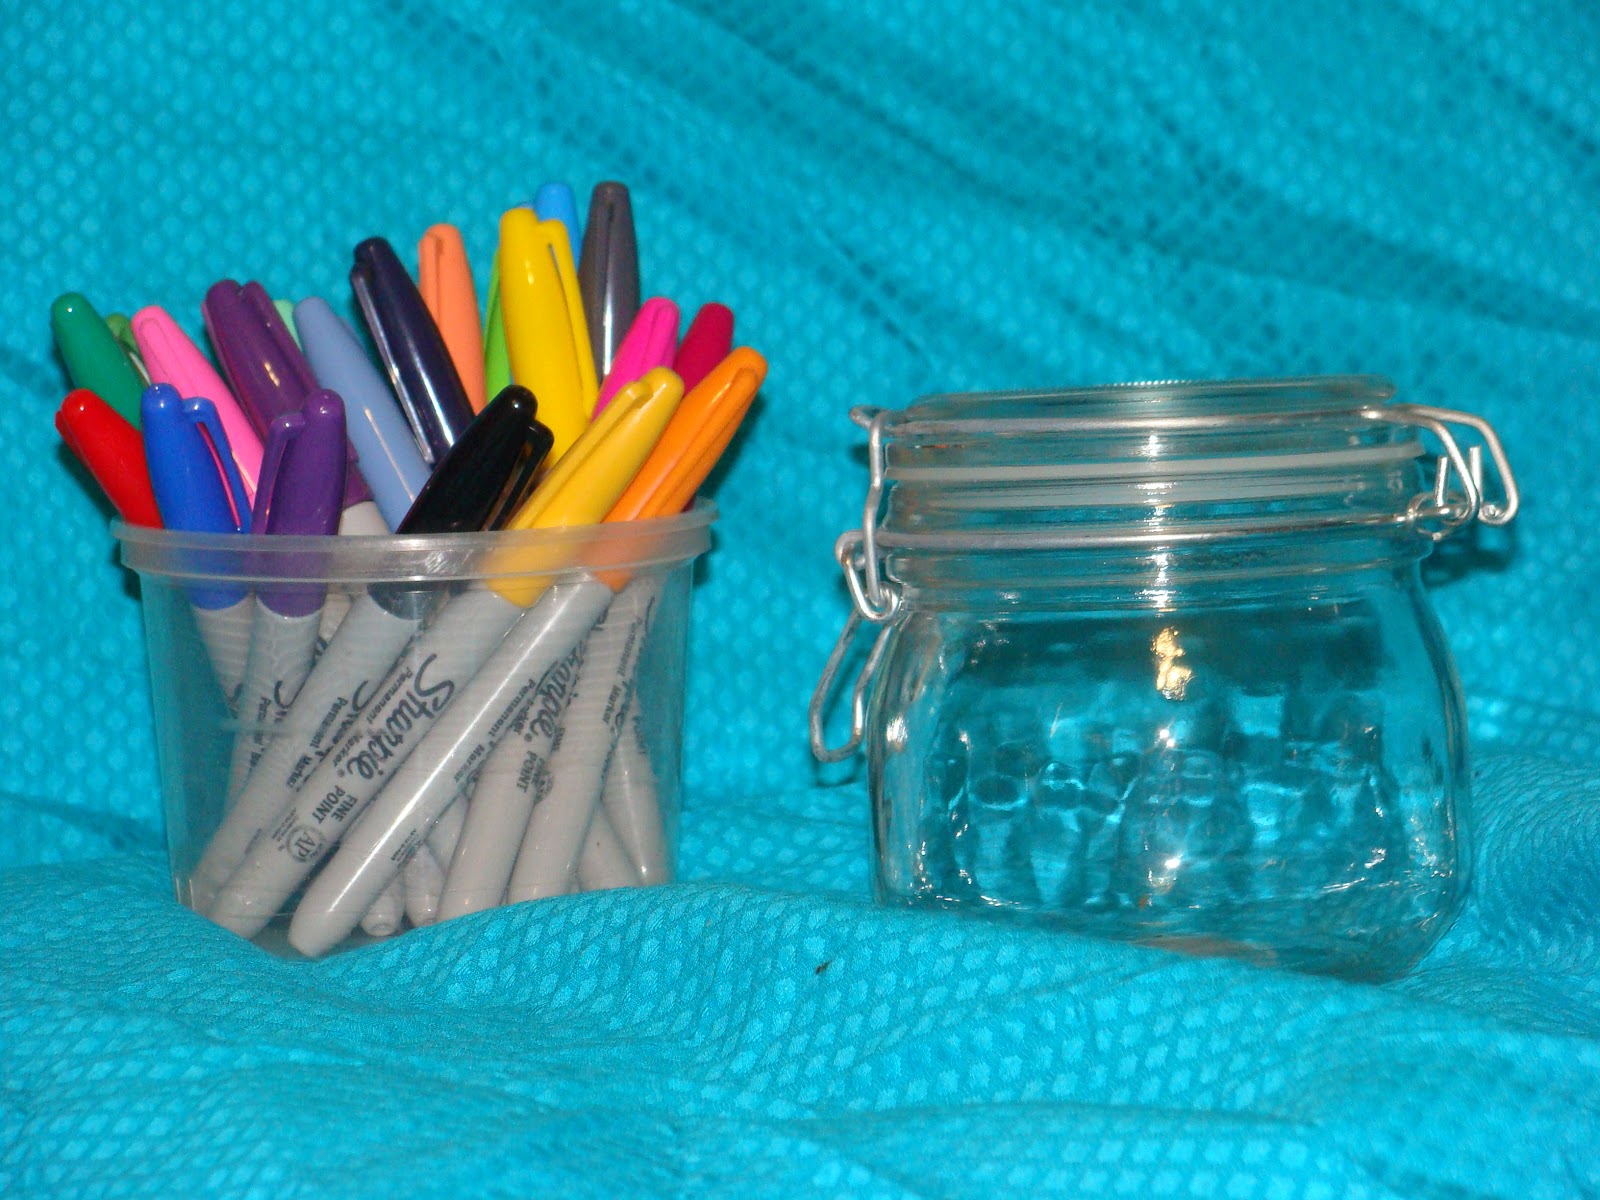
Here’s what you need:
Sharpies and a glass or ceramic cookie jar
Plus: rubbing alcohol and polyurethane spray
1. Washy! Washy! Washy! Carefully wash the glass with a cloth soaked in rubbing alcohol, rise it well and thoroughly dry it.
2. Draw your design on the glass. Don’t worry too much about smudging the ink. As long as your hands are dry, the marker should stay where it is.
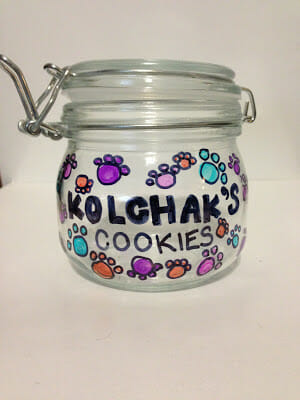
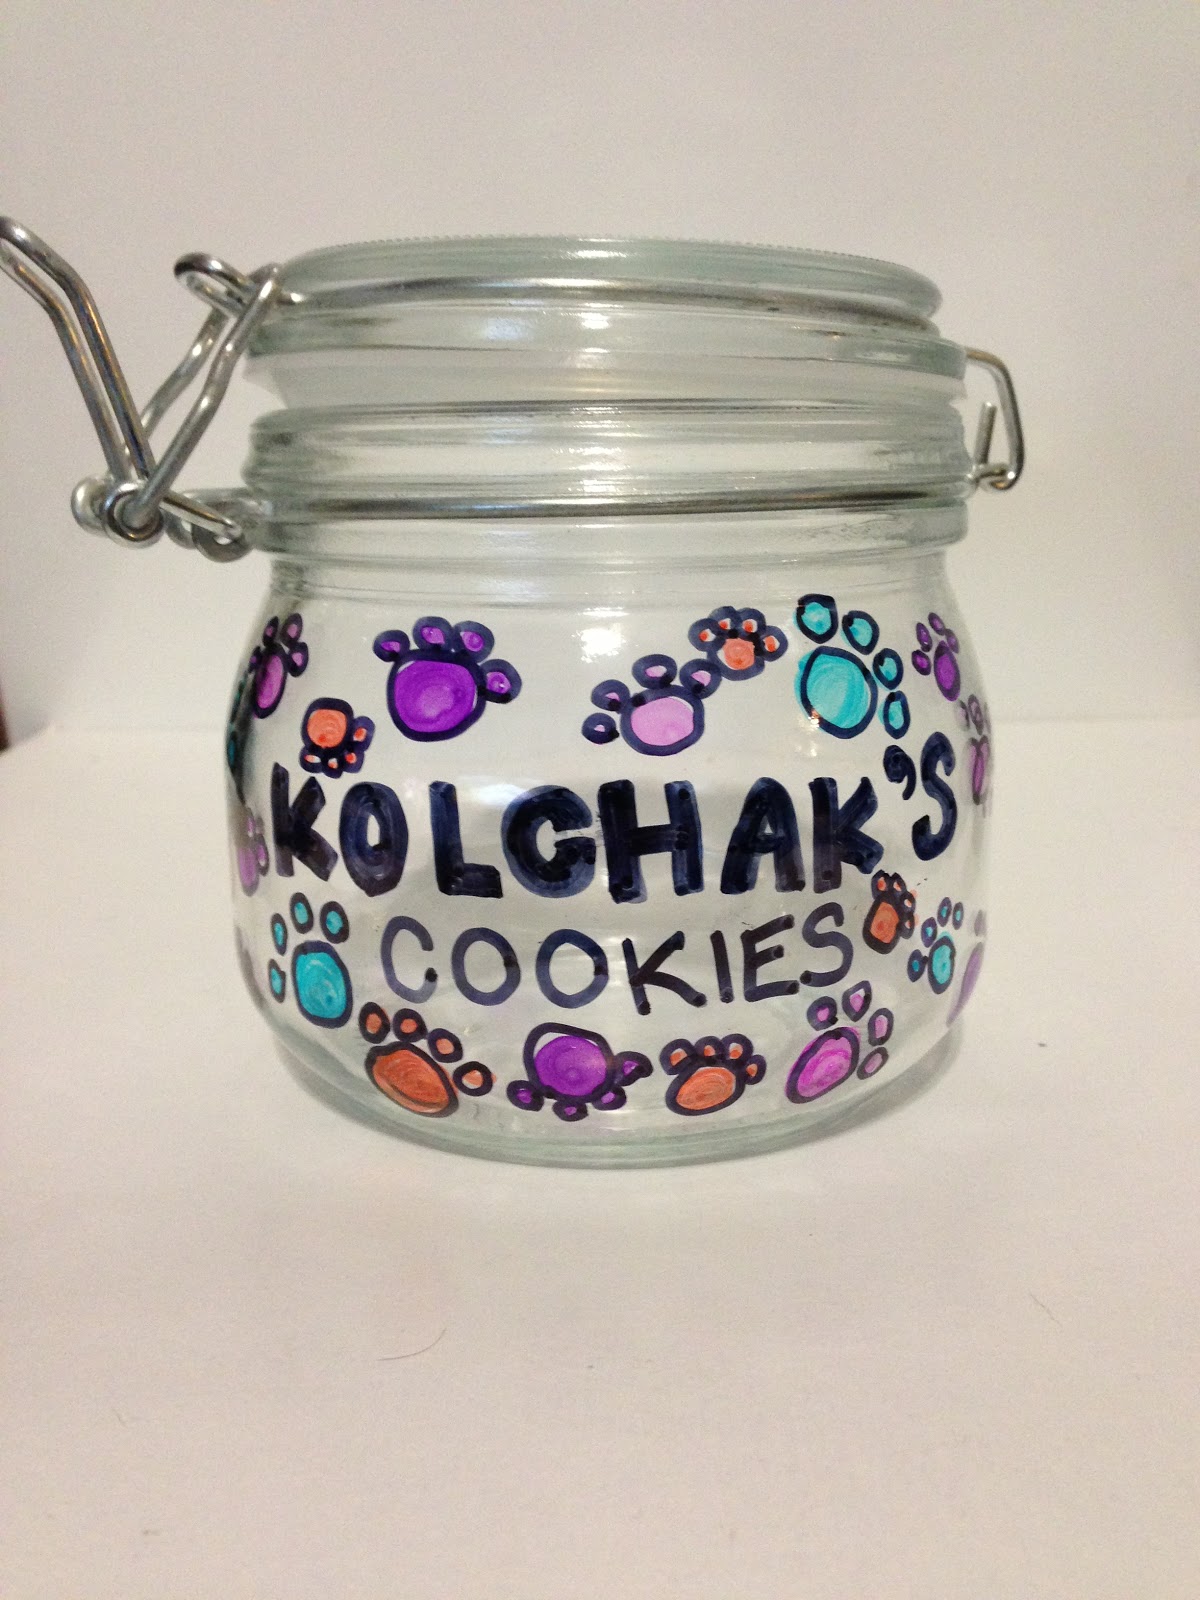
Not confident in your drawing skills? Mama neither. She decided to go with paw prints because she figures anyone can draw a wonky circle – even her. The marker looks almost like stained glass, so Mama Mama decided to outline all the edges in black to make them stand out. She didn’t even try to make it tidy. She thinks the odd shapes and mismatched edges make it uniquely us.
3. Don’t fuss the details! Make a mistake? No worries. The beauty of Sharpies is that they will wash off if you want them too! To wipe the slate clean, use your rubbing alcohol rag to wash the glass, rinse it and dry it well.
Our original design. Yeah, it sucked.
4. Bake it! When your design is done, place the jar on a cookie sheet in the cold oven. That’s important! It’s got to start cold, so the glass slowly warms up as the oven temperature does. Bake for 30 minutes, then shut off the oven and allow the jar to cool in the oven.
5. Seal it. Once the jar is completely cool, spray it with a layer of polyurethane. Allow to dry, then spray a second time.
That’s it! What do you think of our creation??
Now that we know it works, we’re going to keep practicing and make a REALLY BIG jar! Big enough to hold a million cookies! YEAH!
What would you draw on your cookie jar?
All posts are the property of Kolchak’s Kitchen and Kolchak Puggle/Jodi Chick. Please ask before reposting content. All reposts must link back to our site. Thank you!