As a member of the Etsy affiliate program and an Amazon Associate, I earn from qualifying purchases.
You guys, I know the Groundhog was all “More winter for everybody!”, but I am desperately dreaming of spring.
While some of you are facing record breaking snow, here at Casa de Kolchak, it’s warm and wet. Spring is so close we can almost taste it. It’s left me and the dogs yearning for the sun, days on the deck and the Spring flowers blooming.
I have a pair of boys, but you folks with pretty little girl dogs can capture just a little of that spring magic early this year by making a pretty flower for your dog’s collar.
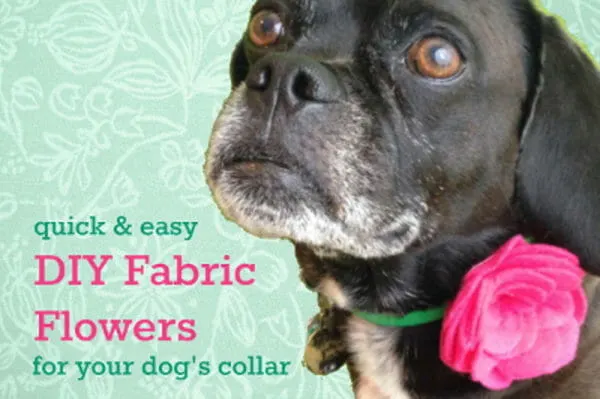
The beauty of DIY Fabric Flowers is that they can be as easy or as hard as you like. The flowers I made (poor poor) Koly wear for our feature photo took me less than 10 minutes and cost me under a $1 to make. Whether you’re a a novice sewer, an accomplished seamstress or you believe hot glue can rule the world (like me) there’s a fabric flower for you.
And with our help any fabric flower tutorial can be turned into a dog collar flower tutorial.

Kol looks thrilled, right?
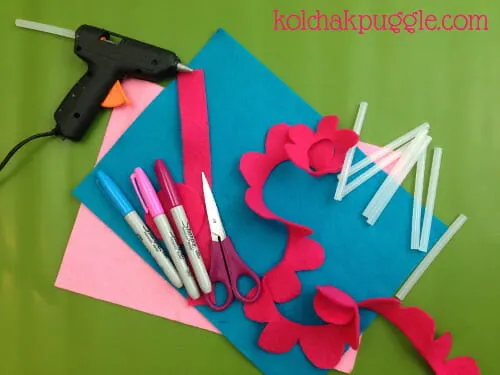
There are so many amazing homemade fabric flower tutorials out there, but the only problem is they all seem to be designed for home decor and human babies. Luckily, it’s really easy to make any flower a DIY dog collar flower by adding just a few simple steps. Here’s what you need:
- Felt
- Hot Glue
- For snap buckle collars: 1 snap button
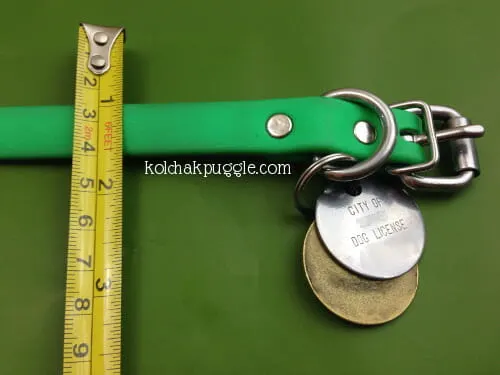
Step one: Measure the width of your dog’s collar.
Step two: Cut a length of felt that is 1′ wide by 3 times the width of your dogs collar (eg. For a 1″ collar, cut a 3″ strip.) Be a little generous with your cutting, especially if you plan to use a snap button.
Step three: Fold your felt length into thirds and glue/button onto your flower.
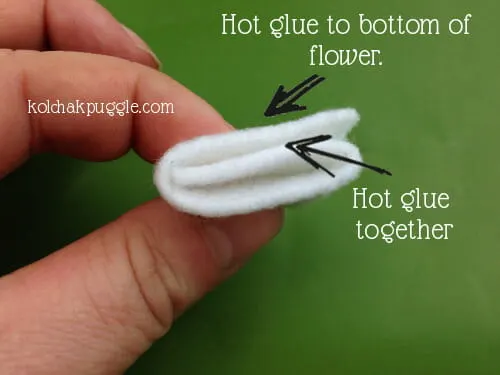
For a buckle collar (like Kolchak’s shown above), hot glue the loose ends of the felt together, then glue the whole loop onto the bottom of your flower.
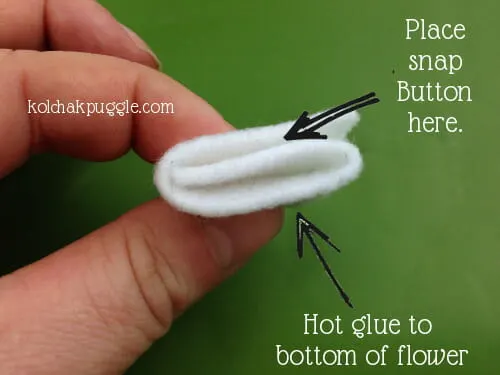
For a side release buckle collar (like this one), place a snap button on the loose ends using your button pliers, then glue the loop onto the bottom of your flower.
Place the flower on your dog’s collar and put it on your delighted dog.

Don’t let the cranky snarl fool you. He loves it…I think.
Any of these great fabric flower tutorials would make a SUPER cute DIY Dog Collar Accessory.
A note on safety: We’ve spent a lot of time teaching the Casa deKolchak dogs that when I put something on, it stays on. This is for their own safety and it’s a regular part of their training.I have no worries that they will scratch, chew or try to get rid of collar accessories, but this is not true of all dogs. Always ensure your dog is comfortable wearing something before you leave it on and only use accessories when you can supervise your dog. Make sure you always remember to remove dog collar decorations before you put your dog in their crate or when go to the park, doggy daycare or anywhere other dogs could grab at your dog’s collar accessory. If detached from the collar, buttons can be a choking hazard, so be sure you only use them if you have a dog who doesn’t eat stuff like buttons.



Lisa
Tuesday 23rd of January 2018
What an awesome DIY method to create dog collar. It is really beautiful. Thanks for sharing.
Jill Jacoby
Thursday 20th of April 2017
These are so cute! Would be a great idea for adoptable shelter or rescue dog pics. They would also be a great project for fundraising.
Julie Creus
Friday 1st of July 2016
Thank you for including my Camelia Gigantis pattern in your roundup!
houndstooth
Saturday 21st of February 2015
You are the best! I heart you a little more now!
Susan Bewley
Monday 9th of February 2015
Oh my goodness that is adorable! I have to convince my husband that Reya need to be girly. He hates me putting things like this on her but I think she would look adorable with one of these flowers!!!