As a member of the Etsy affiliate program and an Amazon Associate, I earn from qualifying purchases.

I’m a big fan of DIY Dog art – and I am an especially big fan of the pop art aesthetic.
The colours. The shapes. It all just seems…fun. And I think we could all use a little more fun in our lives right now. There’s something that I find so satisfying about working on an art project with my hands; completing each little step and watching the finished project come to life in front of me.
If I’m being honest? As often as not, my projects turn out to be a bit of a mess! But sometimes, just sometimes, a homemade wall art project like this comes along and I am so very thrilled with the results.
I started drawing this corgi a few weeks ago – just to kind of see if I could.

The drawing came out…way more cartoony than I had originally planned and I didn’ love it as an illustration, but it got me thinking? What if I used elements of that cartoony dog and made it out of paper? It would either be really cute or a flop. I was super excited to get an end result I love. Isn’t it great when something you’re kind of disappointed in halfway through ends up being awesome? What a lesson in sticking to things until the end and withholding judgment.
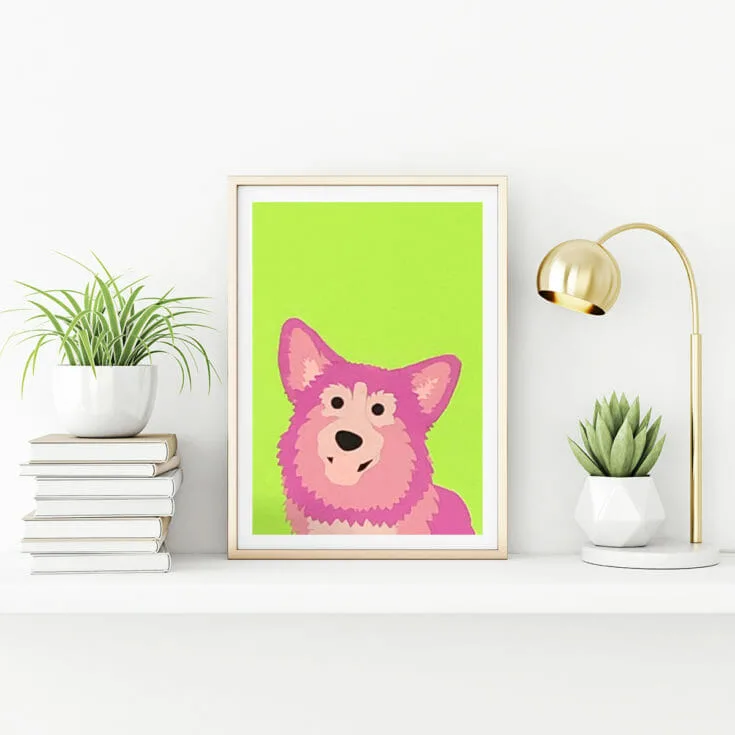
It is so easy to make this bright fun dog art at home using layered paper and glue.
How to Make a Layered Paper Pop Art Dog Portrait

This bright, fun layered paper art project comes with numbered templates and is surprisingly easy to put together!
Materials
- 1 piece each of 3 shades of coloured craft paper- Light, Medium and Dark
- 1 piece of light pink craft paper
- 1 piece of brightly coloured craft paper
- 1 glue stick
- ALTERNATIVE: Don't have coloured paper? We gotchoo. Download the templates, print them on white paper and colour them by hand for a fun, unique take that is all your own.
Tools
- Scissors
- Printer
- Pencil
Instructions
- Print each of the four templates on the appropriate coloured paper. (We labeled each template page to make it as easy as possible to get this step right!)

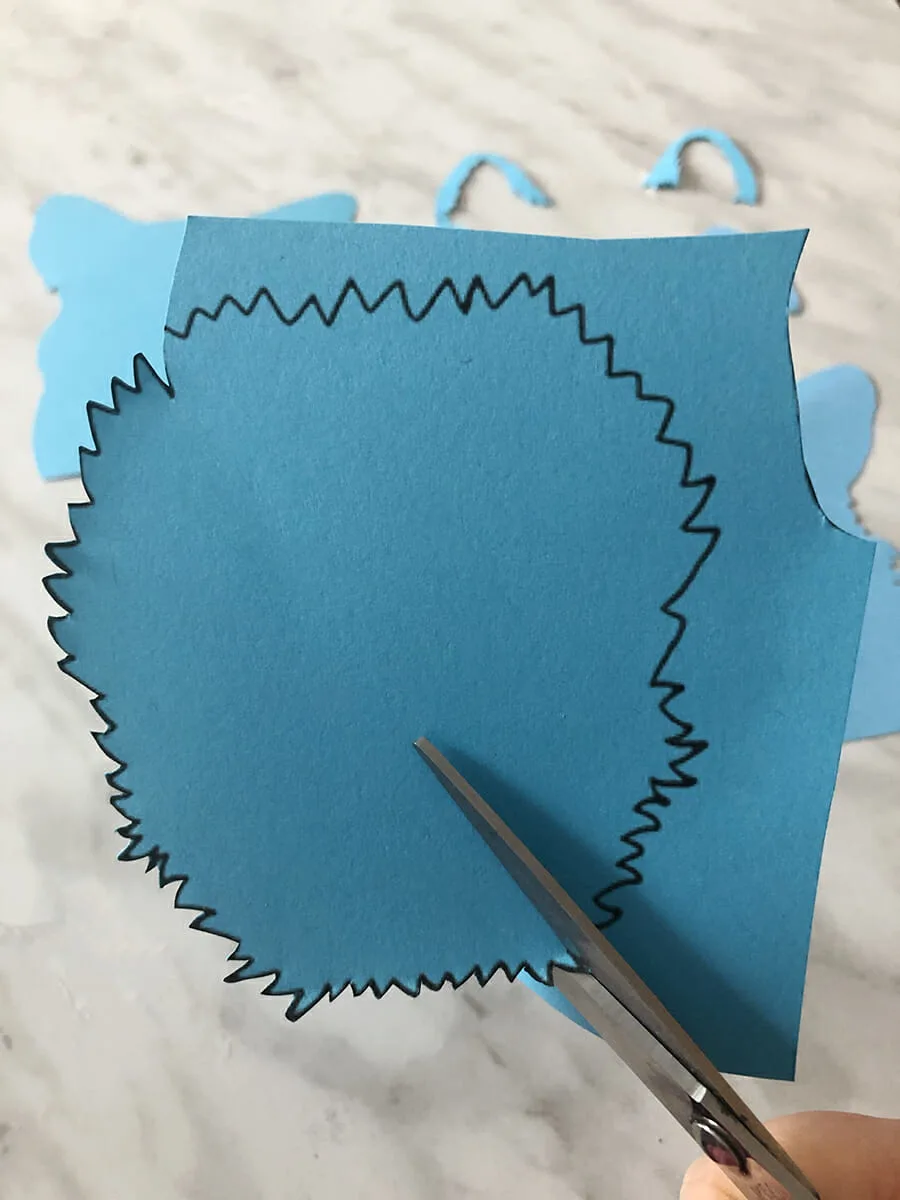
- Cut out each piece. Don't worry about sticking *perfectly on the lines - we're going to flip them over before we glue them down, so you won't see the printed lines anyway.

- Each piece is numbered to help you keep them straight. Lay them out in order or you can toss them all in a heap and build this like a puzzle.)

- I recommend stacking them all together once without glue to see how it looks and make sure you have the pieces in the right order.

- Start stacking your pieces, one by one, applying glue to the backside of each piece and pressing it firmly in place as you go.

- Continue adding the pieces, one by one, gluing each one in place.

- Cut out a piece of background cardstock that is 5 1/4" x 7 1/4"
- Glue your finished dog to the background. You could also glue him to a 5x7 blank greeting card and mail him off to brighten someone else's day.
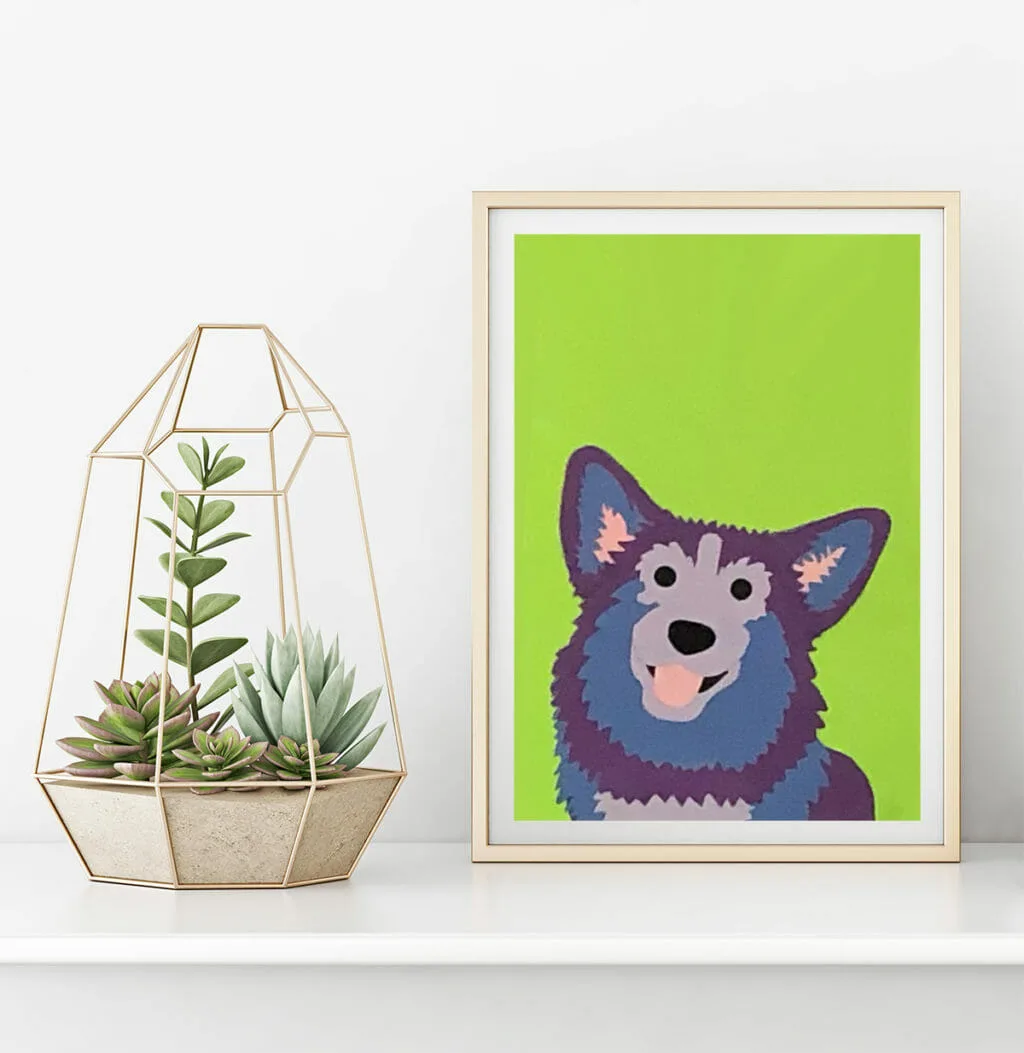
- Frame or display however you like. I've had this three-part frame kicking around my spare room for months, not really sure what to do with it and I decided a trio of doggos in multiple colours was the perfect fit. I can't wait to see what you do!
I found pieces 13 - 16, the dog's mouth to be the most challenging, so prepare yourself for a little patience here. For me, the key to getting them placed correctly was to stack them, then to make a couple pencil marks to show where the pieces lined up. You can erase these later.
I am just so in love with these sweet corgi faces.


Download the free printable templates, grab some scissors and get to creating! I can’t wait to see what colours and combinations you come up with!

Dark pieces template
Medium pieces template
Light pieces template
Pink Pieces Template
Colouring Templates
And don’t forget to tag us @kolsnotes on Instagram. <3 We absolutely love hearing from you!


