As a member of the Etsy affiliate program and an Amazon Associate, I earn from qualifying purchases.
Summer is one of my favourite times of the year.

No. Strike that. It’s my favourite time of year. I love feeling the sunshine on my face. I’m always excited to take Kolchak on an adventure or to check out a new dog-friendly event. I’m busy in the summer – there’s a lot of travel, socializing and fun.

But, um, this summer will probably be a little different for me. For all of us, really.
Social distancing will remain important in many places. Kol and I have several vulnerable people in our lives and we will do what we need to ensure their safety, which means dog-friendly restaurant patios, events, and busy parks might not be on the agenda this year.
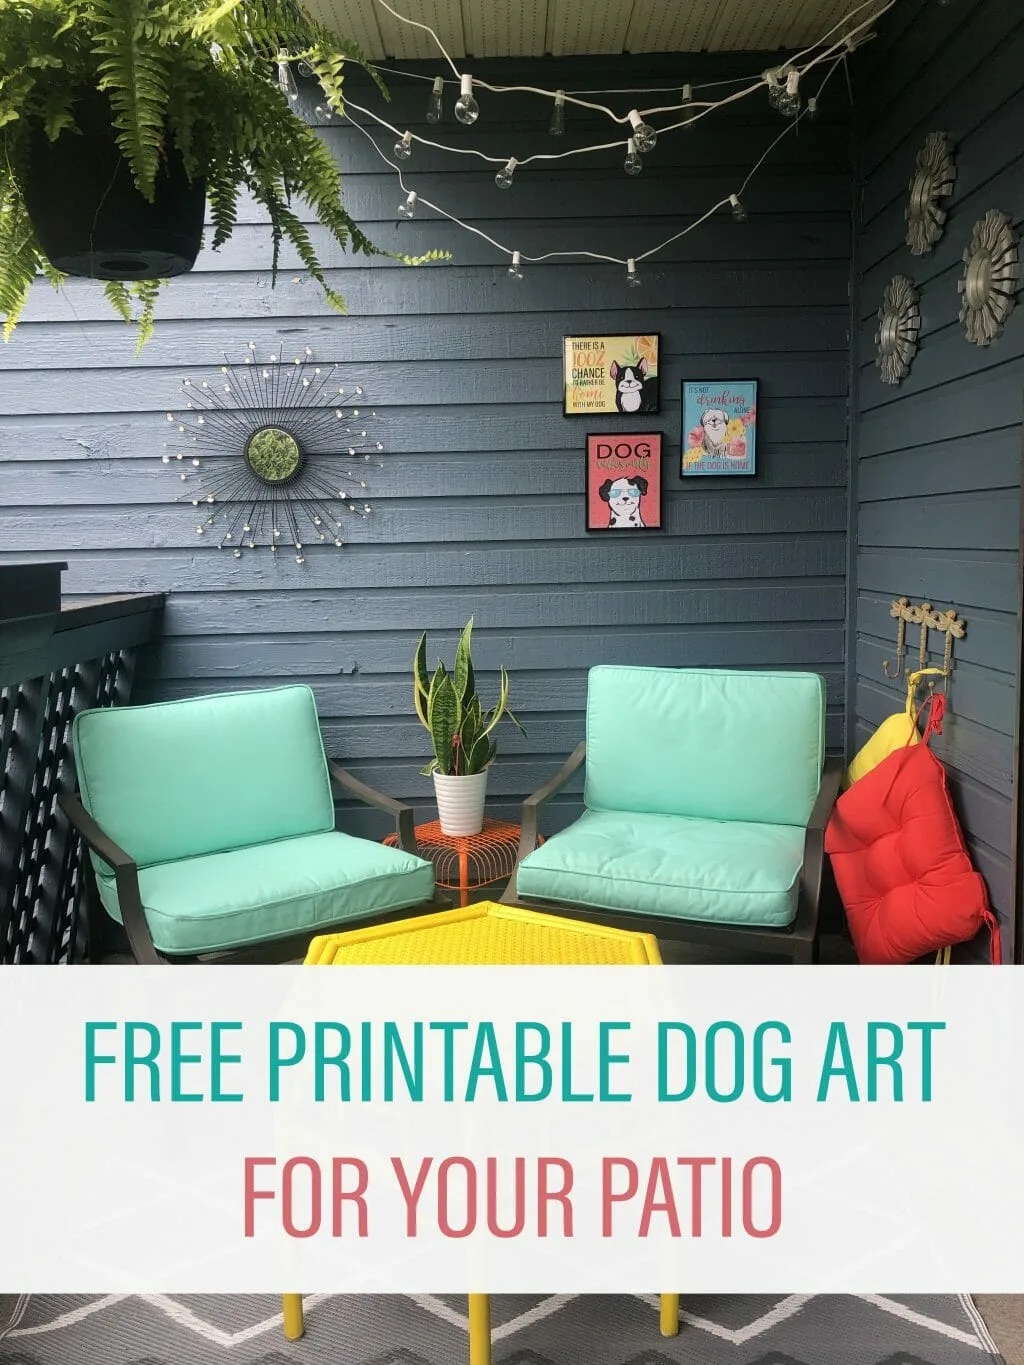
The deck in our new apartment is quite a bit bigger than our deck upstairs was, so I decided to refocus on creating a lovely, inviting outdoor space for Kolchak and me to enjoy and that I can invite friends and family to enjoy with us.
I’m really happy with how it’s shaping up.
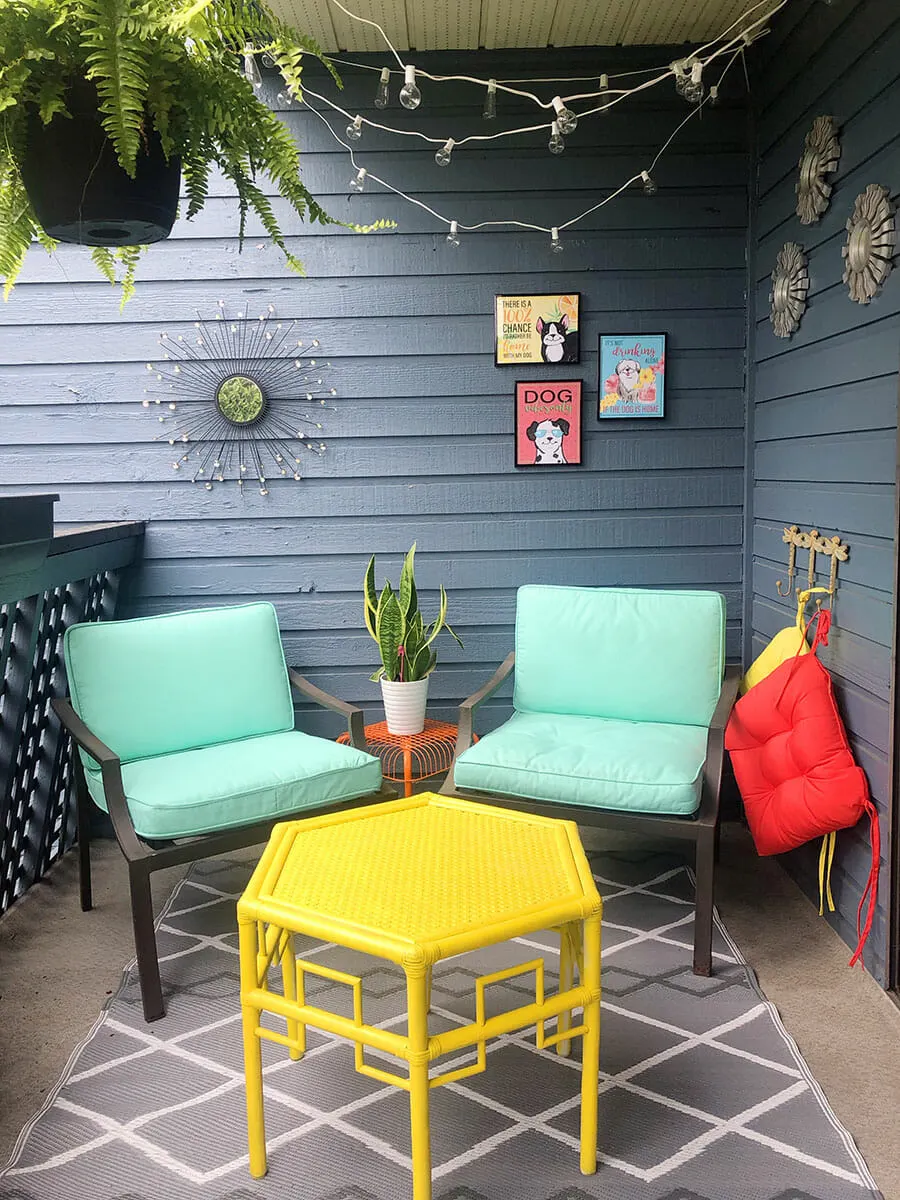
One of my favourite things to do is to hang art in outdoor spaces.
After all, my deck is an extension of my home and I have art hanging pretty much everywhere else, why not outdoors?!
The problem is that outdoor art can be pricey, some frames designed for outdoor use sell for over $100. Metal prints or weatherproofed canvases aren’t cheap either. My Solution?
Cheap plastic frames, some kitchen and bath sealant and free printable art make the perfect solution to add some personality to your outdoor space.
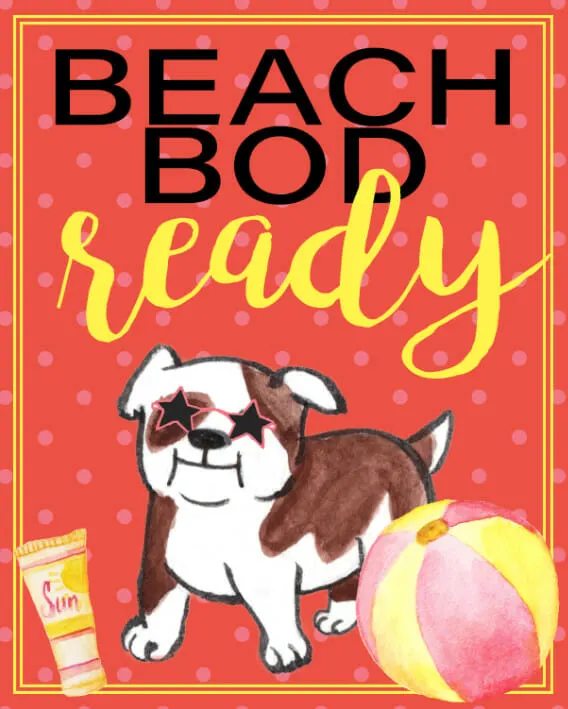
That’s why I designed this set of free printable summer dog art perfect for adding to any deck space. I went with bright, fresh colours, adorable puppies and some fun sayings. Featuring dog art from Pipz Designs and backgrounds from Jessica Sawyer Designs, these summery prints will add some fun to your outdoor oasis.
The best part is? They can be changed out regularly!
How to Weatherproof Plastic Frames for Outdoor Use
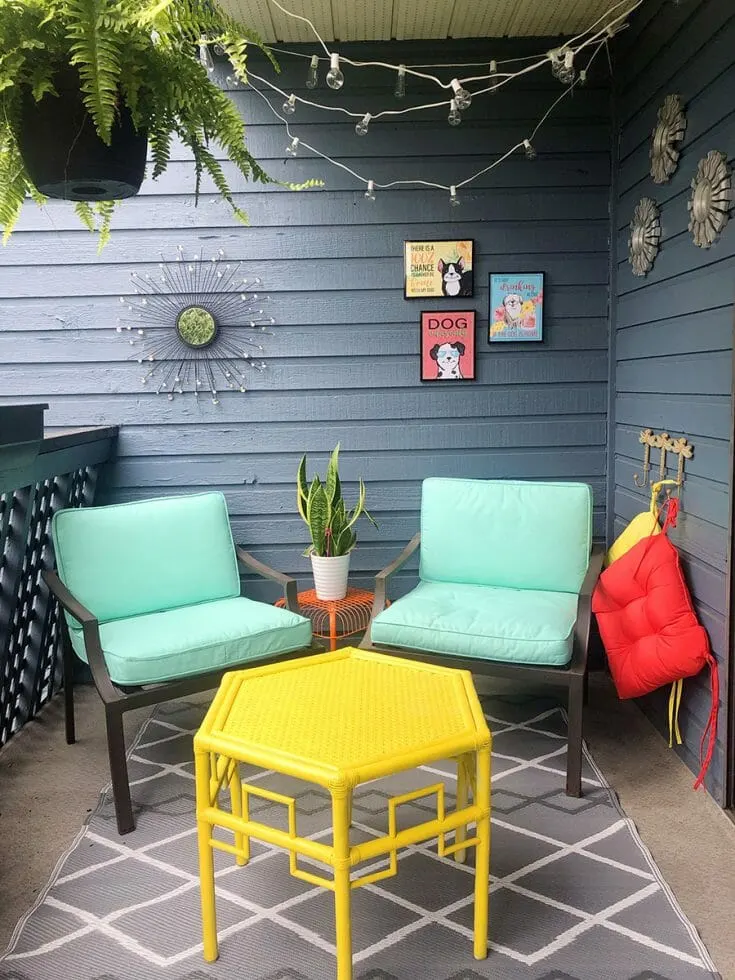
I love hanging art in my outdoor spaces, but weatherproofed frames can be expensive. That's why I made my own DIY moisture resistant frames and hung them with some free printable art.
Materials
- 8 x 10 Plastic picture frames
- Kitchen and Bath Sealant
- Printable art from Kol's Notes (see the bottom of this post)
Tools
- Paper Trimmer or Scissors
- Sharp edge (such as a flat razor or Exacto knife)
- Glass Cleaner
- Paper towel
Instructions
- Open your frame and remove any protective plastic. Disassemble the frame, so that the glass, frame, and backing have been separated.
- Use the glass cleaner to clean both the glass and the frame edges. (This prevents any existing dust or chemicals from preventing the sealant to bond)
- Flip your frame so it is face down. If you love the surface it's lying on, place the paper insert from the frame underneath to prevent spills.
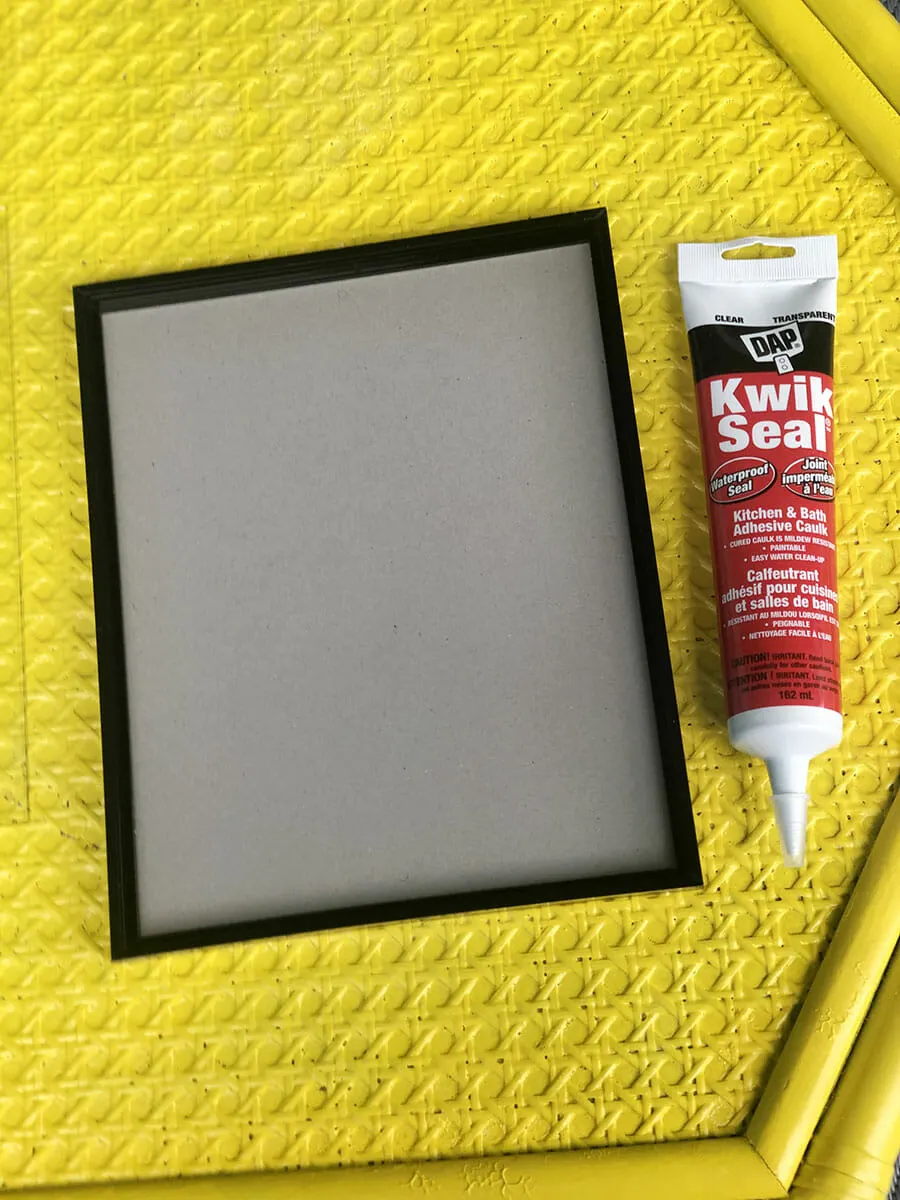
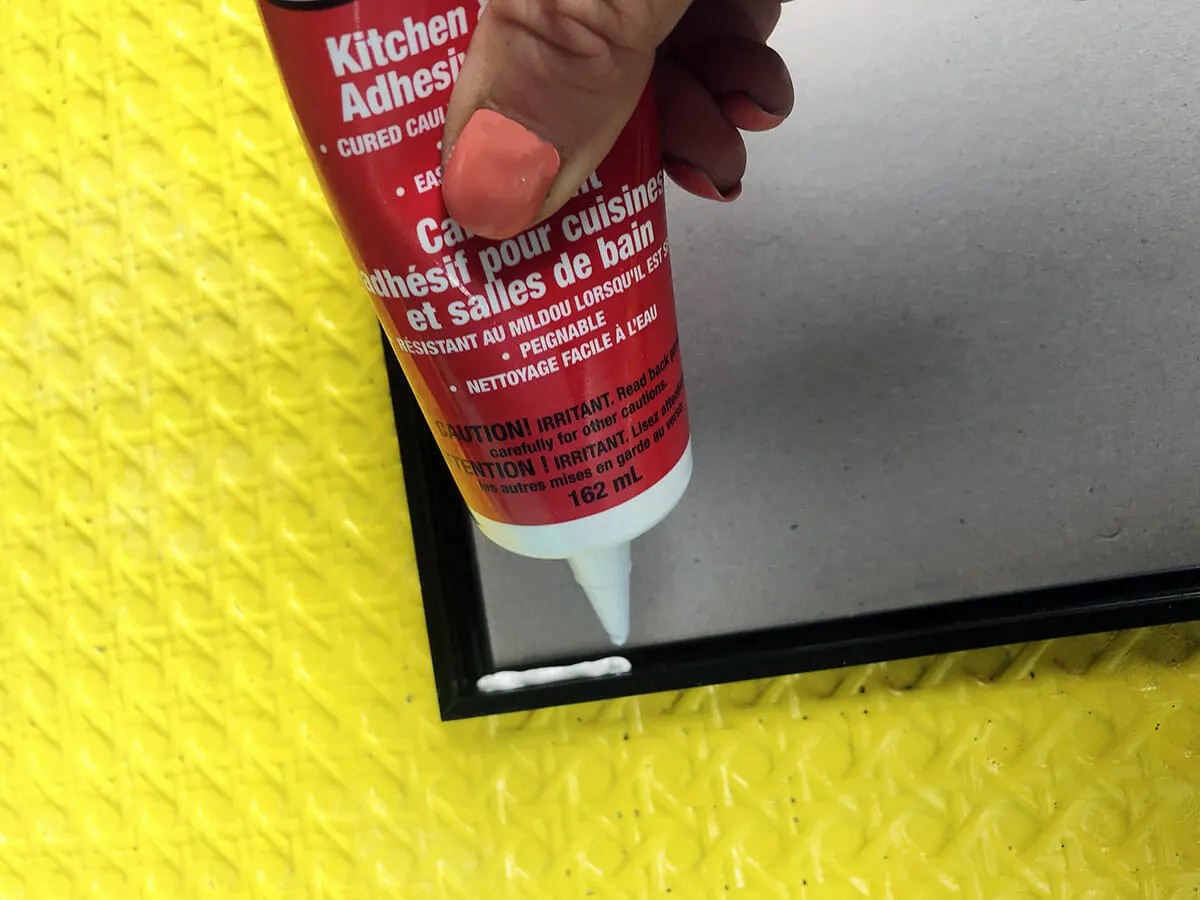
- Working slowly to ensure your frame is tidy, squeeze a thin (approx. 1/8") bead of sealant all around the inside edge of your frame. If you hae corners that have slight gaps (common in cheap frames!) Fill the corner with a little extra sealant so the gap is closed.
- Place the glass inside the frame pressing firmly to ensure the glass has contact with the sealant on all edges. Don't worry if it smooshes out of the frame or shows on the glass, we'll clean that up later.
- Allow the silicone to sit for an hour or two to partially dry. (We don't want it to be wet and smudgy when we add the art.)
- Print the art files you want to frame. I chose these three for my deck.

- Files have been created for standard 8 1/2 x 11 printer paper, so you will have to cut the image down. Some printers may adjust the sizing to "fit the page", but if printed at their original proportions, you want to cut 5/16 from the edge of the outer box in the design.
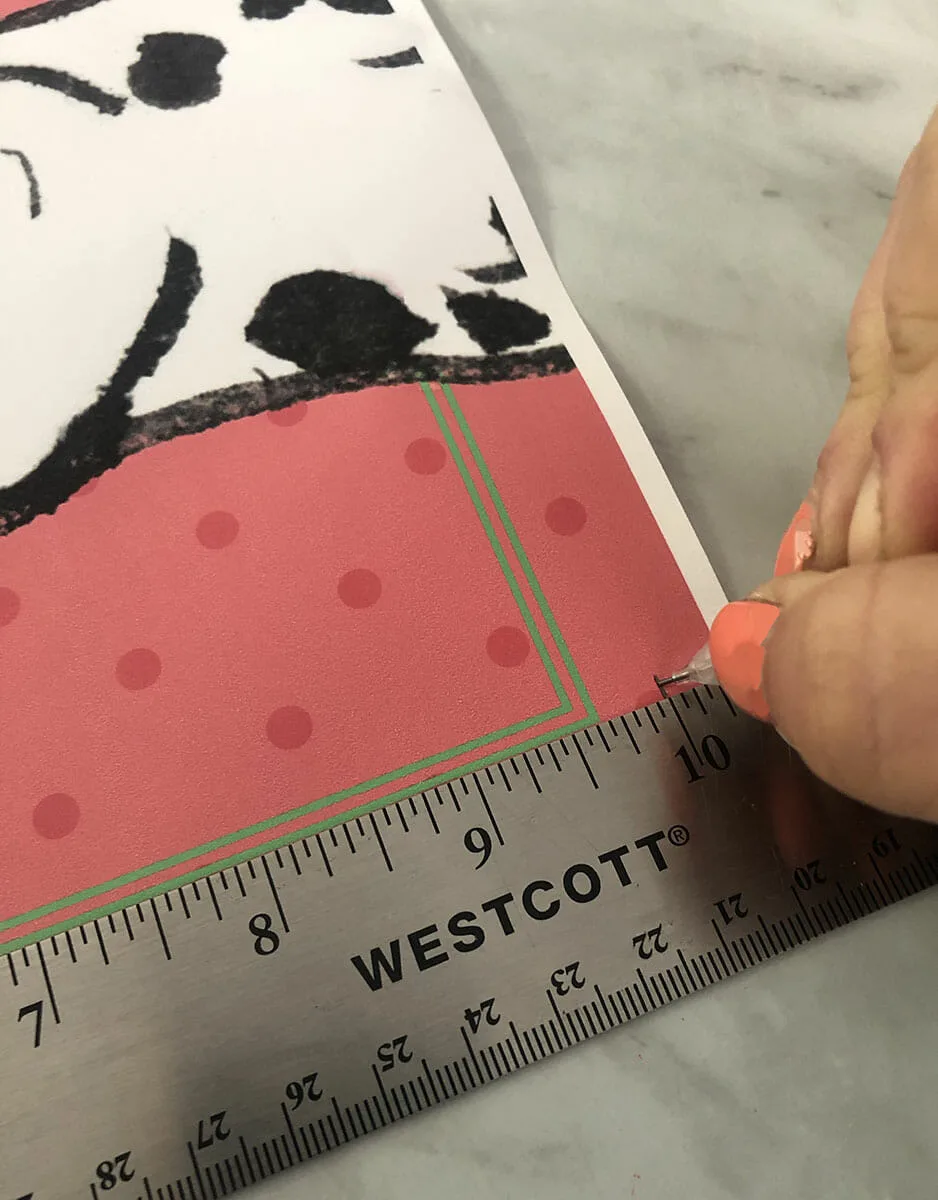
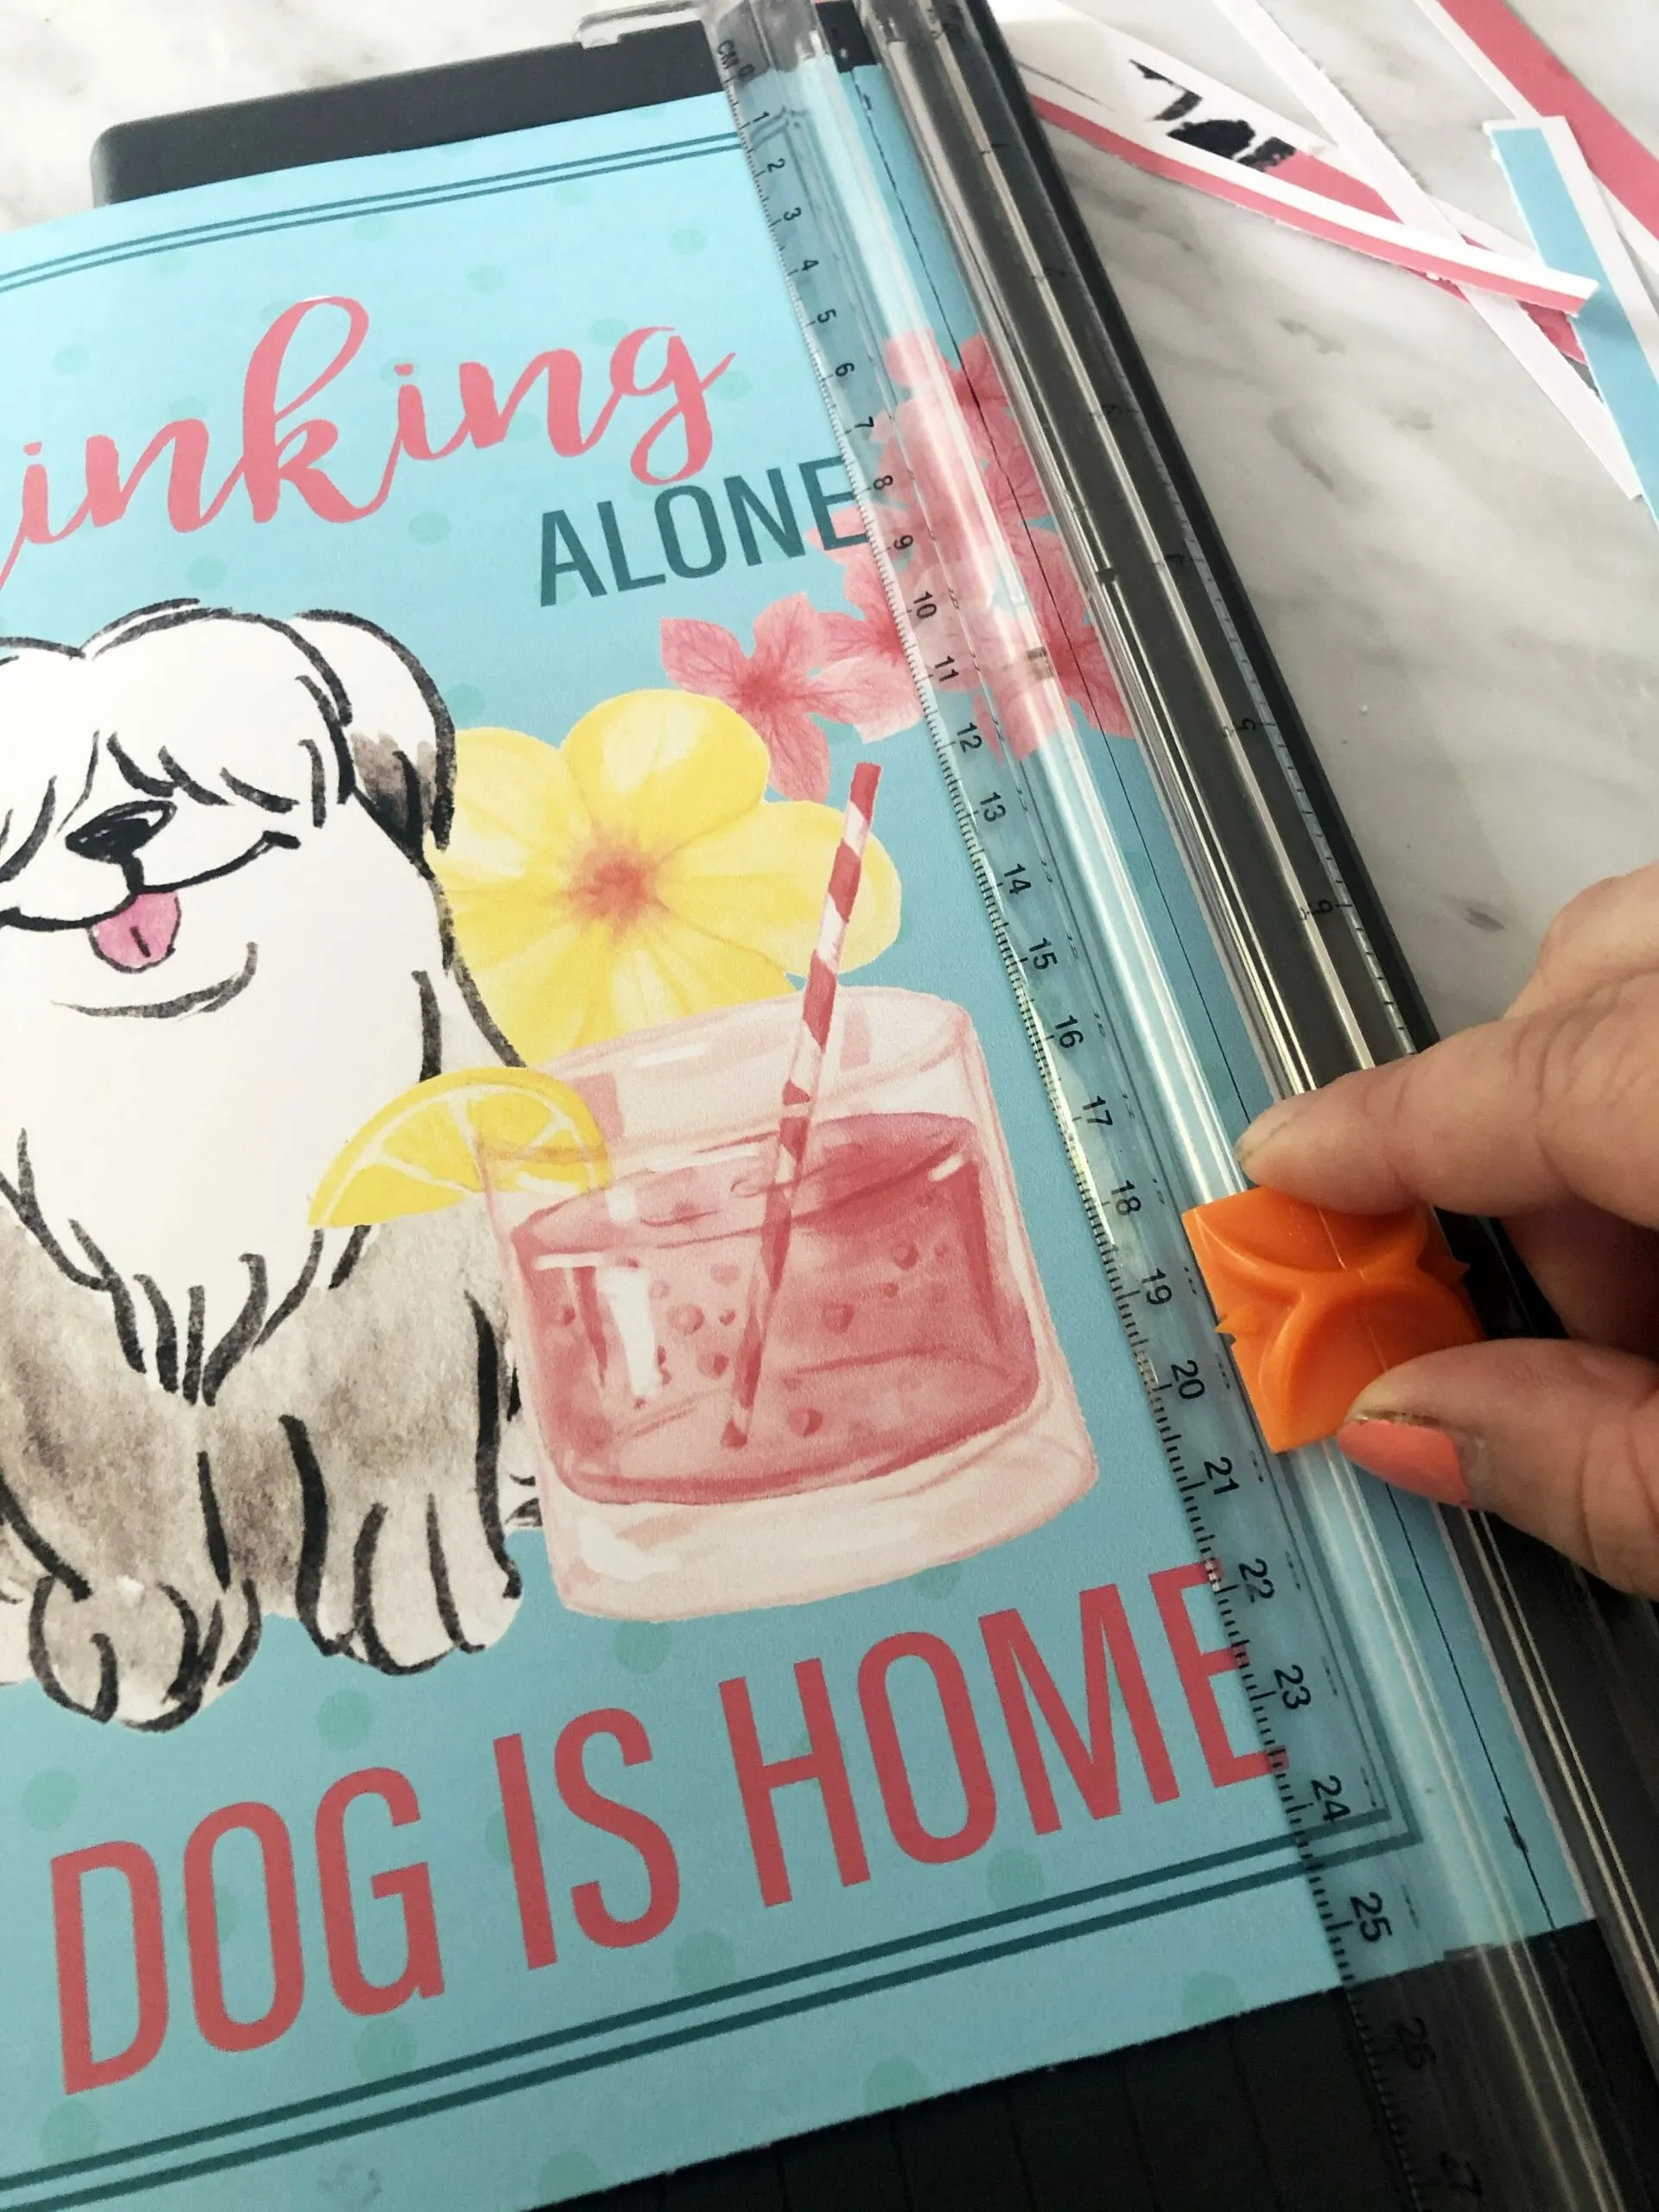
- Using scissors or a paper trimmer, cut down each image.
- Place the art and the backing into the frame. Place a bead of caulking around the edge of the baking where it meets the frame.
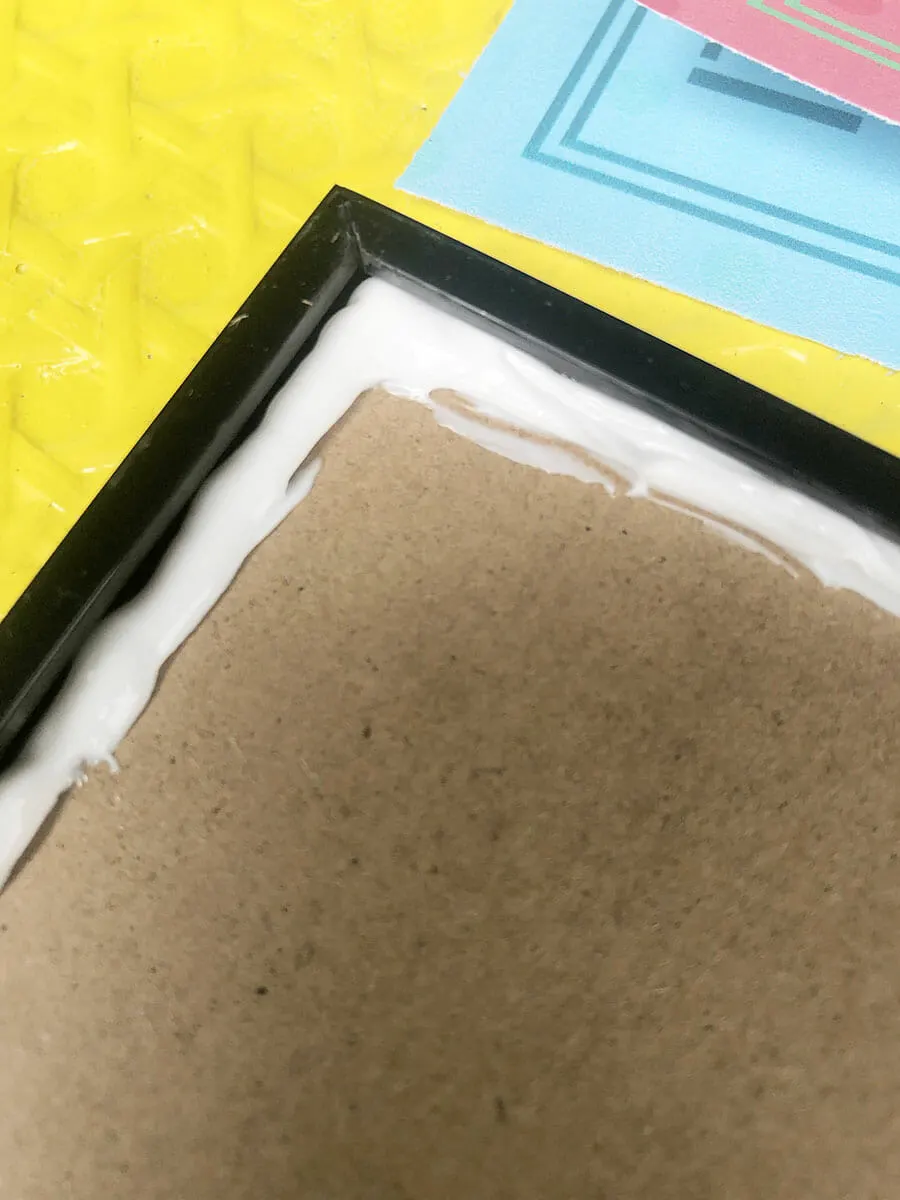
- Allow the caulking to dry. While it takes up to a week for the product to fully cure, it should be "dry" to the touch within 24 hours.
- Use a flat razor or Exacto knife to clean any areas when caulking shows.
- Hang art in your outdoor space.
Notes
When you're ready to change out the art, it's simple. Just run a flat razor or exacto blade around the edge of the backing board to break the caulking seal. Pull backing out of the frame, replace the art and re-caulk for a fresh seal.
I would love to see your outdoor spaces! Print our free printable dog art, hang it in your outdoor spaces and share it in the comments or tag us (@kolsnotes) on social media!
Download free printable summer dog art for your patio here
Want more summer fun for you and your dog? Check out these posts:

