As a member of the Etsy affiliate program and an Amazon Associate, I earn from qualifying purchases.
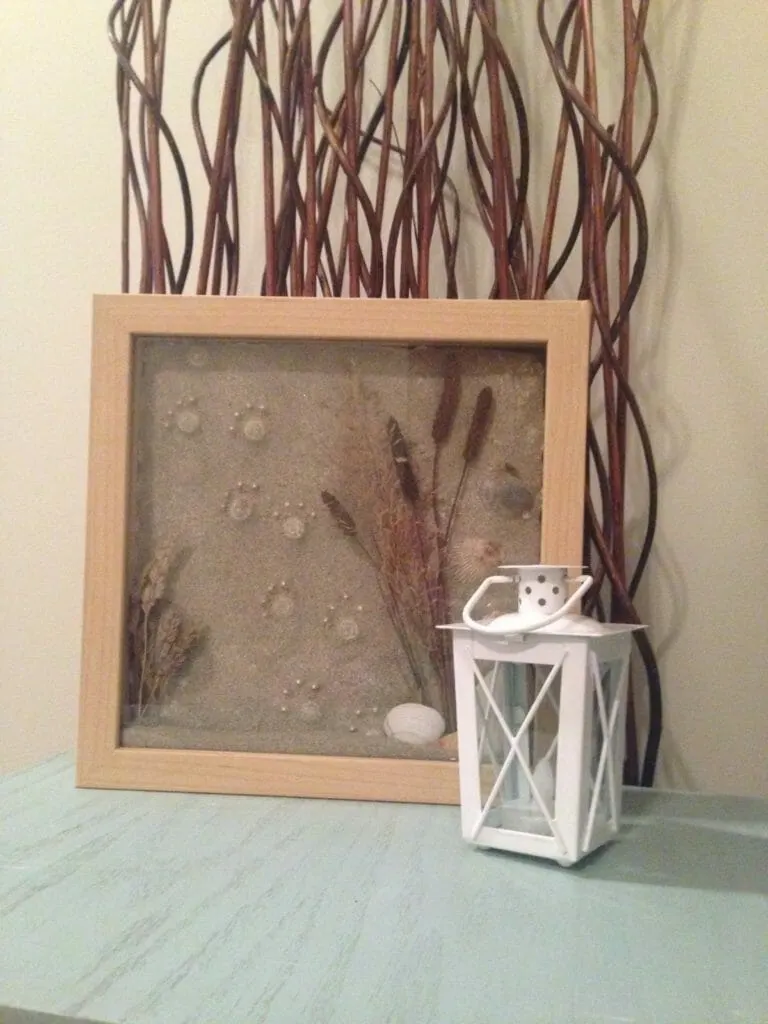
Are you looking for a way to preserve some memories of fun days at the dog beach with your favourite pup? We’ve got just the thing with our easy, DIY “Paws in the Sand Beach Memories Shadow Box.
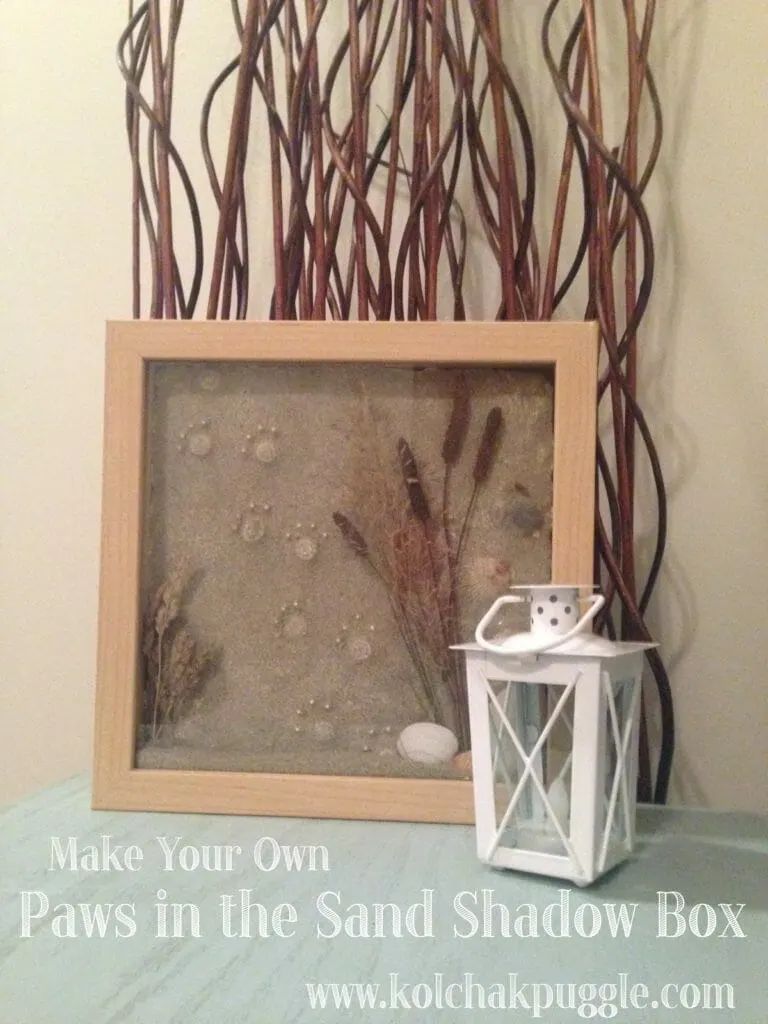
You guys, this is TOTALLY not the project I had planned.
Not even close. It has sand and it’s in a shadow box, but that’s really all it has in common with the project I had in mind. UGH. Don’t you just hate it when things don’t go your way?! In my head, I was going to make a sand casting of Kol’s actual paw print in sand from our favourite dog friendly beach at the lake.
The only problem? That would have required a bit of co-operation from Kol. Cleary, I was delusional to think I would get that. I think you all know him well enough by now to know that was never going to happen. After several attempts to capture a clean pawprint in the sand where Kol flailed like I was trying to dip his paw in hot oil, instead of cold sand, I gave up. Ain’t nobody got time for that.
It’s cool though. I’m actually really happy with how this turned out. I think, maybe, it might be even better than what I originally had planned. The dried plants I included totally remind me of the lake and the whole thing feels way “beachier” than I thought it would.
Did you spend some time at the beach with your pup this summer?
Here’s what you need to make a Paws in the Sand Shadow Box of your own:
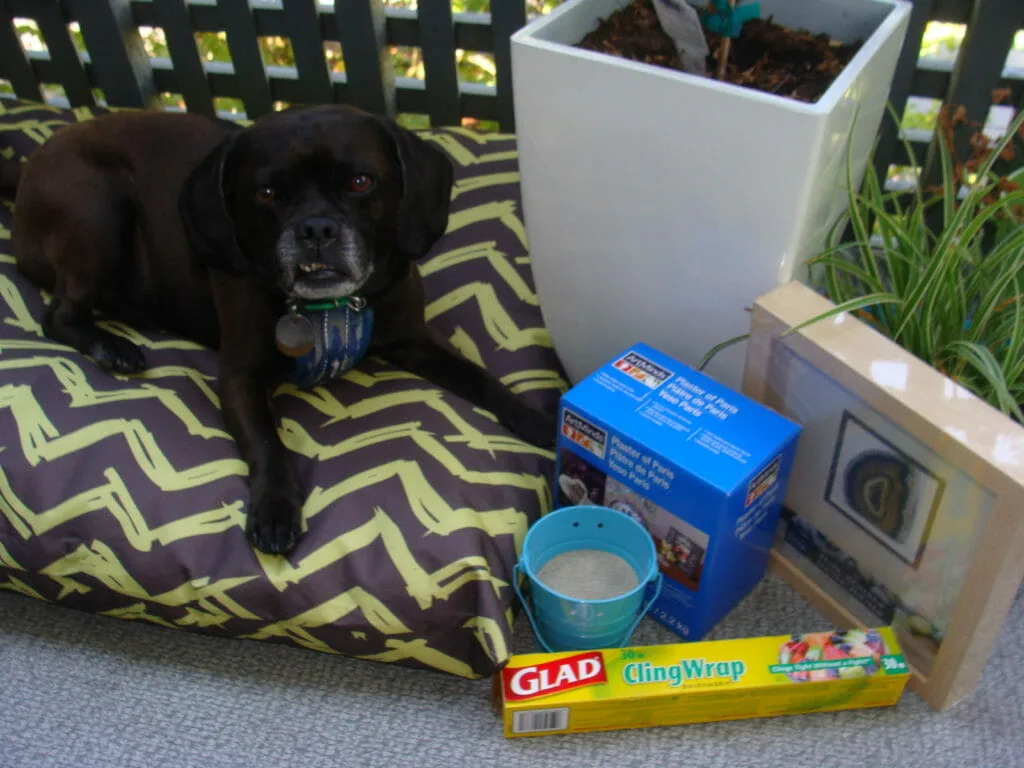
- 2 cups of sand from your fav. beach (if permitted) or the craft store
- Plaster of Paris Mix
- A few plants/flowers from your fav. spot, dried in the sun for several days
- Optional: shells from the beach or craft store
- Shadow box frame
- Plastic Wrap
- Hot Glue
- Paint stick, spatula or piece of stiff cardboard.
- Optional: Puggle with a bad attitude
Let’s do this!
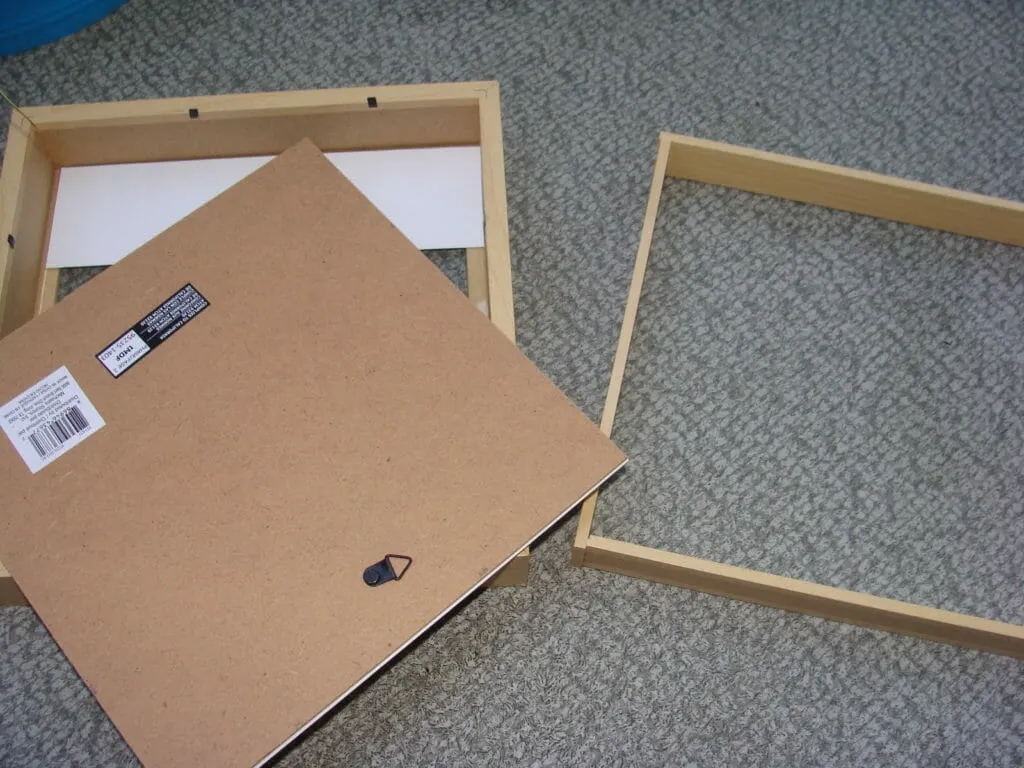
Open your frame and pull out the inner frame. Set aside the outer frame, glass & backing. Line the inside of the frame with plastic wrap. (You want to create a “bowl” out of the plastic wrap inside the frame. Don’t worry if it doesn’t sit square in the corners, you’ll never notice later.
Pour your sand into the plastic wrap lined frame. Use your hands to press the sand so it is flat and compact. (If you have really loose, dry sand, you can moisten it with water to make it pack better.) Using the tip of a pen or pencil, press paw prints into the sand. I chose to make mine look like a dog walking across the beach, but you can use any pattern you like. If you have shells, sticks or other riff raff you want to embed in the plaster, press it into the sand now. I put a few shells along one edge of mine. (Don’t add your dried flowers or plants yet!)

Mix the plaster according to the package directions. I used about 2 cups of the dry mix. Pick out the black puggle hairs – or leave them in. No one will notice. Carefully pour your plaster over the sand, spreading it into an even layer. (I used an old wooden paint stick and it worked great.) Wait for the plaster to dry overnight. Watch in horror as your dog steps in the wet plaster. Curse him for not stepping in the sand when I was asking him to earlier, while frantically cleaning the plaster out of his fur and stressing over whether the sand casting was ruined.
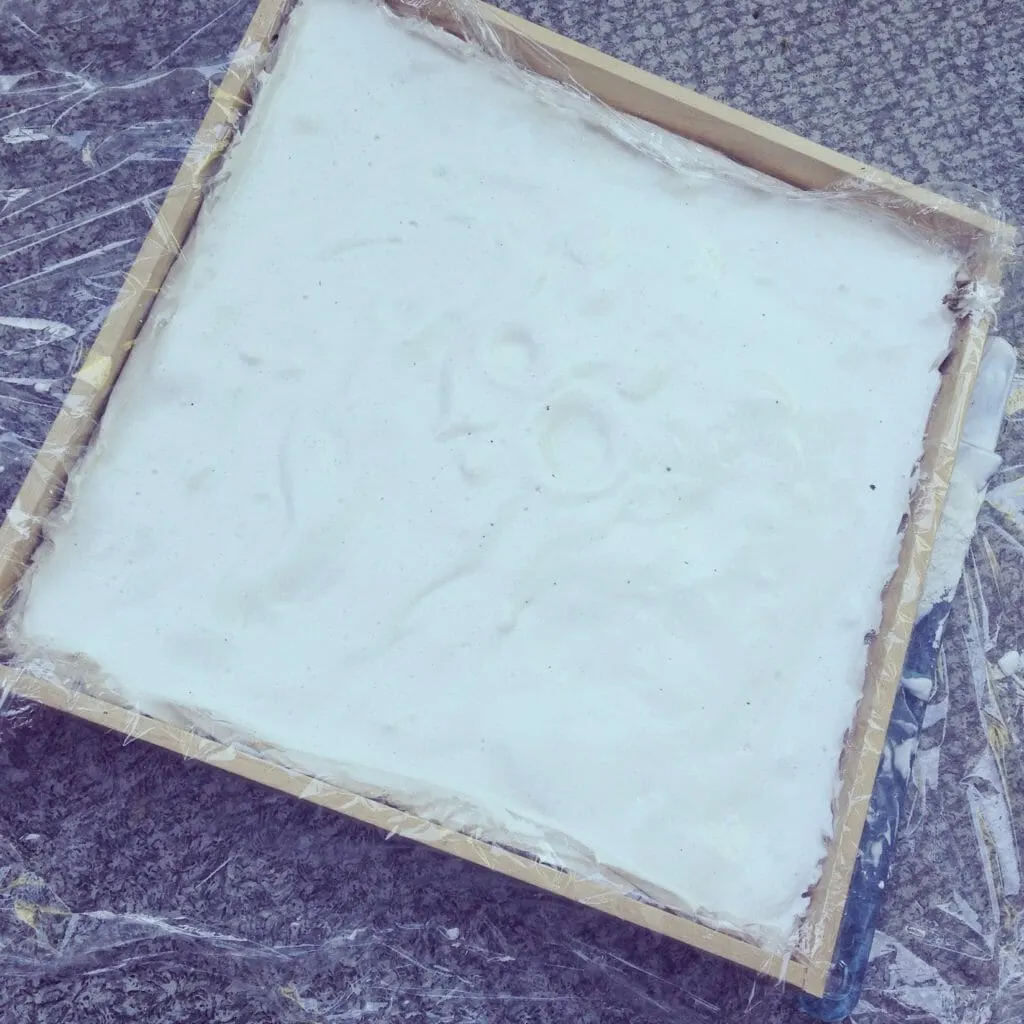
Once dry, remove the plaster from the frame and set aside the loose sand. (You’ll need it later.) If you can see too much of the plaster through the sand, you can brush a thin layer of glue over the bare spots and sprinkle them with sand again. I kind of like the plaster showing and chose to leave it.
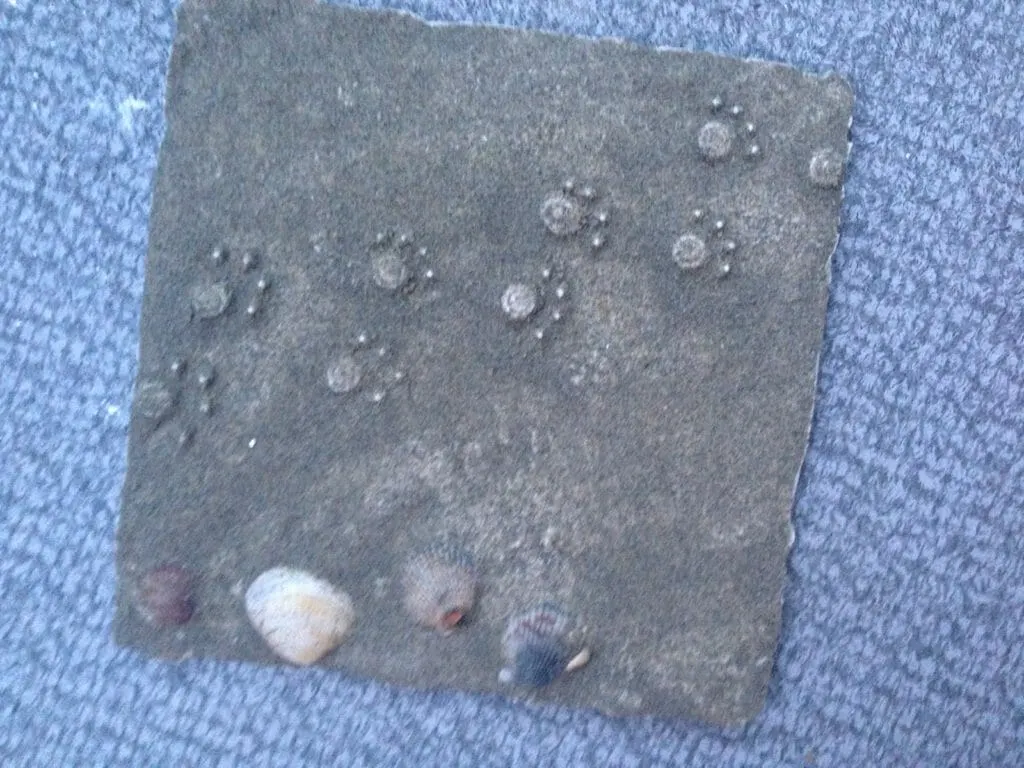
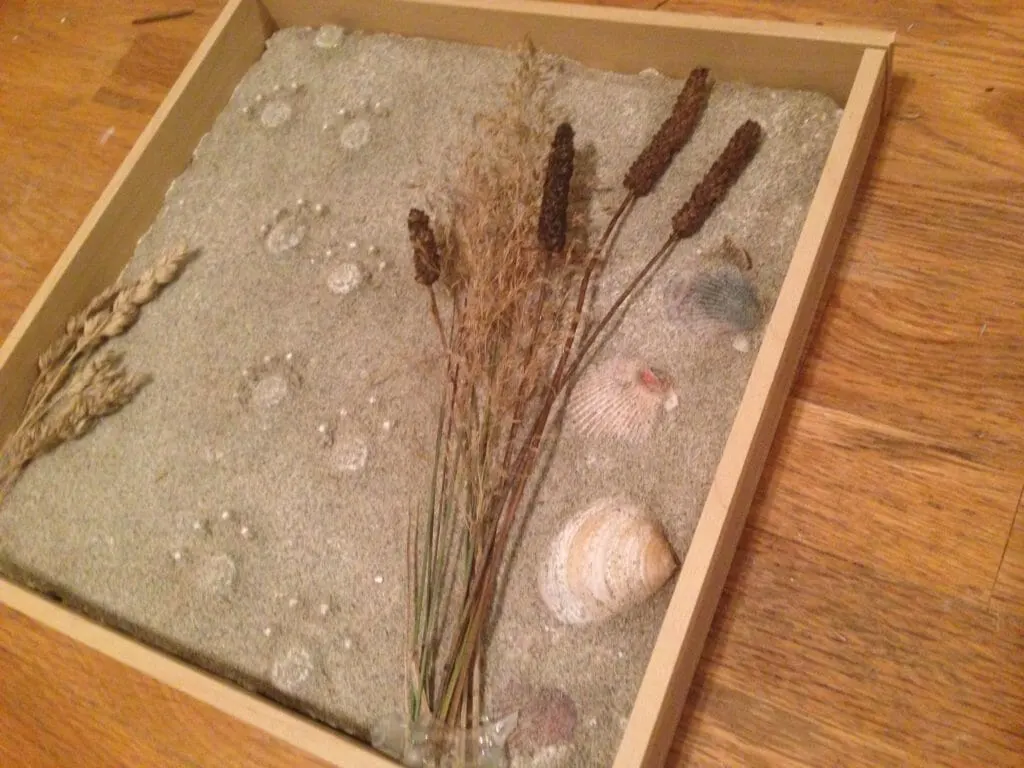
Plug in your glue gun. Place your sand plaque back into the frame and arrange your dried flowers and plants. Use hot glue to cement them in place at the base of each plant. While the glue is still hot, sprinkle it with sand or, if desired, cover the glue with sea shells.
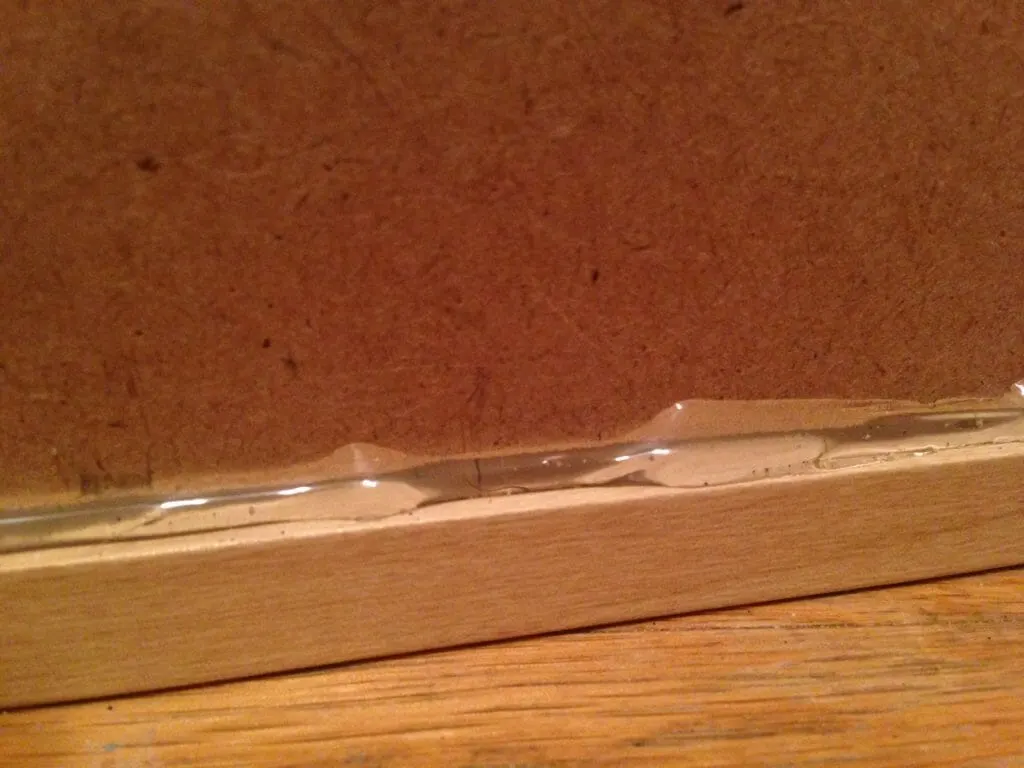
Remove the glass from your larger, outer frame and if needed, wash it (I had finger prints everywhere at this stage.) Run a thin bead of hot glue along the inside of the frame where the glass sits. This will keep the sand from spilling out when you sit your frame up. Press the glass into the glue while it’s still hot. Let the glue set. Once the glue is dry, pour a 1/4 – 1/2 cup of sand into the frame along the bottom edge, place the plaster sand plaque over it and add the frame backing, setting it in place with the metal pins or clasps. Flip over an runa bead of hot glue around the outside of the frame backing to keep sand from spilling out.
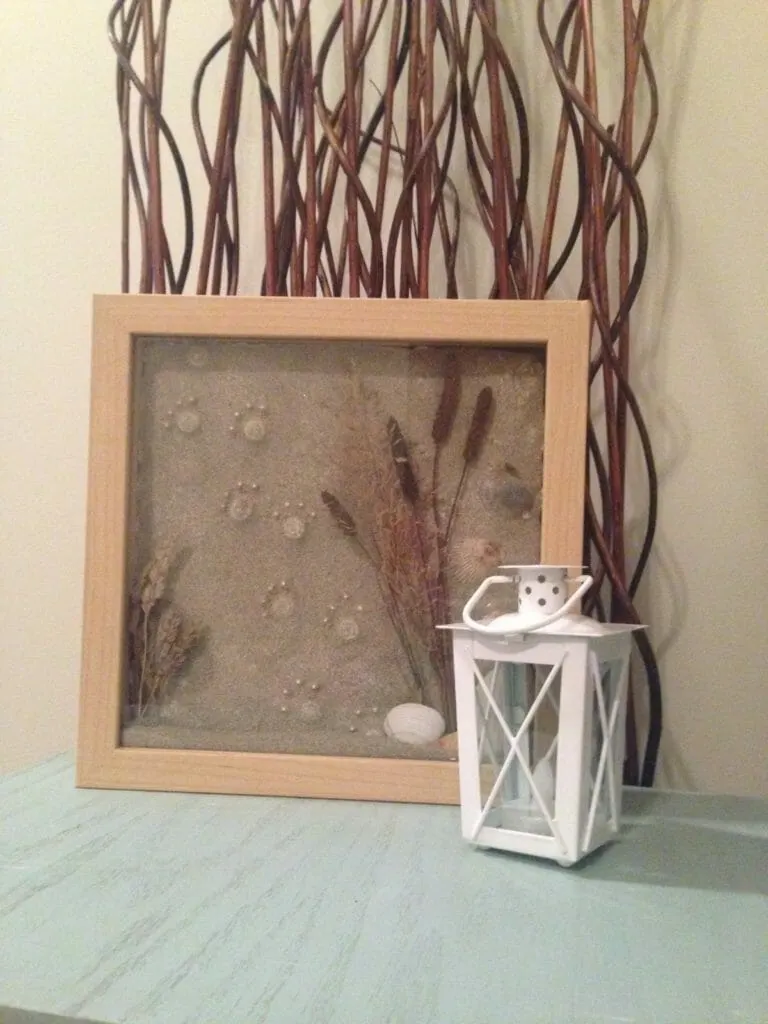
Set your frame right side up, shaking gently to arrange the sand as you like it.

Bonnie
Friday 17th of July 2015
So I decided to go ahead and try to make one of these as a gift for my sister. Everything went relatively well until I tried to remove the plaster from my frame today. It will not come out! I was wondering if you had any difficulty with this or if you had any tips?
My frame unfortunately did not have a nice separate/removable inner frame and the glass is not removable either, so I think this is where the main problem is since the sand/plaster are sitting in the frame against the glass now, only separated by the Saran Wrap.
Im actually staying with my sister right now, so I've had to keep this hidden. I noticed some condensation on the bag that I stowed this in last night. It's out on the deck right now, uncovered. I'm hoping that the heat will help to remove any extra water hiding out, but I'm still concerned it won't be enough to help me get the plaster out. Do you have any ideas for me?
Felix
Saturday 18th of July 2015
Oh no! I'm so sorry that you're having trouble with it.
Did you line the whole inside with saran wrap? My worry would be that maybe the plaster is touching the frame and it might have bonded?
You are right though, if it isn't fully dry, it won't come out nicely. Could you very carefully use a thin knife (like maybe a paring knife) to run along the edges between the frame and the plaster to make sure it isn't sticking anywhere?
I really hope it comes loose for you!!
Skye
Saturday 15th of November 2014
This is probably common sense but I can't wrap my head around the idea... When you stick the shells in, you put them face down in the sand right? I only have a few shells and don't want to ruin them!
Jan
Wednesday 27th of January 2016
To save your special shells, you can also buy a bag at most of the craft stores, too - quite cheap.
Kolchak
Saturday 15th of November 2014
I had the HARDEST time figuring this out too. Thank you for asking. I feel less silly now!! Yes, you want to put them face down, so the pretty side is stuck in the sand and you pour the plaster over the ugly/empty side.
Good luck! I hop yours turns out fabulous! I would love to see a picture when you're done! I'll even add it to the post :)
houndstooth
Saturday 27th of September 2014
You have no idea how badly I covet this!
Kolchak
Saturday 27th of September 2014
It's so easy! SO SO EASY!
M. K. Clinton
Monday 22nd of September 2014
That is very cute.. I want to make an imprint of Bentley's paw. I believe I have the instructions on my Pinterest. ☺
Kolchak
Saturday 27th of September 2014
I would have loved it to be an actual imprint of their paws. If I had it to to again, I would put their paw in clay or play dough, pour the plaster over that then just glue the sand on!
Chelsea Price
Monday 22nd of September 2014
Don't worry: I tried to stamp Riley's paw in (non-toxic, of course) ink and then press it onto a piece of cardstock so that I could frame it and put it with photos of him...and I got a floor full of robin's-egg-blue pawprints. Dogs just don't cooperate with art projects, that's all there is to it :D
I LOVE what you came up with though. Shadowboxes are my fave :)
Kolchak
Saturday 27th of September 2014
OK I've TOTALLY done the paw prints (check it out here: http://kolchakpuggle.com/2011/08/inked.html)
The secret to getting a good print? Buy a roll of kod's craft paper (or lay out a trail of cardstock), put your dog in a sit/stay at one end(or hold them), then call them to the other end. (This is easiest with two people.) You'll end up with 4 -10 prints to choose from. There's bound to be a good one in there!