As a member of the Etsy affiliate program and an Amazon Associate, I earn from qualifying purchases.
Snoopy is my favourite cartoon dog.
He has such…personality. He’s a sassy little dog and I suspect that my beagle love is, in large part, actually Snoopy love. Over at Life With Beagle they’re holding a super fun holiday contest, asking you to #DecktheDoghouse and share you’re dog’s space decorated for the holidays for your chance to win some Snoopy-tastic swag, courtesy of Hallmark.
Um…awesome.
A: I love the Holidays
B: I love Snoopy swag
and C: I knew exactly what I was going to do.
BEHOLD! Our $5, 10 minute DIY Snoopy’s Doghouse Wall Decoration
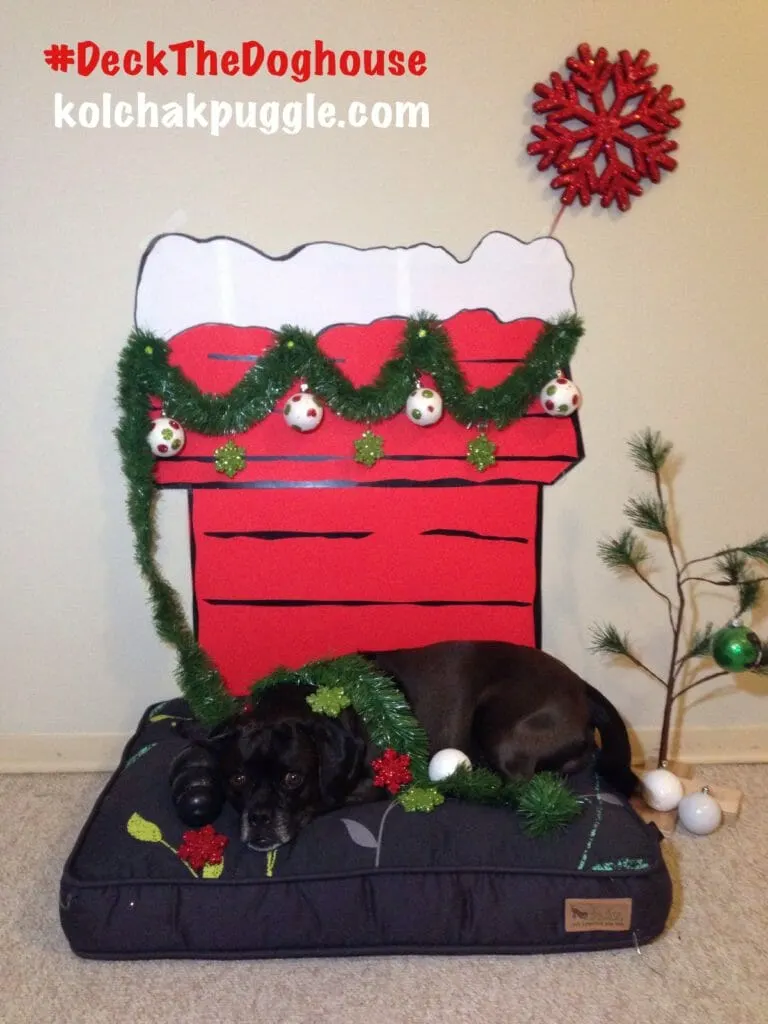
See how excited Koly is about it? | Koly: “Just fill my Kong already, lady.”
I picked up everything I needed for this at my local dollar store for under $5 (not including my Charlie Brown tree and the P.L.A.Y. Dog Bed) and the whole thing took 10 minutes to throw together.
Here’s what you need:
- 2 pieces of red poster board
- 1 piece of white poster board
- 1 roll electrical tape
- Black Marker
- Decorations (I picked up a non-tinsel garland string and styrofoam ornaments, but choose decor that is safe for YOUR dogs.)
Take your first piece of red poster board and lay it out length wise. Cutdown the height, so that it is about 28″ wide x 16″ tall. Discard the extra piece.
Crop the two bottom corners off the poster board.
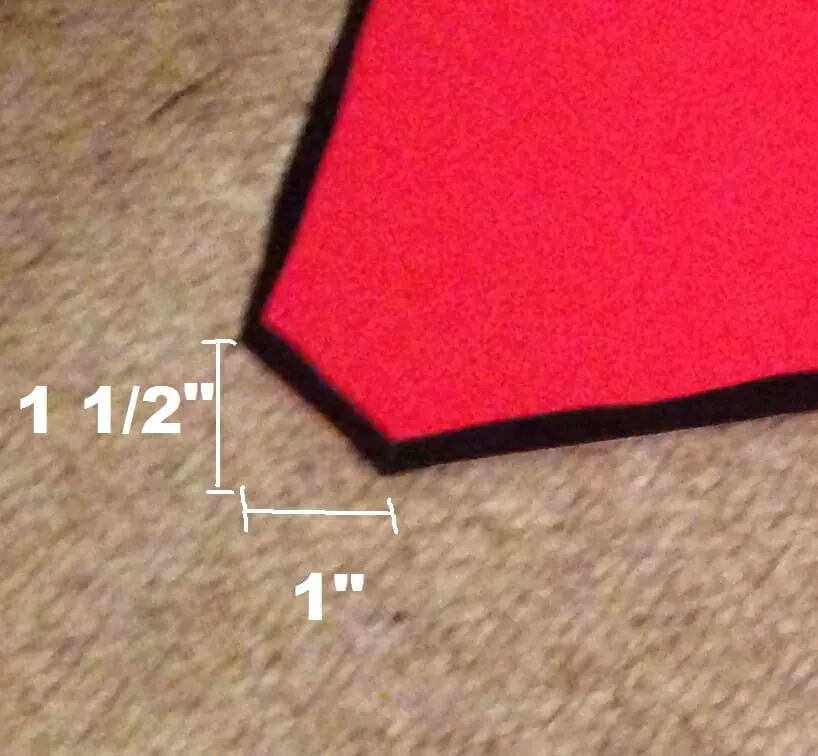
I didn’t think to take this until I was half done, so it’s shown with the electrical tape edging already done.
Draw a straight line from the newly cropped corner to the top of the poster board, angling the line in about 1 1/2 inches to create the dog house roof. Repeat on the other side.
Unroll a length of electrical tape (as long as the base of your roof). Using scissors, cut the tape down the center “wobbling” the scissors as you cut. (This tape cuts so nicely. If you start the cut the blade should just slide down the tape allowing you to wiggle the blade back and forth.)
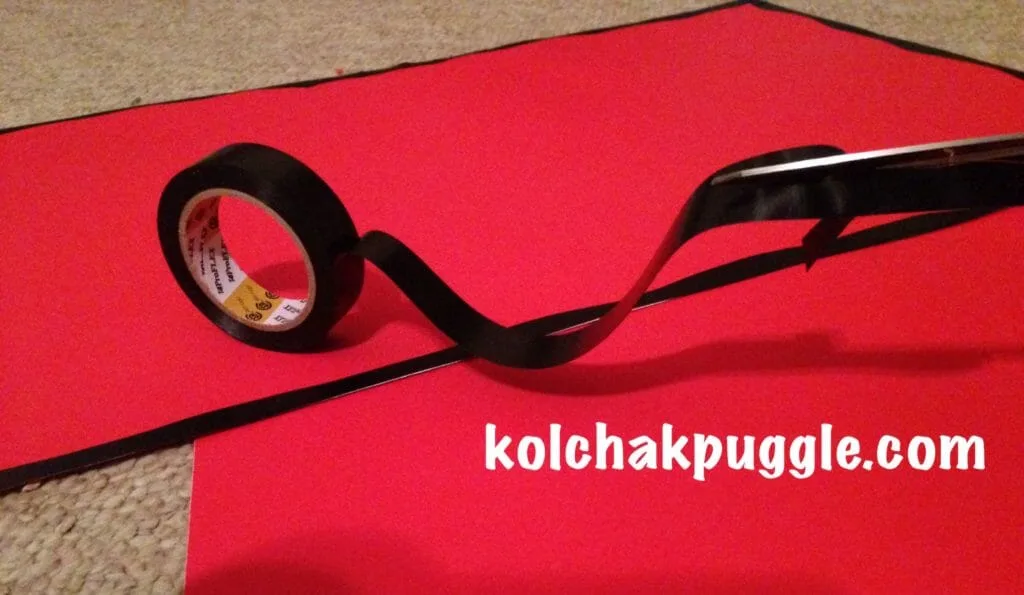
Use the tape to outline the edge of the roof, cutting more as needed. Add one solid line of halfed electrical tape from the left to the right in line with the top of your cropped corners. Add two more horiztonal lines in halfed tape, approx. 5 – 6″ apart. (It will look like there’s “too much” red space at the top, but trust me! Your snow will cover that.)
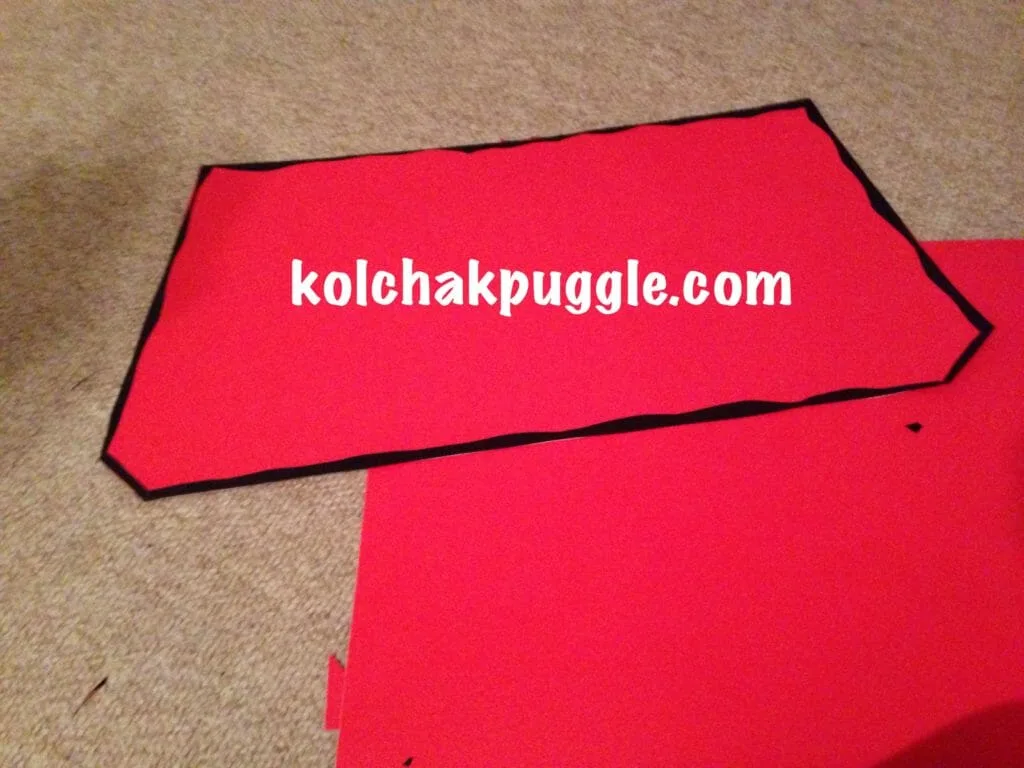
Roof piece: cut & trimmed
Take your second piece of red poster board and lay it out height wise. Cut the height down, so it is around 22 x 24.
Use electrical tape, cut in half, to outline the edges and add three horizontal lines, evenly spaced, across the height of the dog house (about 6″ apart). These lines do not have to be perfect! I made some go all the way across, others I split into sections. Just do whatever feels right!
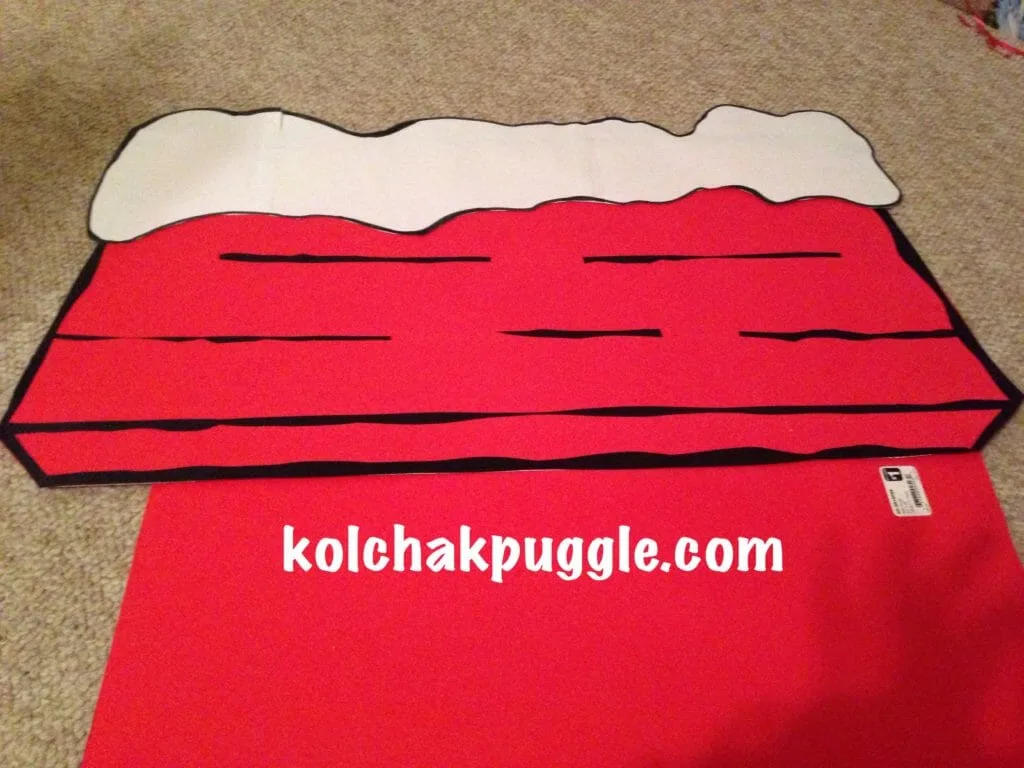
Cut a wobbly, messy heap of snow out of the white posterboard. I made mine about 4″ wide, give or take. Out line the snow with marker.
Tape your three dog house pieces together and tack it up on the wall. (I used command strips to protect my paint.)
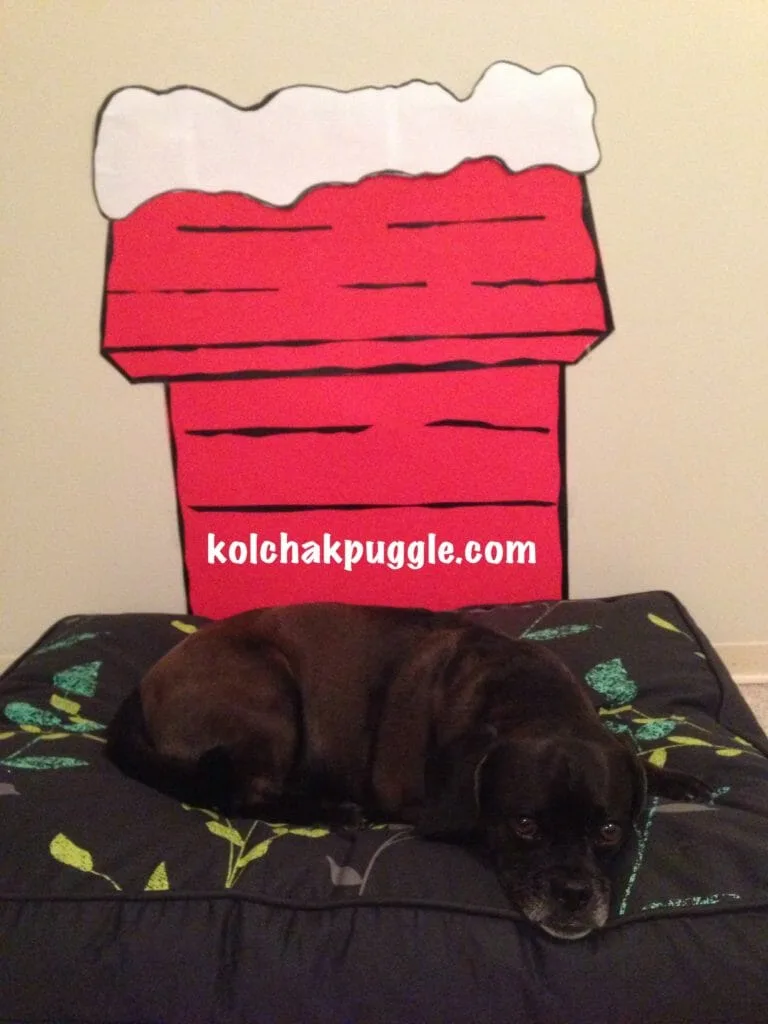
You’re never going to finish this and fill my Kong, are you?
Decorate your dog house as you see fit.
I tacked a non-tinselled garland on with thumb tacks, hung some styrofoam ornaments and added a lawn decoration at the top. but the possibilities are ENDLESS.


Dekorieren Sie den Platz Ihres Hundes mit unserer DIY Snoopy Doghouse Wanddekoration | #De ... - Hundehütte
Wednesday 17th of October 2018
[…] Dekorieren Sie den Platz Ihres Hundes mit unserer DIY Snoopy Doghouse Wanddekoration | #DecktheDoghouse kolchakpuggle.com … […]
Piknu
Wednesday 18th of October 2017
Love this idea! Thank you for the tutorial!
Misfit. Blockhead. Hero: How the #PeanutsMovie Captures that Ol' Charlie Brown Spirit {+ a giveaway!} - Kol's Notes
Thursday 5th of November 2015
[…] for the great pumpkin. Click here to find out how I created Snoopy’s dog house. It’s CRAZY […]
$5 Photos Shoots: Easy DIY Valentine's Day Dog Photos - Kol's Notes
Monday 9th of February 2015
[…] foam board at regular intervals to create a Charles Schultz stylewood booth. (Did you make our Snoopy’s Dog House photo backdrop? If you remove the roof peice, you can totally reuse the poster board base for […]
TXpups
Monday 22nd of December 2014
How cute! We'll have to do this, just in time for the holidays!