As a member of the Etsy affiliate program and an Amazon Associate, I earn from qualifying purchases.
Ever since Koly and Fe got their new dog beds, they’ve kind of been bugging me.
Don’t get me wrong. The beds are adorable and I love them. They’re still the perfect fit for our decor – dark background to hide the black puggle hair with just a splash of bold colour. Something was… missing, though. As much as I loved them, they just didn’t seem complete. Then it hit me: I hate an undressed bed.
A home decor magazine would never show a human mattress just tossed on the floor with a fitted sheet on it!
No! They would have a lovely frame and a variety of pillows to soften it up. That was exactly what my dog beds were missing. For weeks, I’ve been sketching and planning and dreaming of the perfect dog bed frame, but I’ve been stuck. See, I have a very specific type of leg in mind – short hair pin legs. They’re wildly expensive, but I think they’ll be worth it when the design is done. I just have to find them!
In the mean time, I set about doing what I could to dress up the beds with pillows.
I’ve spent untold hours fabric shopping. There’s so much out there. Nothing seemed…right. It was all too loud, too patterny or too sold and too boring. I decided our first pillow needed to be a statement piece. I’m absolutely in love with pillows that have quotes on them. I have a ton of them – Harry Potter quote, Peter Pan, dieting humour and more. This time, I knew I needed a dog quote, one of my favourite dog quotes.
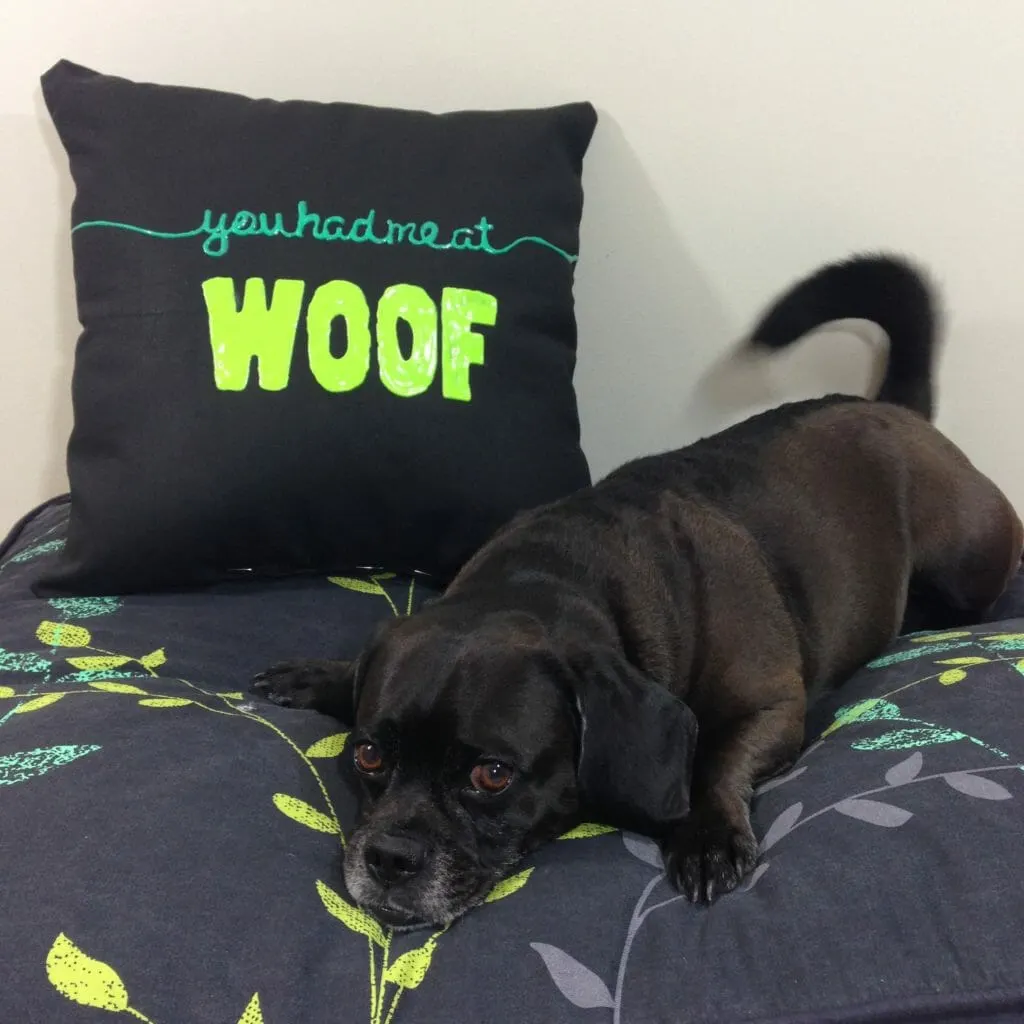
Koly loves a bed full of pillows.
The only problem? I can barely write neatly in pen! LOL, the thought of trying to write fluidly in fabric puff paint was insane. I tried it, just once freehand and I made such a mess that I threw the fabric out. *humpf* I did a little Google searching and found out there is a much easier way to put paint onto fabric: freezer paper stencils.
Holy woof! It’s so very easy.
Here’s what you need:
2 – 19 x 19 squares of heavy weight fabric (I used black denim from the bargain bin – $3 score!)
Matching thread
Polyfil or other pillow stuffer
2 shades of Tulip Dimensional Fabric Paint
Freezer paper (not waxed paper)
Sewing Machine and/or hand sewing needle
Let’s do this!
Print your chosen quote on regular printer paper or download the one I used here. (I decided to mix my fonts. The script is called Clementine Sketch and the block font Impact Condensed).
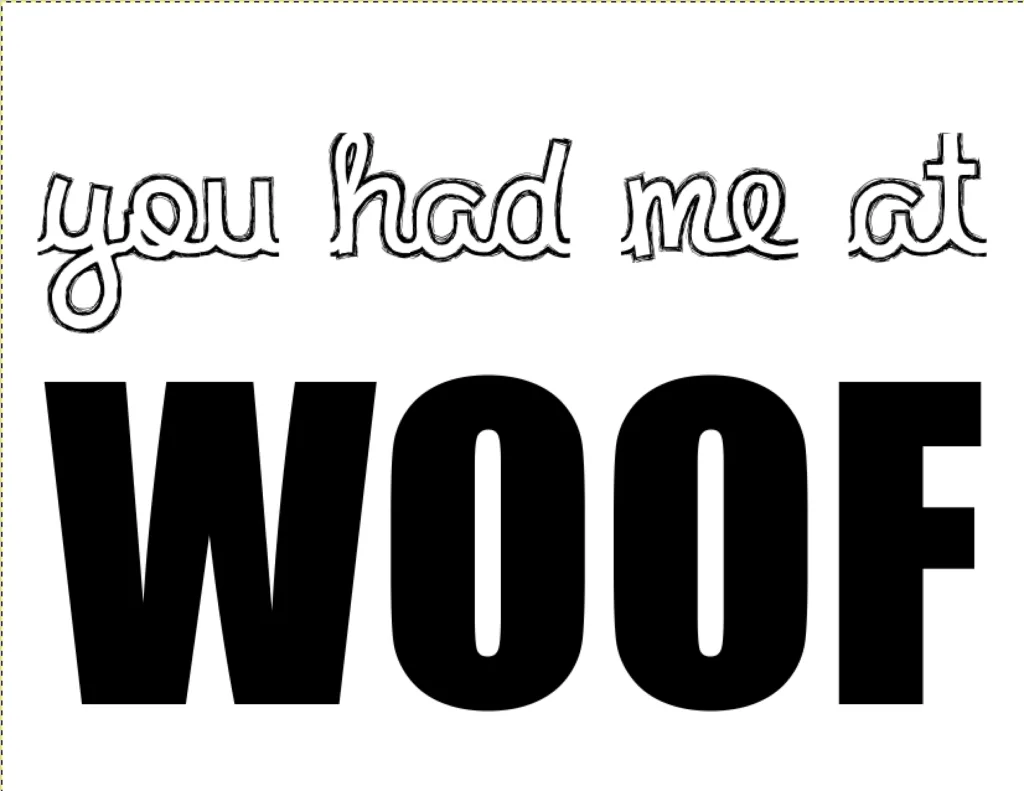
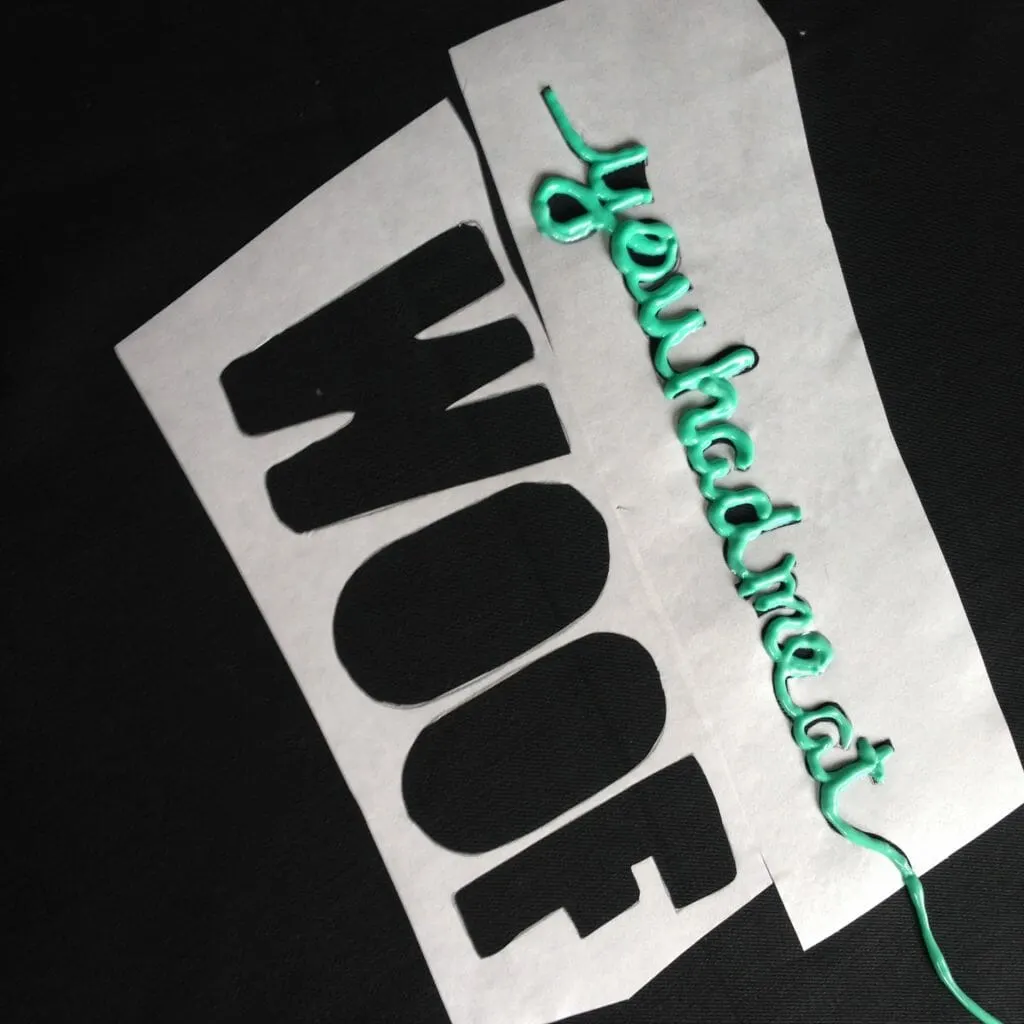
Lay a piece of freezer paper, waxy side down, over your print out and trace the outline of your letters. (Don’t worry about making it perfect!
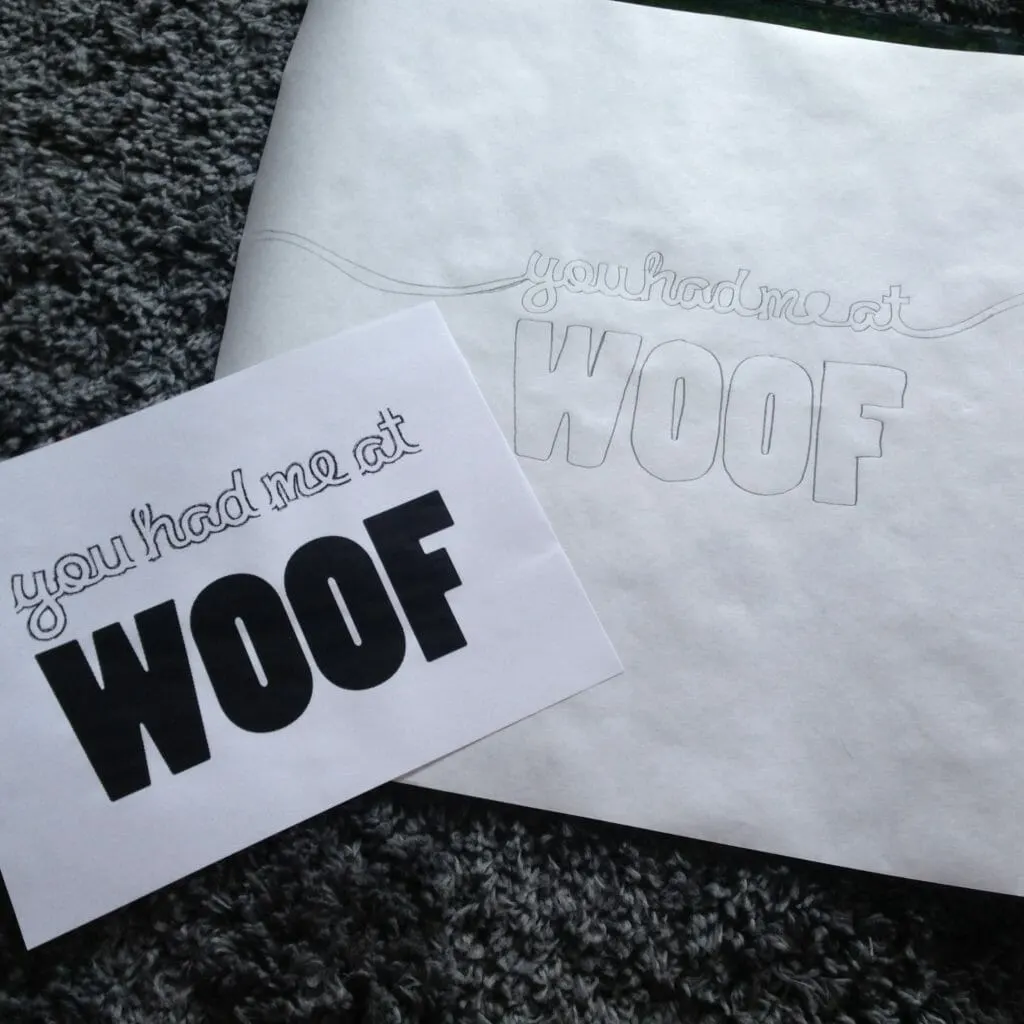
Ok you guys… this is LEGIT the hardest part of this DIY dog pillow. Use an X-Acto craft knife to cut the outline of your letters.
Centre the wax paper on your fabric, right side up. Heat your iron to the appropriate temperature for your fabric. Press the iron over the freezer paper, smoothing out wrinkles and securing the freezer paper in place. (The wax part will melt slightly, which will keep it in place without leaving a mark. Fancy, right?)
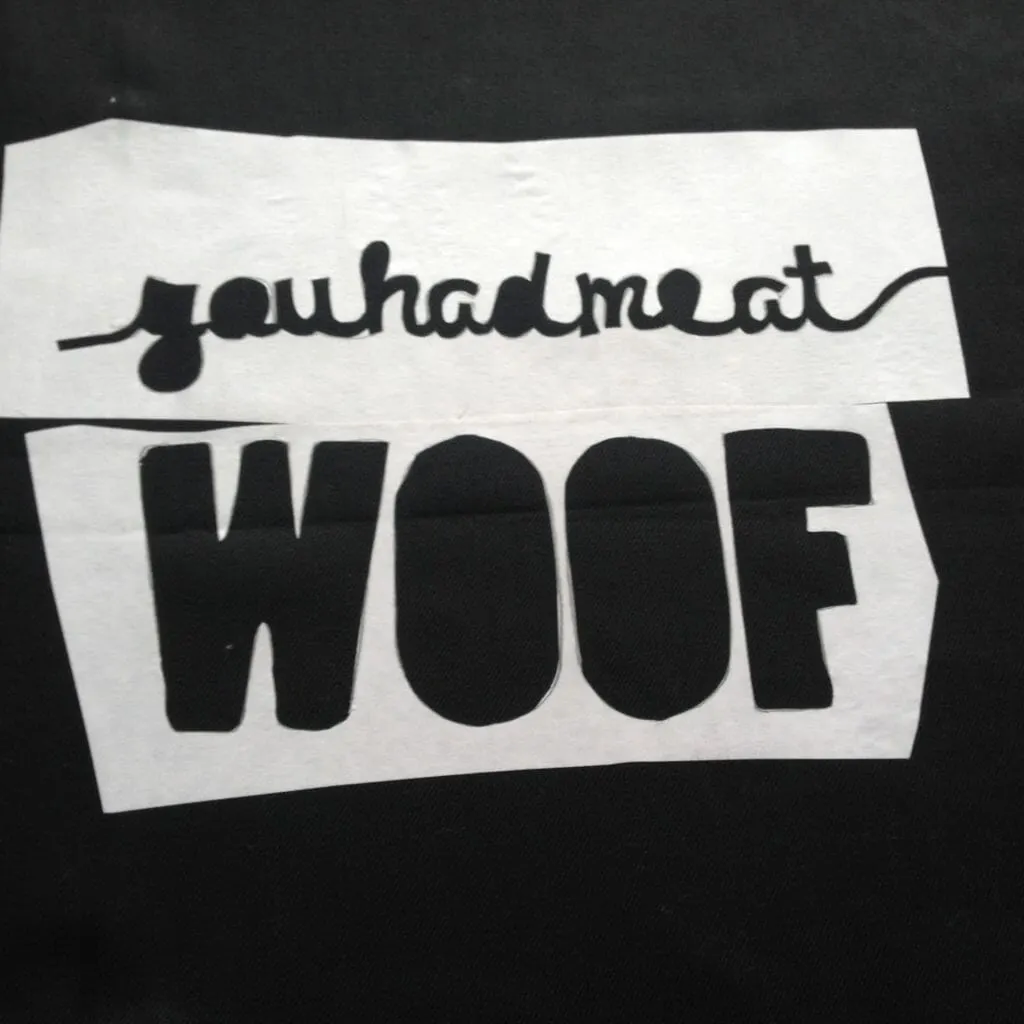
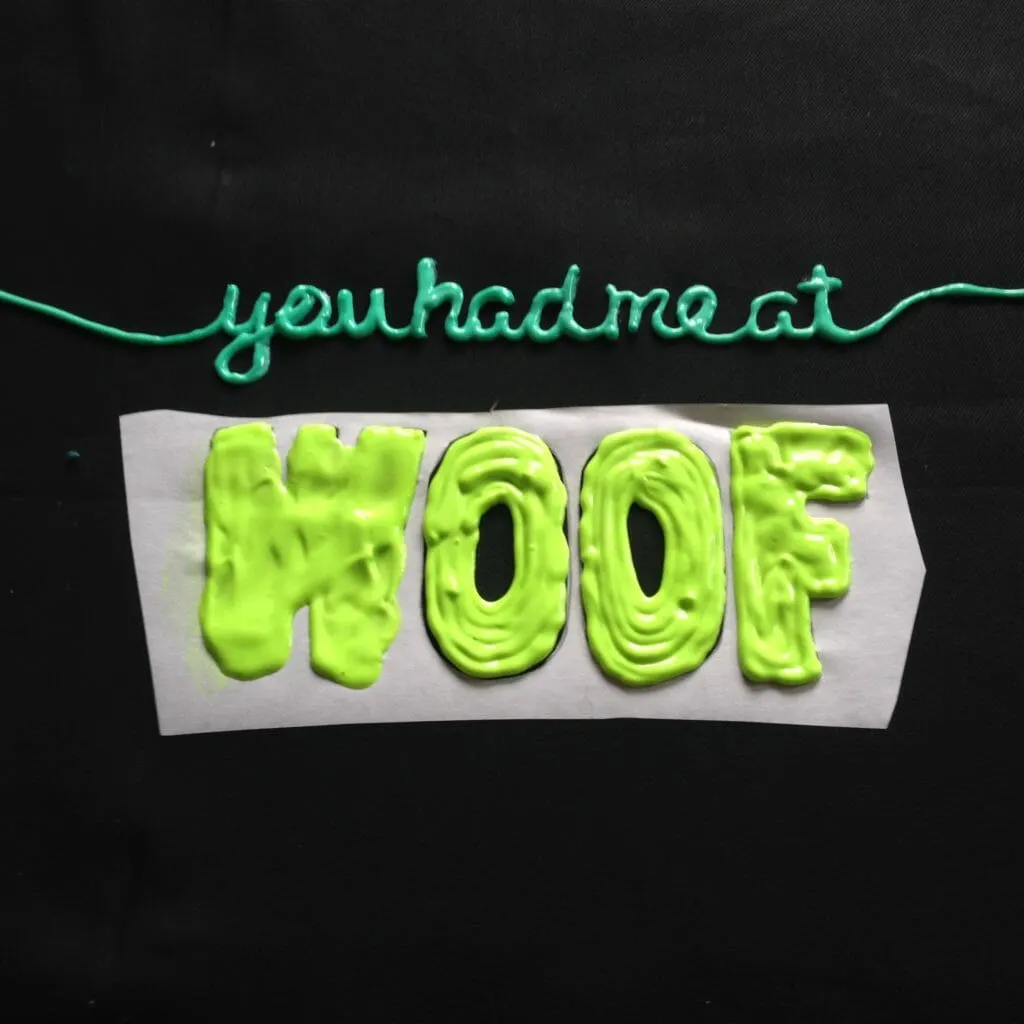
Fill in your letters with Tulip Dimensional Fabric paint. Allow paint to dry for 30 minutes or so, then carefully peel away the freezer paper, taking care not to smudge the paint. (If you let it dry completely, you could end up with freezer paper stuck to the paint.) Set the panel is a safe place, away from curious dog noses and allow paint to dry for 48 hours.
Place fabric right sides together and sew along 3 1/2 edges, leaving a small gap to stuff the pillow with.
Turn the pillow right side out and fill with Polyfil.
Use the hand sewing needle to close the gap.
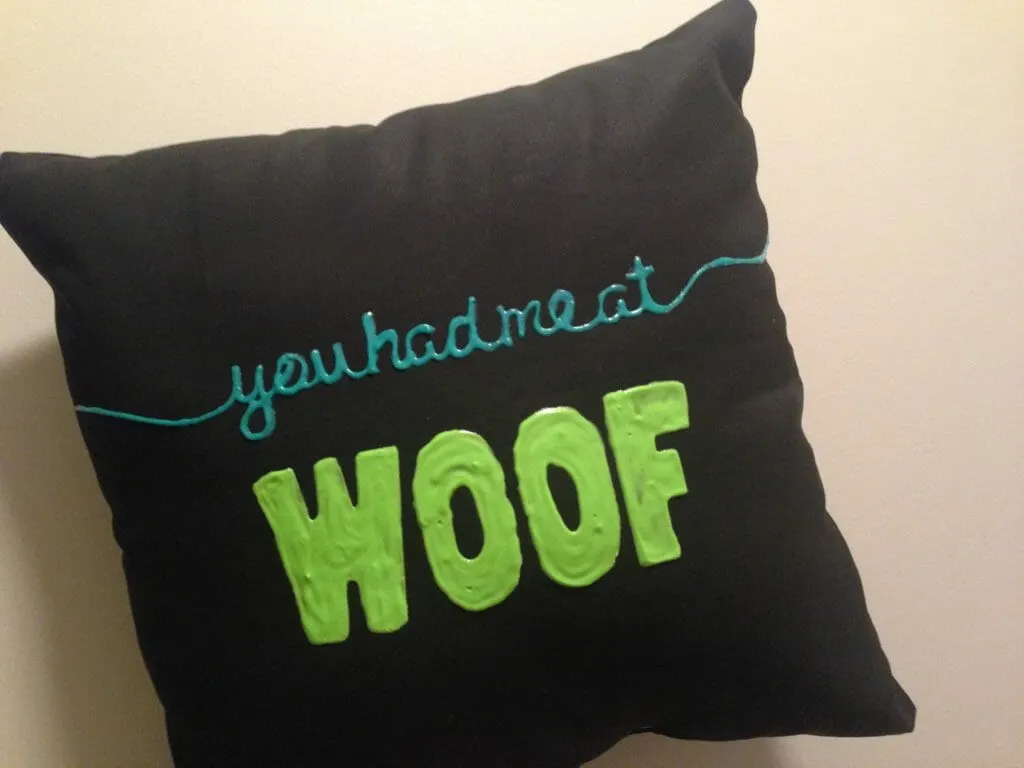
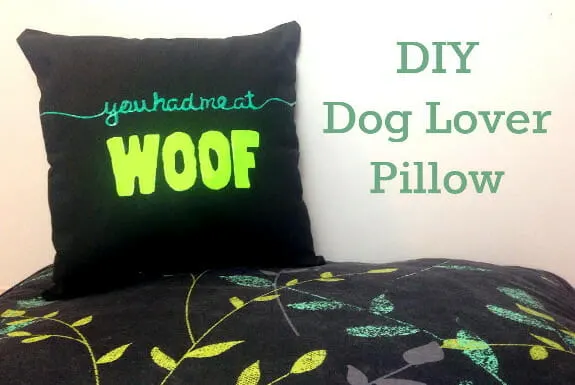
Display on your dog bed, human bed, couch or anywhere that needs a little dog love.

Kama
Monday 20th of April 2015
This is absolutely brilliant! And it's something I can actually do, because my sewing skills are only good enough for pillows (or pillow cases), lol.
It's Dog or Nothing
Monday 20th of April 2015
This is so fantastic. I need to make some of these!
Daisy The French Bulldog
Monday 20th of April 2015
How creative! Super cute - thanks for sharing!
Amanda Yantos
Monday 20th of April 2015
It looks absolutely fabulous! I love DIY projects so much (and Tulip paints!) but I'd be afraid to mess something like this up! You made it look so easy!
Robin
Monday 20th of April 2015
Very cool! This turned out great! I honestly thought it was a store bought pillow when I saw the first photo of it. I might have to try this technique sometime. It looks pretty simple to do.