

As a member of the Etsy affiliate program and an Amazon Associate, I earn from qualifying purchases.

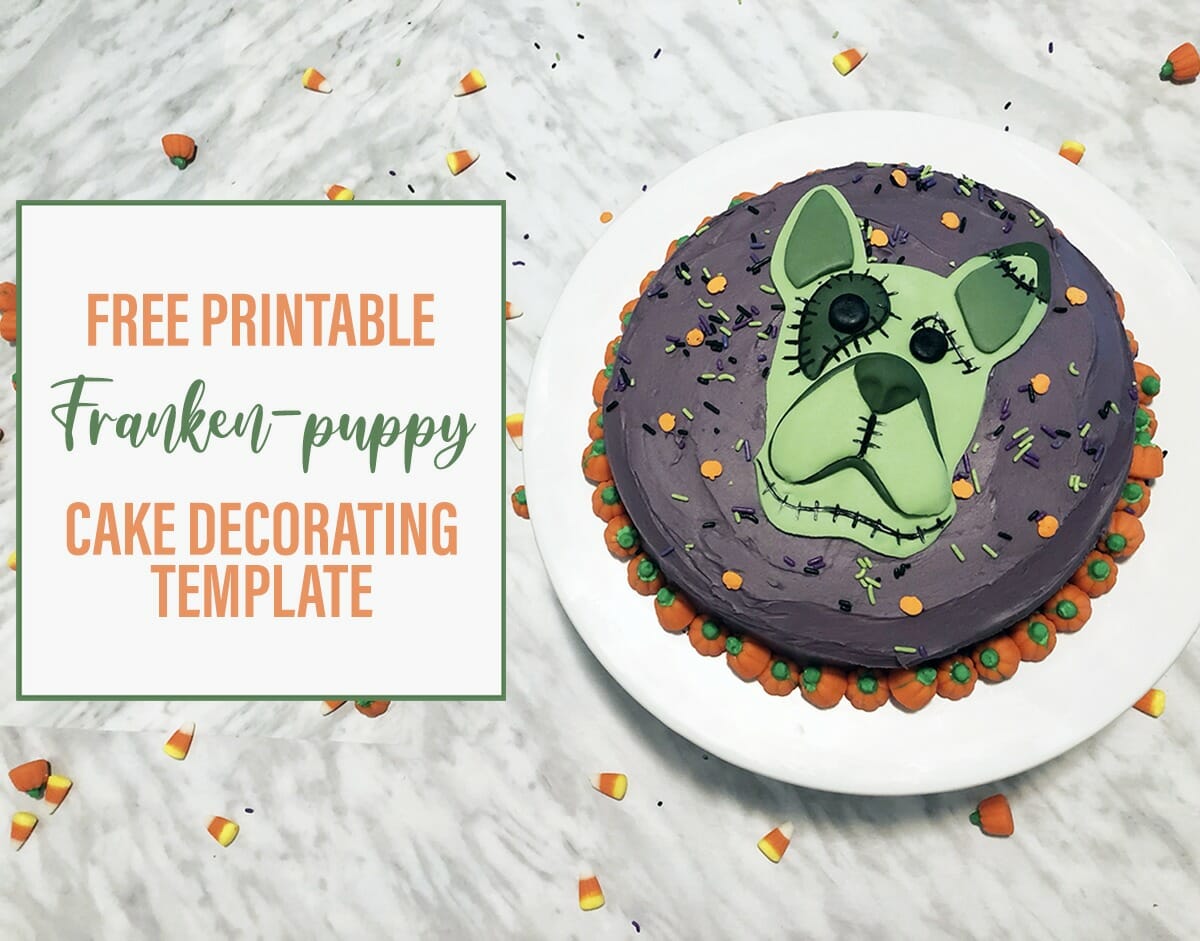
I love making fancy cakes for Halloween.
There’s something so fun and exciting about trying to capture the magic of a special holiday in edible form. And even though I love creating cakes from scratch, I know not everyone feels confident doing that. In the words of Maggie at Oh My Dog Blog “Yeah, I’m not doing that.”
You don’t have to spend dozens of hours in the kitchen to make a fun cake for your family. You can make this cake using a cake mix, canned frosting, and premade fondant.


With our free printable cake decorating templates, if you can trace, you can easily make this cake. I believe in you.
Can you IMAGINE how impressed your family would be if you showed up to family dinner with a cool, spooky Halloween cake that you decorated yourself? It would be a big deal. You would be a big deal.
Here’s what you need:
2 – 8″ round Pumpkin Spice cakes made with cake mix
I used this recipe from Spend with Pennies
- 1 box Betty Crocker Spice Cake mix
- 1 x 15 oz. can of plain pumpkin
- 2 large eggs
1 large can of Betty Crocker Whipped Cream Cheese Frosting
1/4 lb. of white Fondant
Wilton Violet Gel Food Colour
Wilton Moss Green Gel Food Colour
Wilton Black Gel Food Colour
40-50 Mellowcreme Pumpkins (or Halloween candy of your choice)
Black Food Marker
2 – 3 tbsp. powdered sugar for dusting sticky fondant
OPTIONAL: Halloween Sprinkles
Tools:
Parchment paper rounds
2 x 8″ round cake pans
Sharp, non-serrated paring or craft knife
Offset spatula ( or butter knife)
Bowls for mixing cake & frosting
Rolling pin (or empty wine bottle *wink*)
Clean, small paintbrush (that has not been used for paint) or pastry brush
Free printable template found here
OK, let’s do this!
1. In a medium bowl, mix your cake mix, pumpkin and eggs per the recipe directions found here.


2. Line 2 – 8″ round cake pans with parchment paper
3. Pour half the batter into each pan.


4. Bake cakes until a toothpick comes out clean. Since you’ve split the mix into smaller pans, this may take a few minutes less than recommended in the recipe.
5. Allow cakes to cool completely before icing them. Icing will melt and slide off a warm cake.
While the cake bakes, prepare the Frankenpuppy Templates.
6. Download the free printable Frankenpuppy Cake Decorating templates here.
7. Cut out each shape and set aside.


Now the fun part! Decorate your Halloween cake.
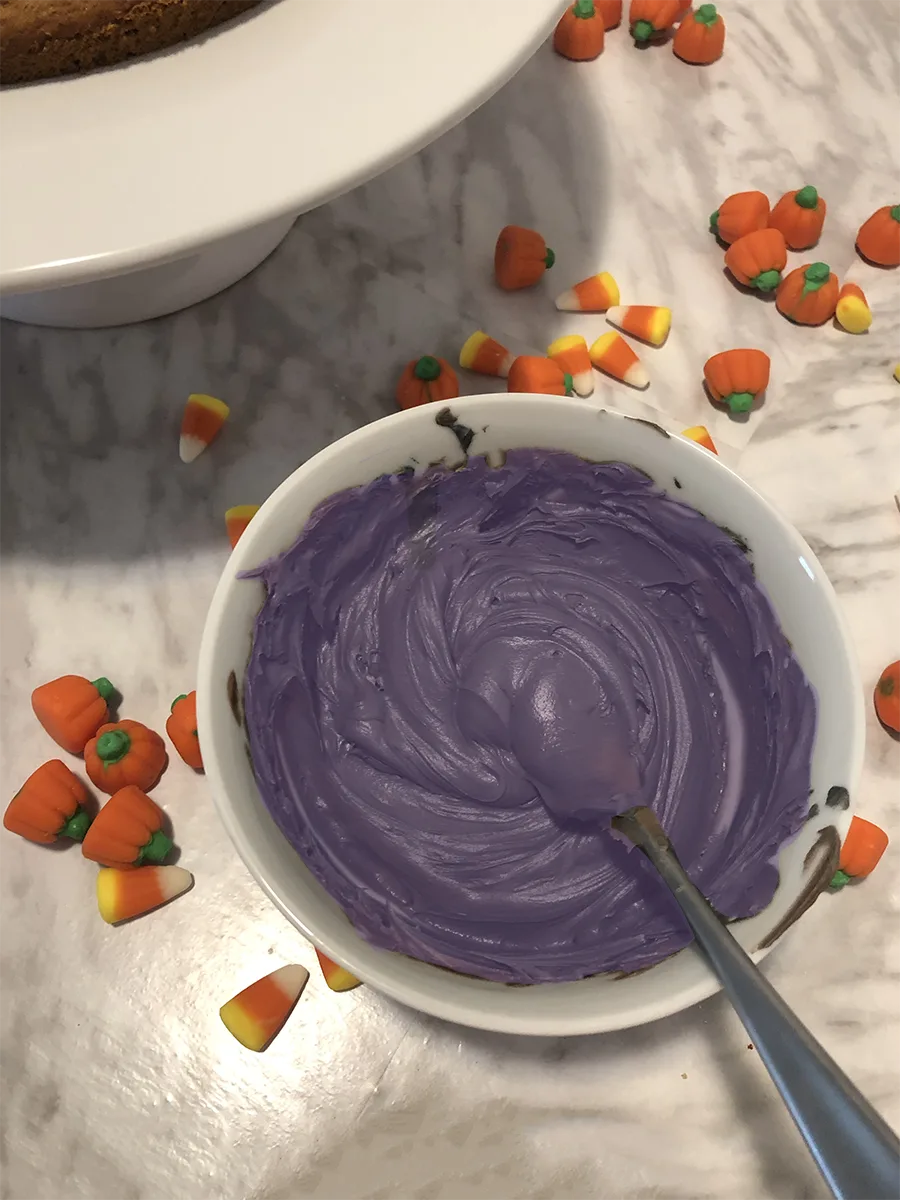
8. Use a toothpick to scoop a generous amount of violet food gel out of the container. Mix it into your cream cheese frosting. Allow the frosting to sit for 5 – 10 minutes. Gel colours, especially dark shades, develop over time so it will get a bit darker the longer you let it sit.
If it’s too light after it sits a few minutes, you can add more colour until you reach your desired shade. I added a teensy, tiny dab of black gel colour to tone down the brightness of the purple and make it look more “moody”.

9. Place a small smear of icing on your cake plate to secure your cake in place It’s a real pain in the butt when you work this hard on a creative masterpiece and it just sliiiiiiiiiides off the plate when you move it.
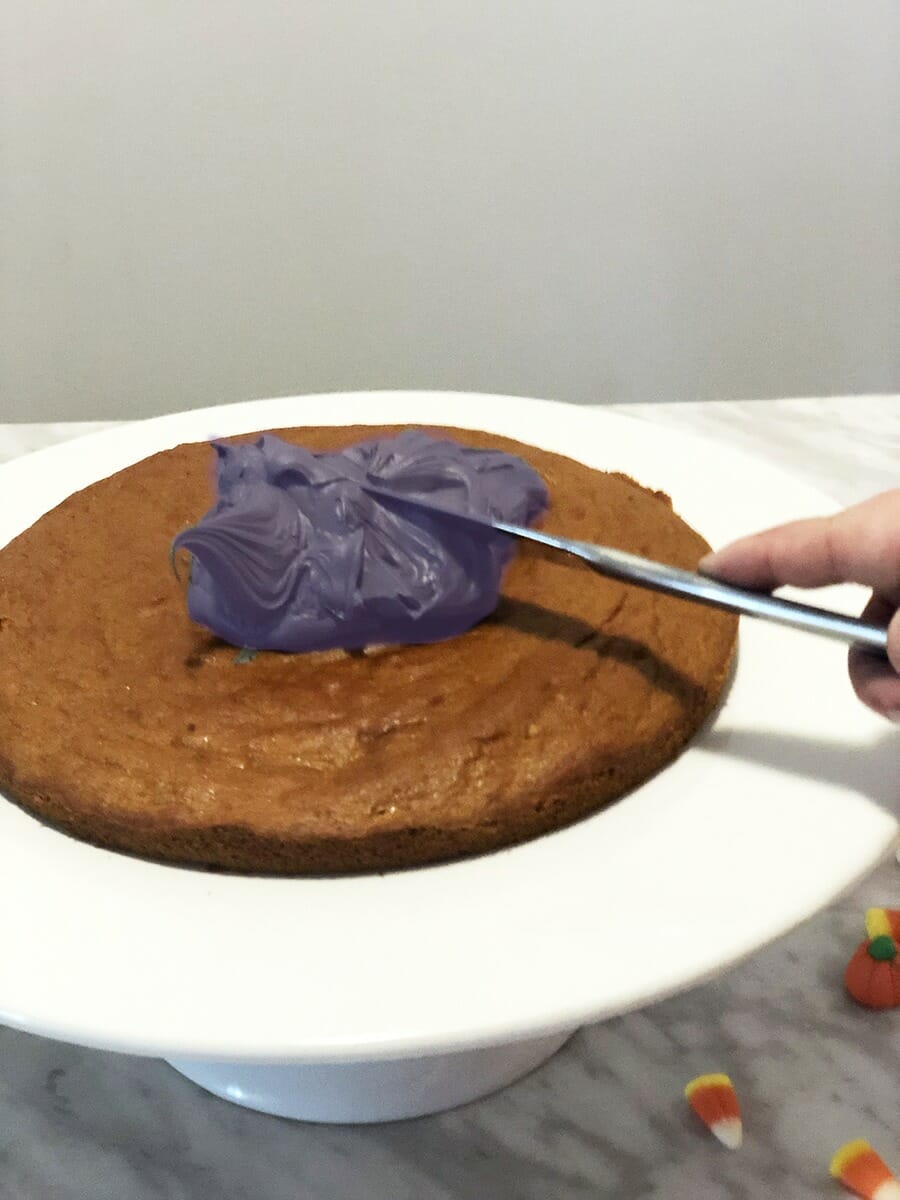
10. Place your first cake in the centre of the cake plate.
11. Place 2 – 3 tbsp. of frosting in the centre of the cake and use your offset spatula or butter knife to spread it evenly to the edges of the cake.

12. Place your second cake on top and cover the top and edges with a generous layer of frosting
13. Place the Mellowcreme pumpkins around the base of the cake. Set the cake aside while you work on the puppy’s franken-face.


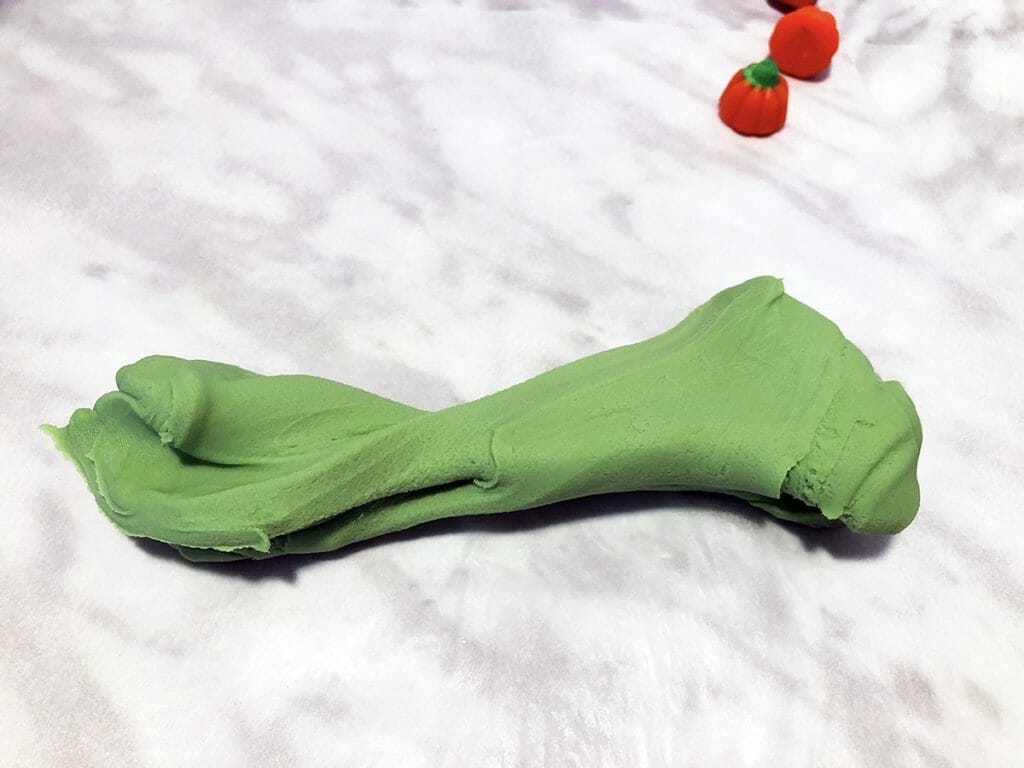
14. Take your 1/4 lb of white fondant and knead it between your hands until it is pliable.
**IMPORTANT** Set aside a piece the size of about 2 grapes.You’ll use these to make the neck bolts later. Wrp this in plastic wrap or toss it in a baggy to keep it from drying out.
15. Use a toothpick to scoop a generous amount of moss green food colour out of the jar and into your fondant. Knead it like until colour is fully combined.
This is a great task to get kiddos to help with since it’s an awful lot like playing with play-doh. That said, food dye will 100% stain hands, so if that’s the kind of thing that bothers you? Wear food-safe latex gloves.

16. Dust your work surface with powdered sugar. Roll out fondant to ~1/8″ thick.
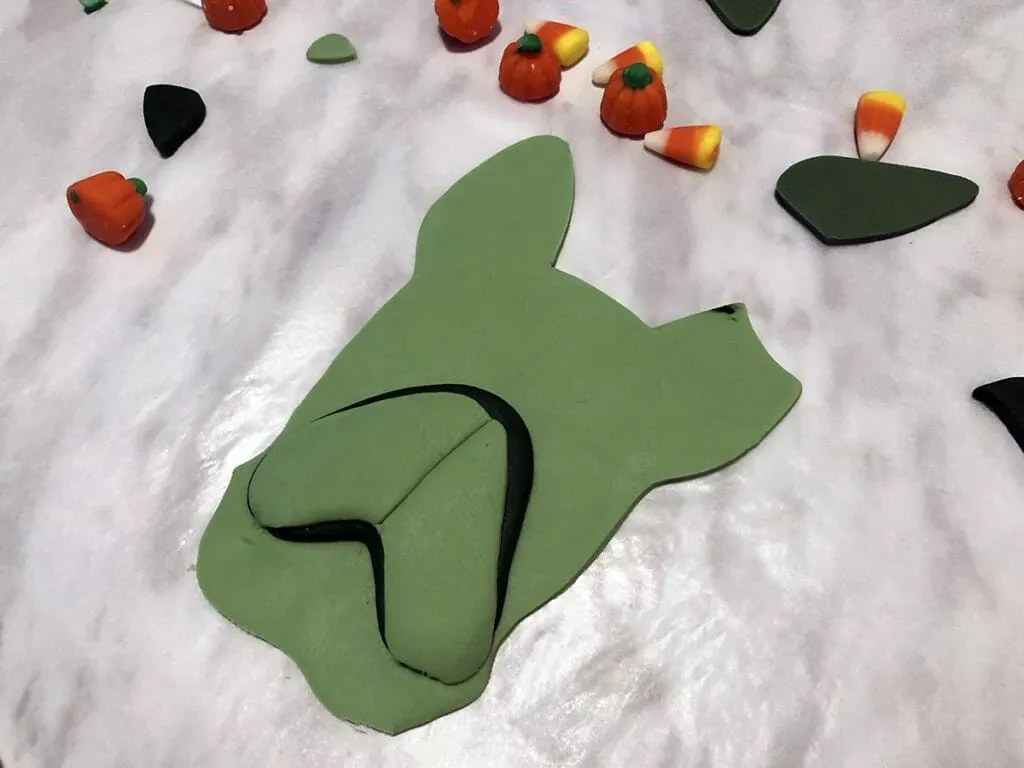
17. Place the all of the template pieces labelled Light Green or LG on the fondant and trace around them with your knife.

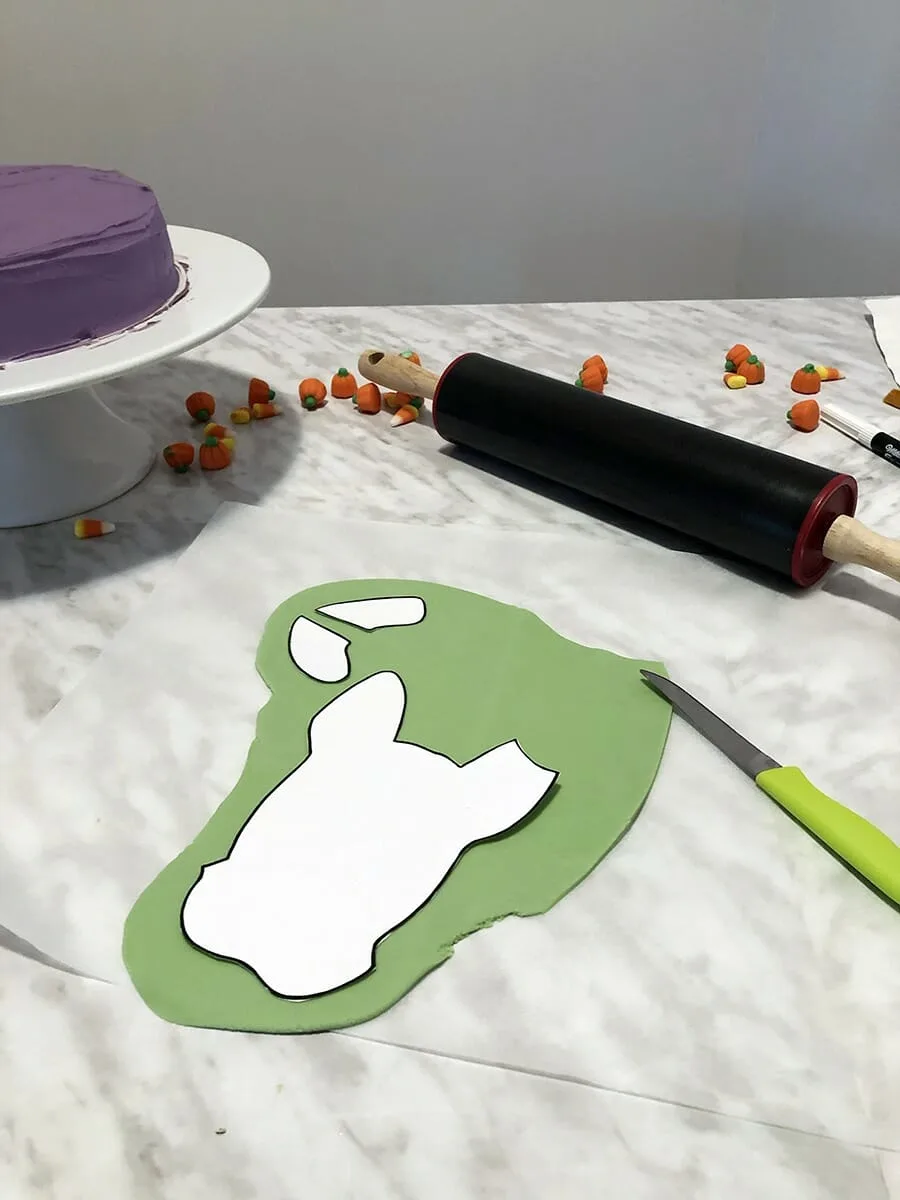
18. Peel away the excess fondant and set it aside. Use your fingertip to smooth out the cut edges of your fondant shapes. Set them aside.
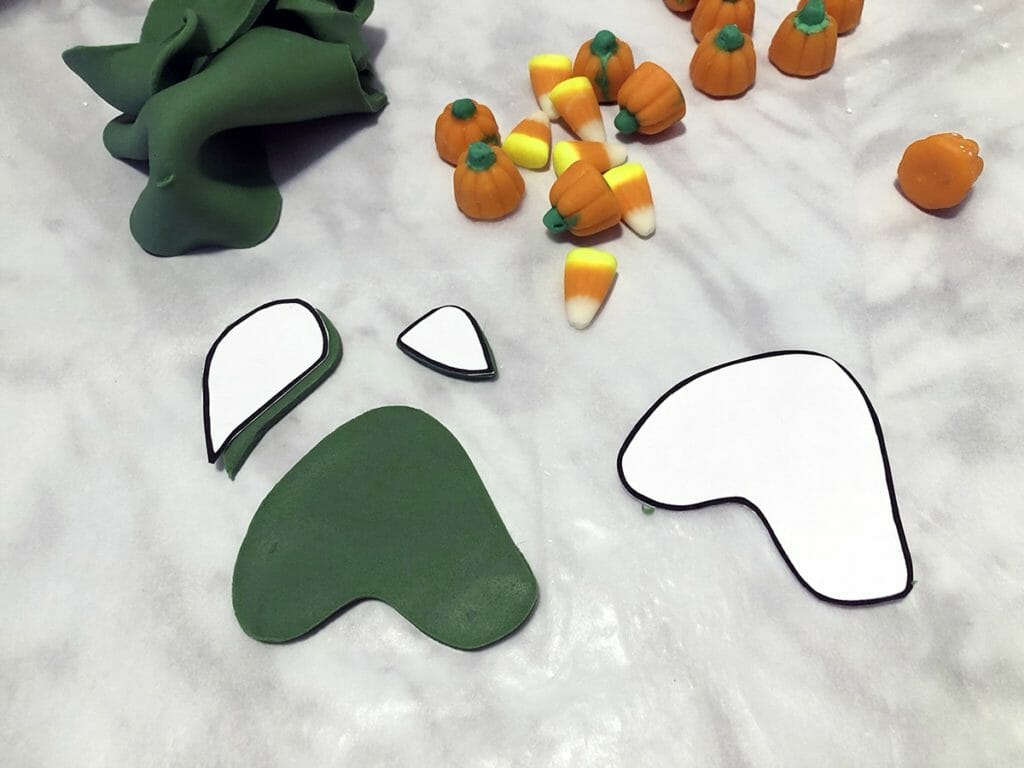
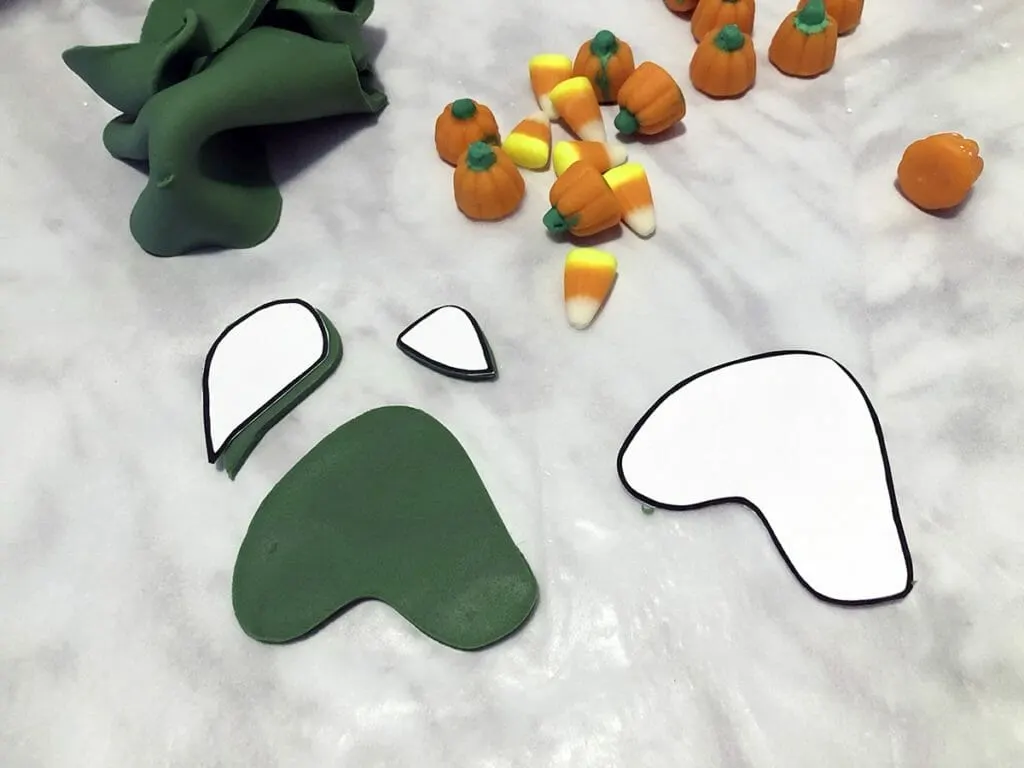
19. Take your excess fondant and use a toothpick to add a small amount of moss green food gel and a small dab of black food gel. Knead the fondant until colour is combined. You’re looking for a medium grey-green colour.
20. Dust your work surface with more powdered sugar and roll out the fondant to ~1/8″.
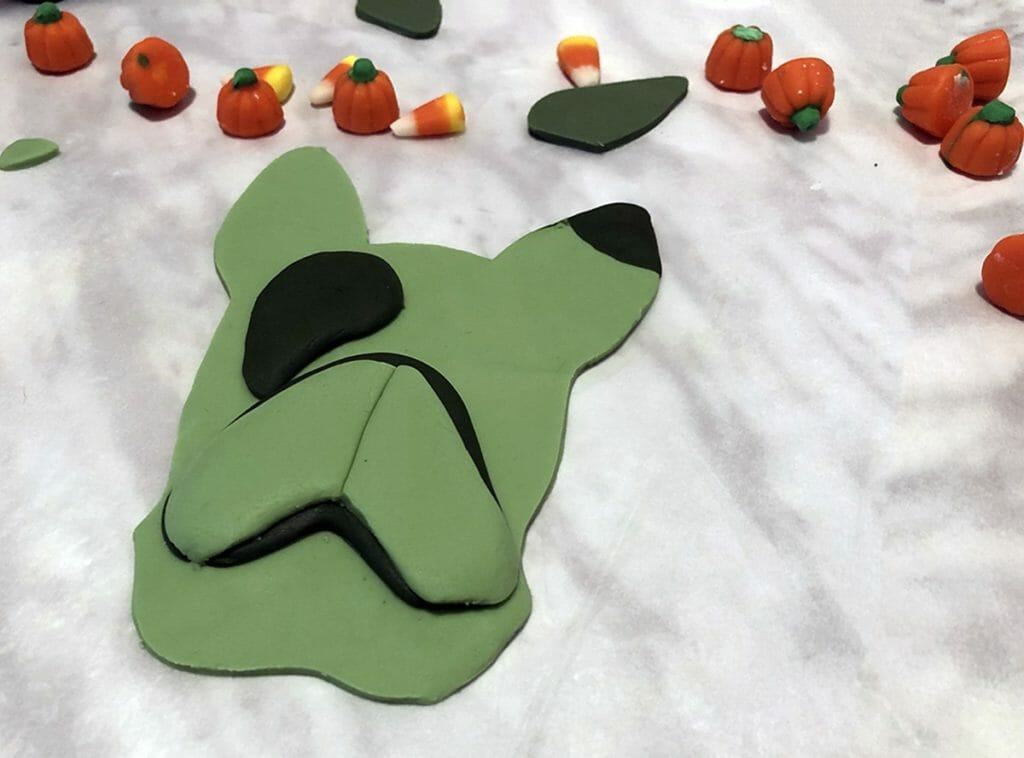
21. Place the template pieces labelled Medium Green or MG on the fondant and cut out using your knife.


22. Peel away the excess fondant and set it to the side.
23. Use your finger to smooth the cut edges of your fondant pieces, then set them aside.
24. Take your excess fondant and use a toothpick to add a small amount of moss green food gel and a small-medium dab of black food gel. Knead the fondant until colour is combined. You’re looking for a dark, murky foresty green colour.
If your fondant is starting to get sticky from handling, add small amounts of powdered sugar to help firm it up.
25. Dust your work surface with more corn starch or powdered sugar and roll out the fondant to ~1/8″.
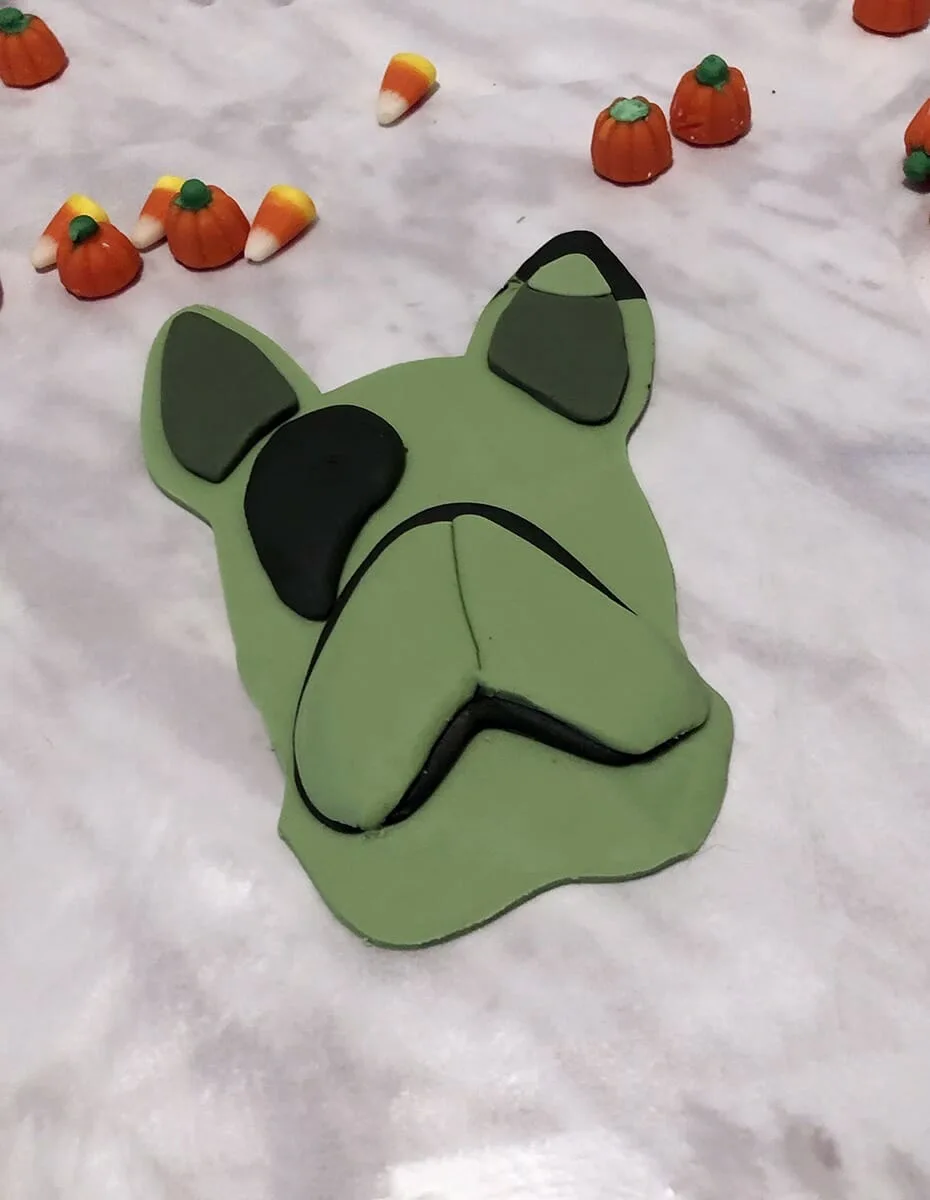
26. Place the template pieces labelled Dark Green or DG on the fondant and cut out using your knife.
27. Take your excess fondant and use a toothpick to add a generous dab of black food gel. Knead the fondant until colour is combined. You’re looking for a dark black or almost black.
If your fondant is starting to get sticky from handling (and it probably is by now, especially after adding the black gel, add small amounts of powdered sugar to help firm it up.
28. Dust your work surface with more corn starch or powdered sugar and roll out the fondant to ~1/4″.
26. Place the template pieces labelled B on the fondant and cut out using your knife.
27. Peel away your excess fondant and set aside.
28. Use your fingers to smooth out the edges of your cut fondant.


29. Use the end of your knife or paint brush to add indents in your puppy nose.
OK, you’re doing so good. Now that all your fondant is cut out, you can start assembling your Frankenface.
30. Brush a small amount of water between each element as you stack them and use your fingers to smooth out the edges and press the fondant together.


*So I forgot to snap a pic of me putting the eyes on, but they go exactly where you expect them to, so I feel you can wing this part.*
31. Transfer the dog face from your work surface onto the centre of the cake.
32. Get out the white fondant you save and combine it with a tiny piece of leftover black fondant. Roll out to 1/4″ thick and cut out the bolt pieces.
33. Discard the excess fondant.
34. Use your finger to smooth out the edges of the bolts and place onto the cake.
35. If desired, sprinkle cake sprinkles over the tops of the cake. Brush off excess with your paintbrush.
36. Use your food marker to add stitching.

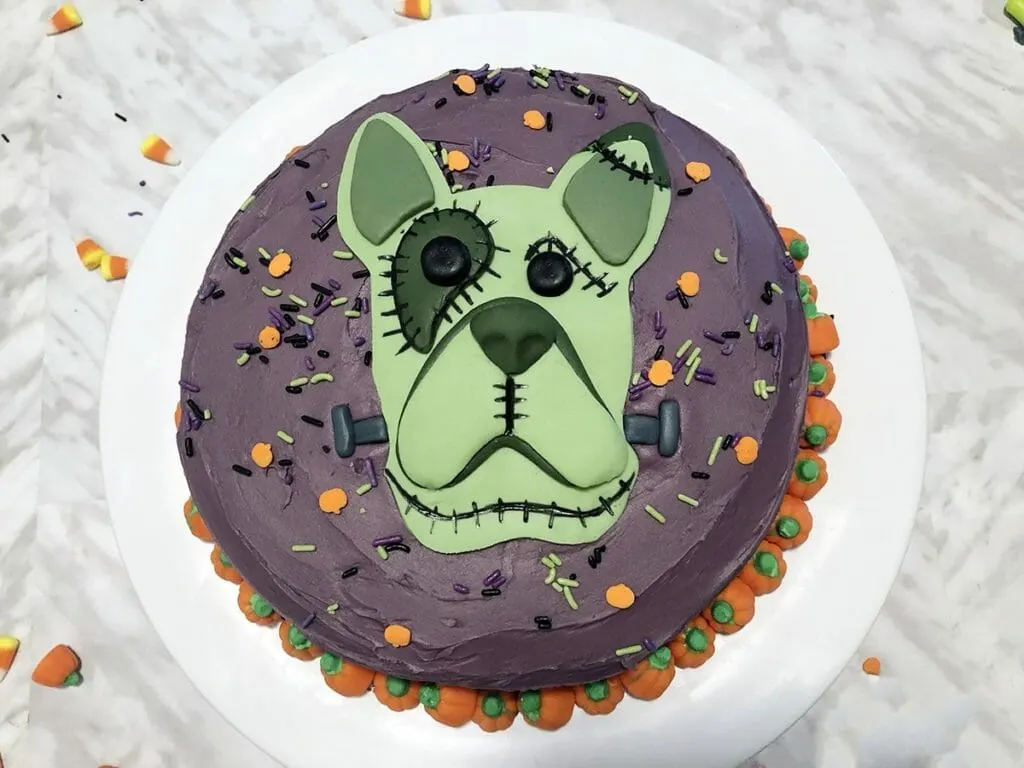
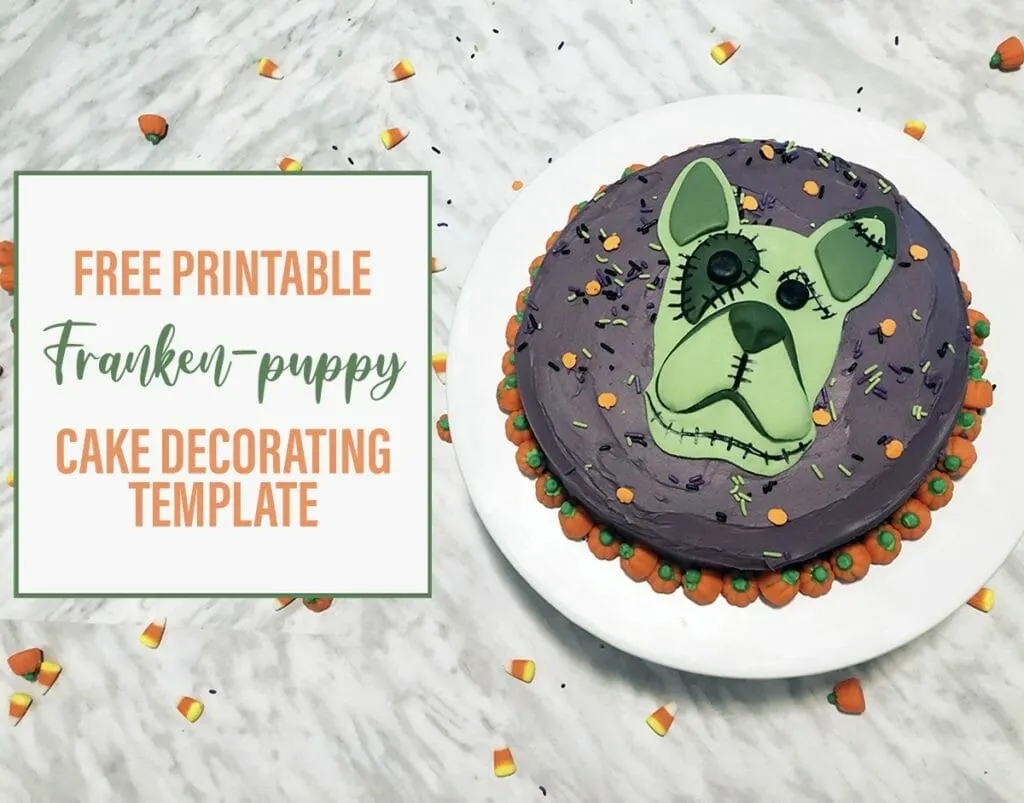
That’s it. You did it. And it looks so darn spooky and cute, amiright?


If you can trace, you can make this cake. It’s like playing with play-doh only MORE DELICIOUS.
Your kiddos will be impressed. Your friends will think you’re super mom and you will know you’re a badass that can do fancy things.