

As a member of the Etsy affiliate program and an Amazon Associate, I earn from qualifying purchases.


We’ve been in our new apartment for a couple months now.
You guys, I was so nervous about moving and sad to leave the old apartment, but MAN! Do I ever love this space? The laminate floors. The bright, fresh paint. THE ABSOLUTELY AMAZING AMOUNT OF NATURAL LIGHT. We haven’t been here long, but it’s definitely become home for
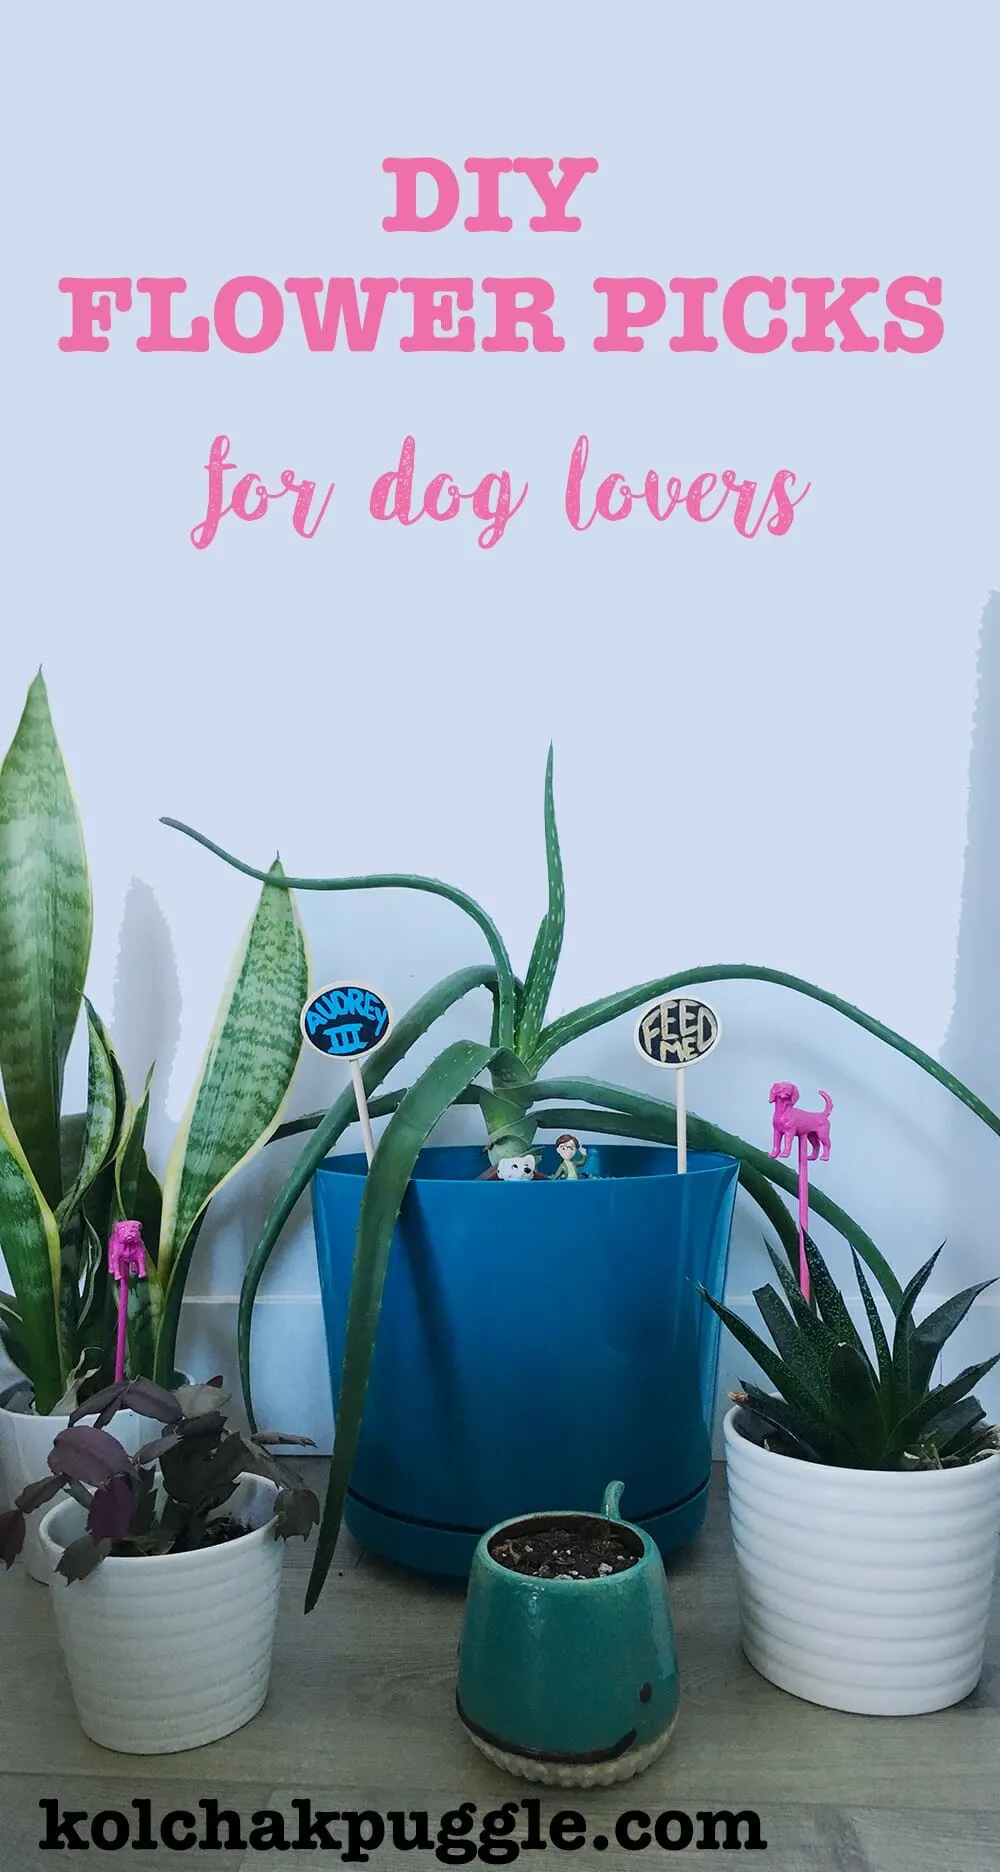
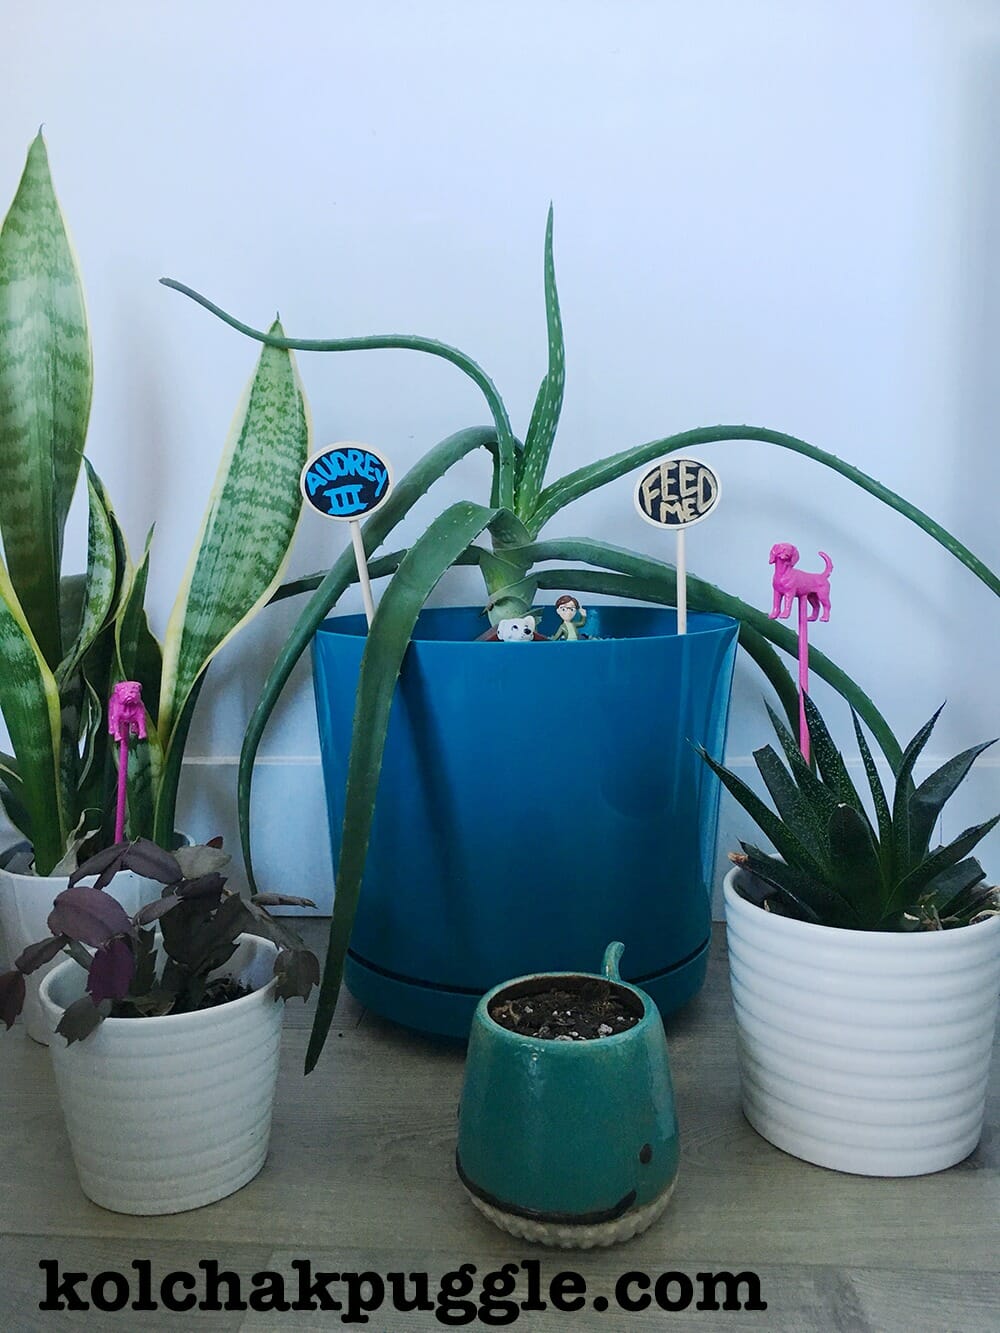
Since we have such a great space for it, we’ve been adding a lot of potted plants to the apartment. I love the life that a ton of greenery adds to our space, but I still felt like it was… missing something.
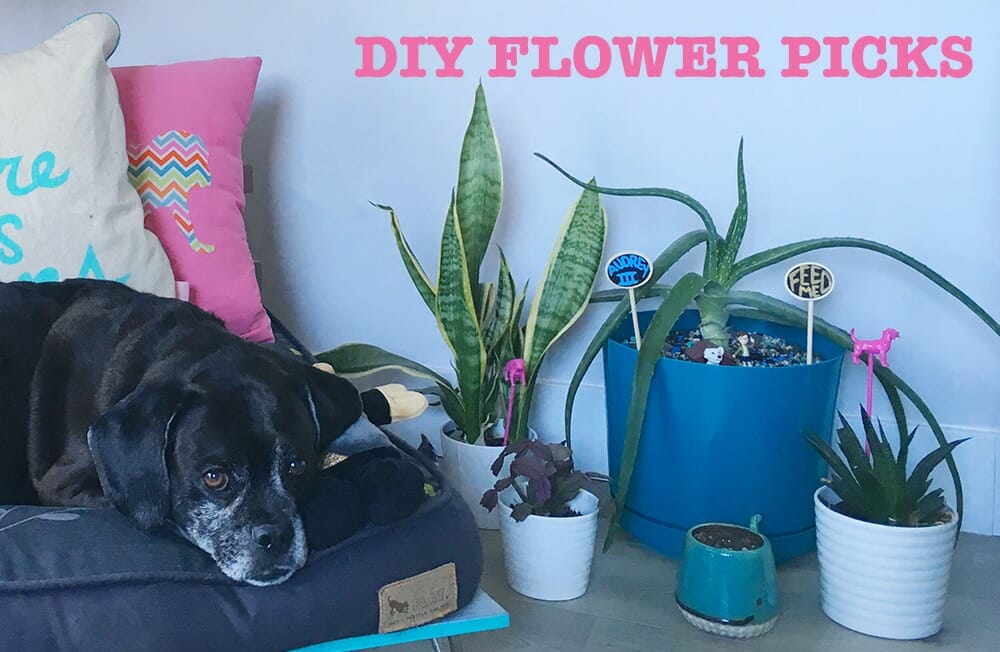
I love adding casual dog lover touches to my home.
I don’t want the place to scream “THIS IS THE DOG HOUSE”, but I do want it to subtlely nod to my crazy dog lady tendencies.

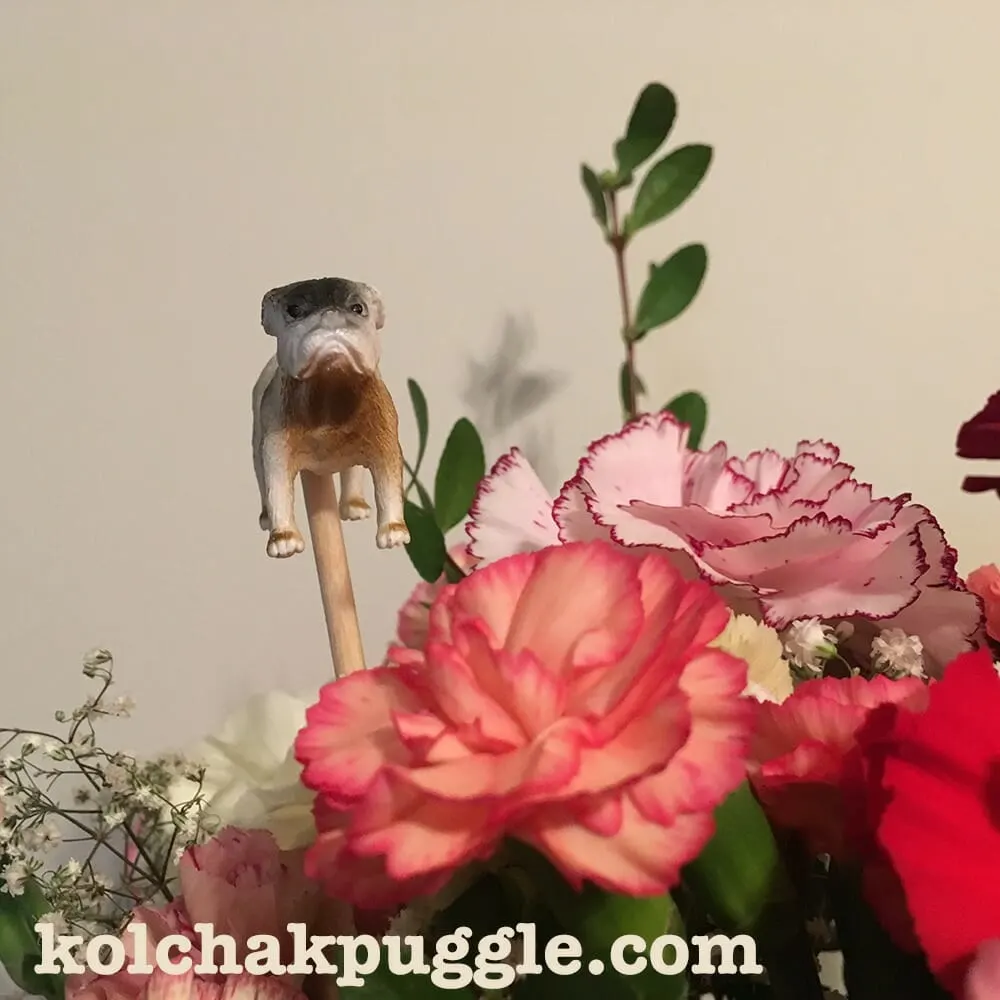
Plus, they aren’t just great for potted plants. Tuck one of these cuties into a bouquet of cut flowers to show your sweetie you care or into your mother’s day gift to show your fav dog mom that you GET THEM.

DIY Dog Flower Picks


Brighten up your plants and flower bouquets with easy, DIY Dog Flower Picks
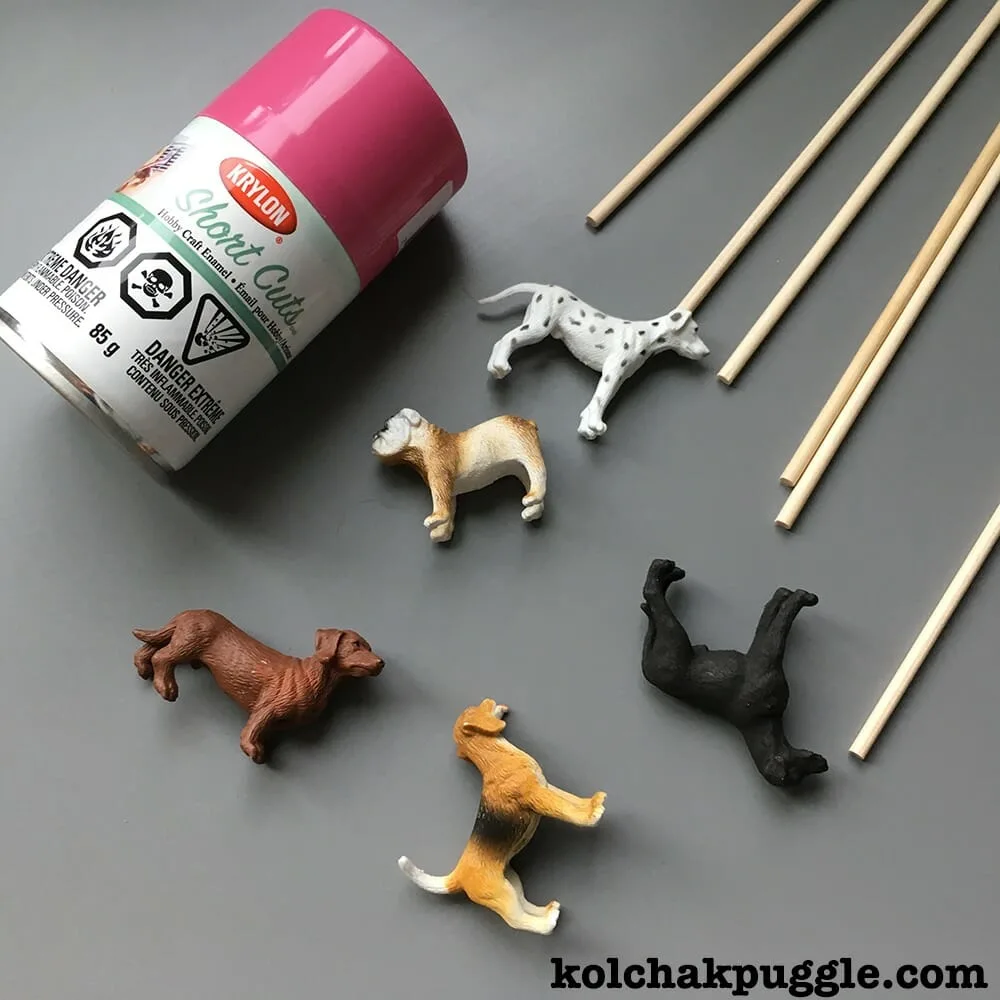
Materials
- Bamboo Skewers
- Plastic Toy Dogs
- Krylon Short Cuts Spray Paint
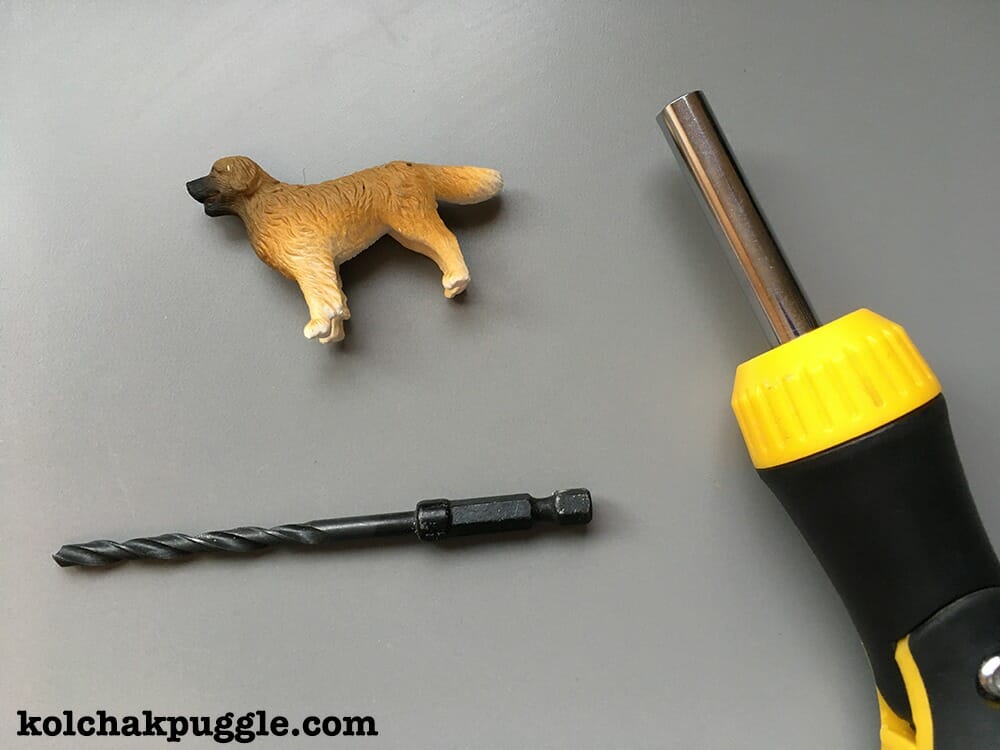
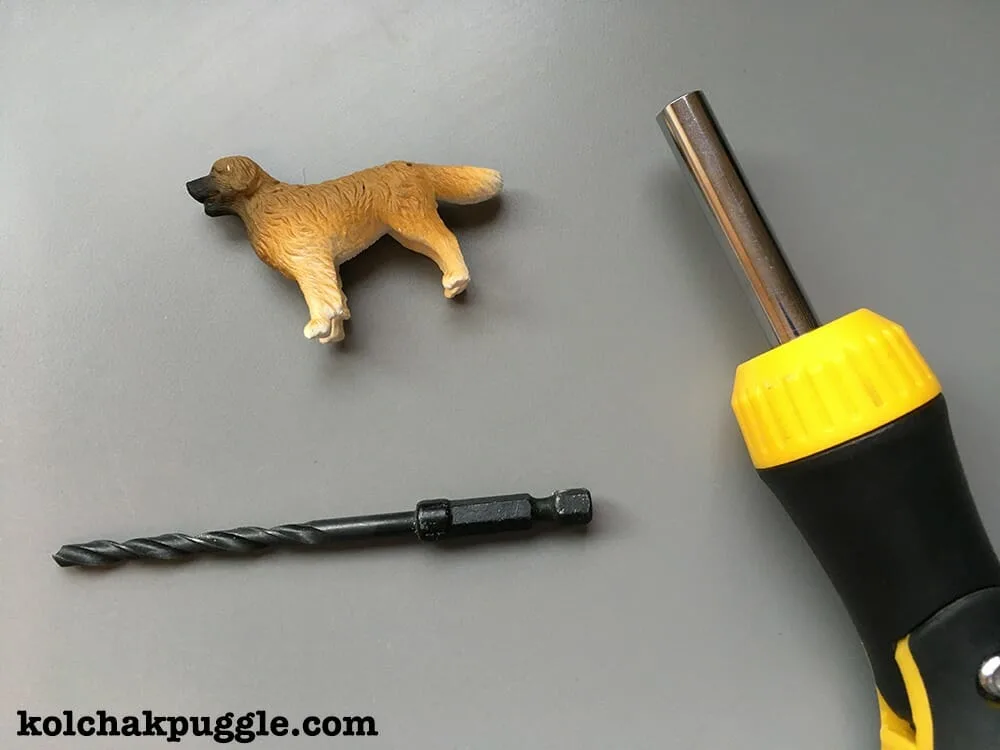
Tools
- Screwdriver
- 1/8" Drill Bit
- Painters Drop Cloth or large cardboard box
- Styrofoam block (I grabbed mine out of the recycling)
- Optional: hot glue gun
Instructions
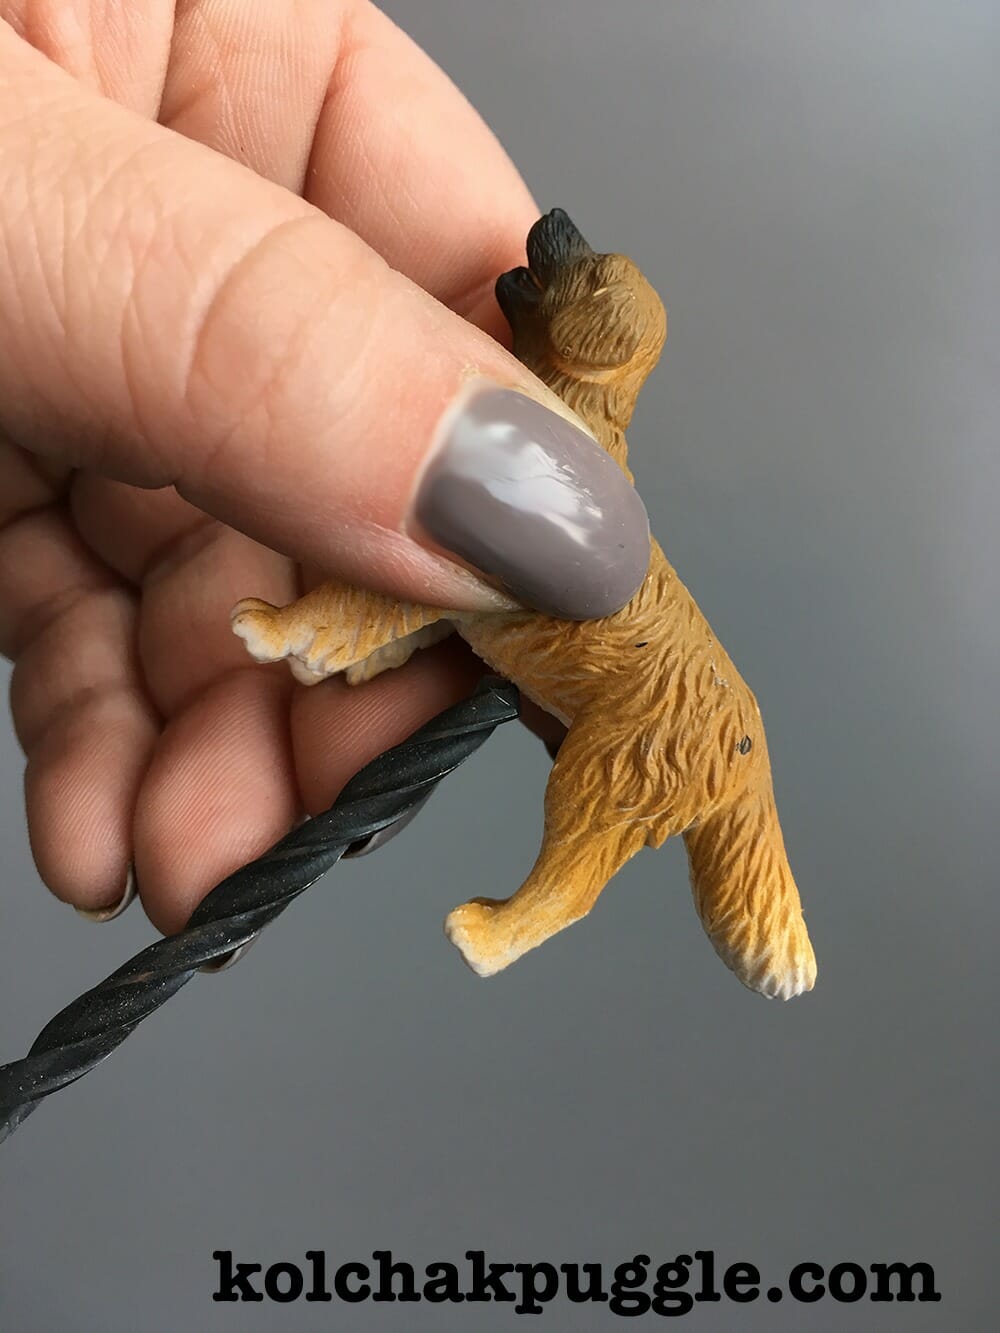
Use your screwdriver & drill bit to carve a hole out of the centre of the toy dog's belly. (You guys, it hurt me to type that. Never drill into a real dog's belly. Obvs.) I aimed to go about two-thirds of the way through the depth of the toy dog, so there is more than enough grab on the skewer, but you don't go all the way through the toy.

Fit the end of your skewer into the hole on the dog's belly. If the fit is too tight, you can put the dril bit back in the hole and gently wiggle it in circles to widen the hole.

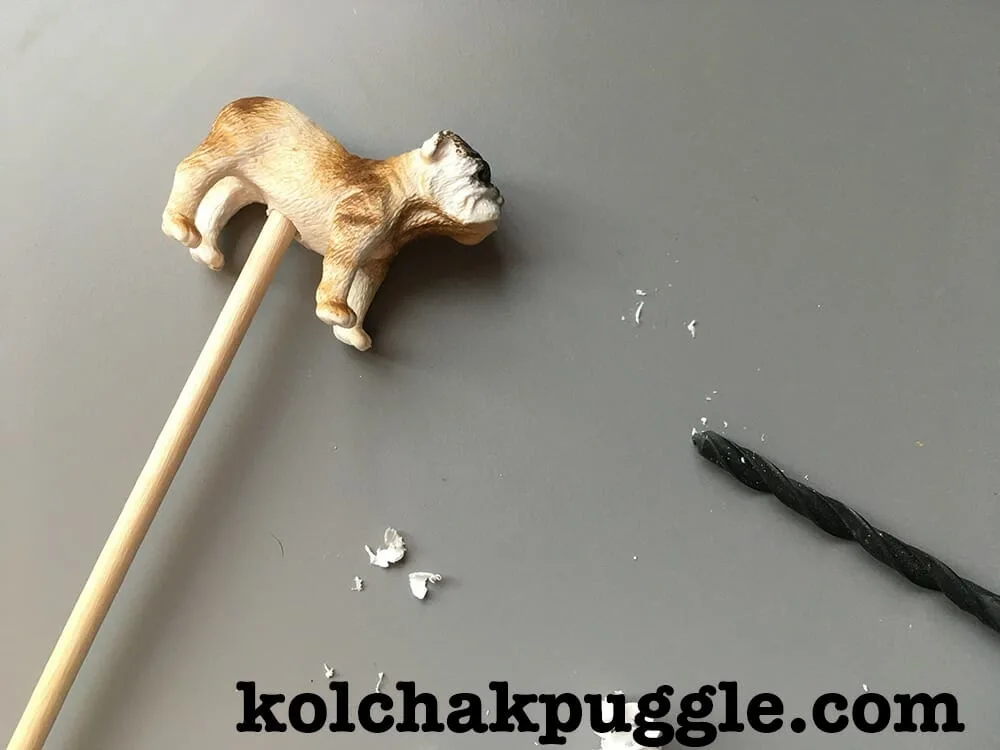
Repeat until all the dogs are on skewers. If the skewers feel a little loose or wobbly, remove the skewers and add a little hot glue.
Kol's Note: Feeling a tad lazy? Not into the hassle of PAINT and CLEAN UP and UGH? Dude, I feel you and guess what? You're done. Look at how cute these are if you don't do a single step more!

That said, if you're a little bougie and you want to be fancy AF or if you're like me and you just CRAVE that pop of bright colour, painting these is a breeze.
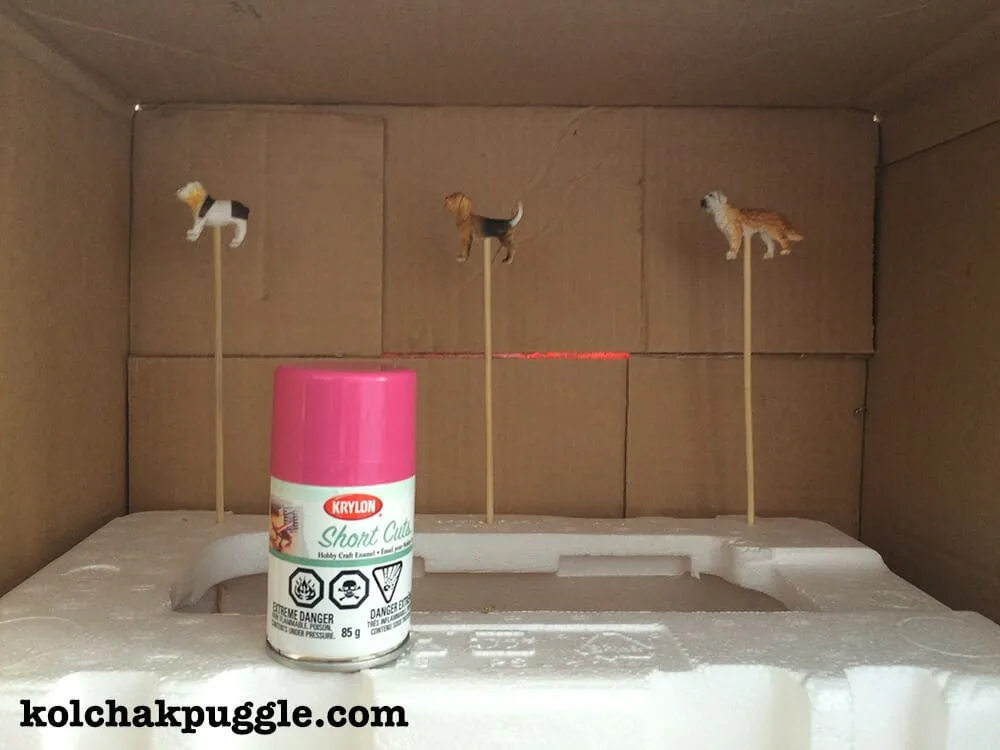
Place the skewers into your styrofoam piece on the painters drop cloth. I chose this bright, poppy bubblegum pink because it's SO FRESH and it's a good contrast to all the greys and teals in my house.

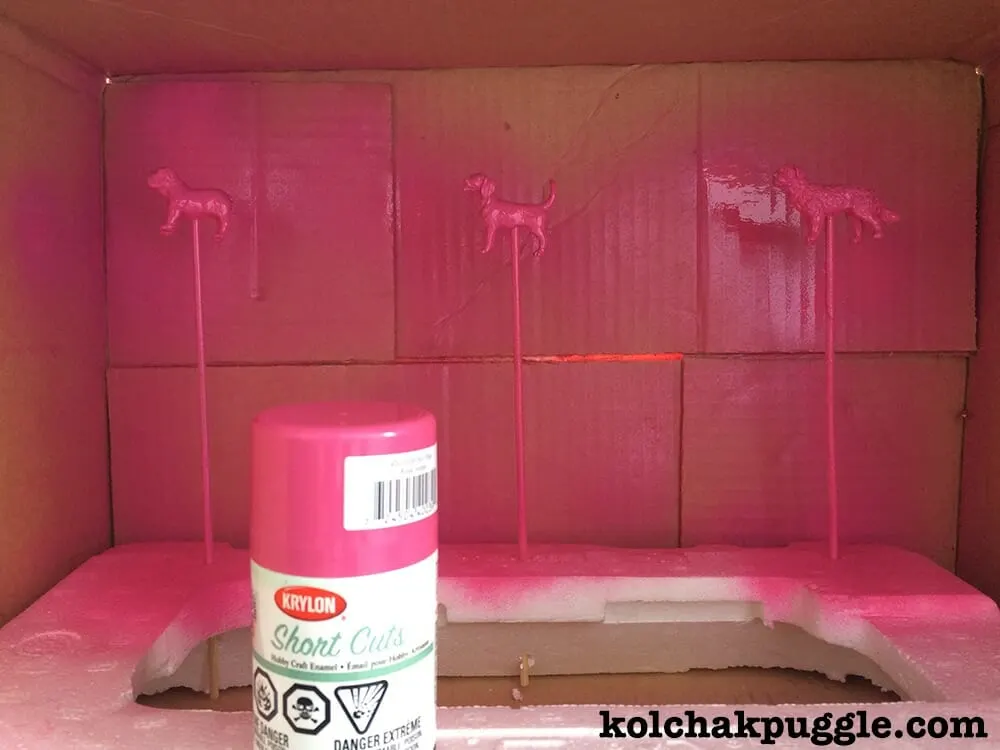
Holding the can ~12" away from the toy dogs, spray the toy and the skewers. You want to coat the toy without making it drippy, so resist the urge to spray too much. You're going to need a second coat no matter what!
Rotate the styrofoam 90 degrees and spray the next side. Repeat until all four sides of your toy dogs and skewers are evenly coated.

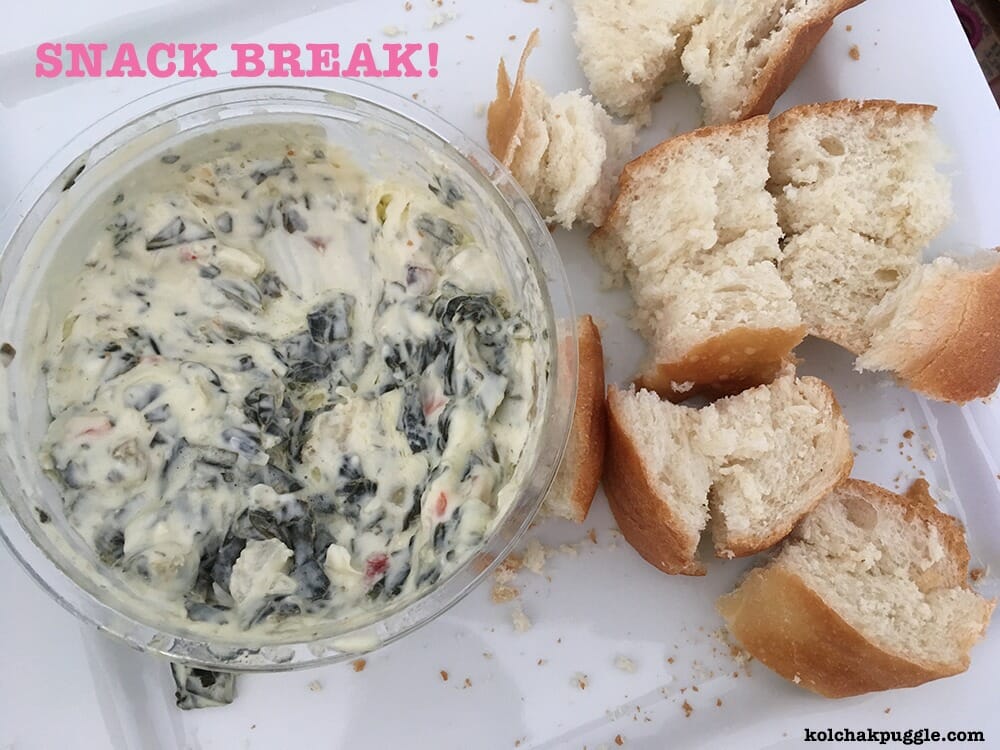
Allow the paint to dry for an hour. Wander off. Get yourself a drink and a snack. Take the dog for a walk. Do something, so you aren't tempted to add the second coat before the first one is dry 'cause if you do that, the paint will chip off later and you will have ALL THE RAGRETS.
Add a second coat. Rotating as spraying just like the first time. Allow the paint to dry completely.
That's it boo! You're done!


Notes
The first time I tried making these flower picks, I tried to cheap out and make them with store brand plastic spray paint. It was a HARD FAIL after about 5 coats, I could still see the original markings from the toy dog showing through (especially on the dalmatian.) The Krylon Short Cuts covered completely in two coats. I'm a convert and this will be my go to spray paint for all future dog crafts.
Recommended Products
As an Amazon Associate and member of other affiliate programs, I earn from qualifying purchases.


Alison
Sunday 31st of March 2019
I love these! As my green thumb is apparently only functional with outdoor plants, can these be used in an outdoor garden?
Felix
Sunday 31st of March 2019
Ha ha ha I have the opposite probleem. My outdoor plants get forgotten and my indoors thrive.
You totally can, BUT I'd take the time to spray paint the entire length of the stick before you paint the dogs. The extra coating of enamel will protect the wood stick from rotting in the wetter outdoor environment!