As a member of the Etsy affiliate program and an Amazon Associate, I earn from qualifying purchases.
It’s not secret that baking for dogs is one of my favourite things in the world, but every now and again, I can’t resist baking for Humans.
Yeah, you heard me. Today’s post is 110% about treats for dog-loving humans and not even a little for their
Last week, I had an incredible cake craving. It
You guys, sometimes I forget how delicious a cake mix cake can be.
They’re light and fluffy and that texture just melts in your mouth. I find canned cake icing to be a little bit too sweet for my taste, but I stirred in just a little cream cheese with a squeeze of lemon to cut the sweetness and it was perfect. And the best part?
The whole cake was
I got to thinking, what if you could take a super simple cake mix cake and turn it into a beautiful showpiece that looks like it came from a fancy bakery?
I make a lot of special occasion cakes for friends and family. The one thing I hear over and over is that people love them, but they don’t have
Imagine how excited and impressed your friends, family and kids would be if you offered them dessert and you present THIS CAKE.
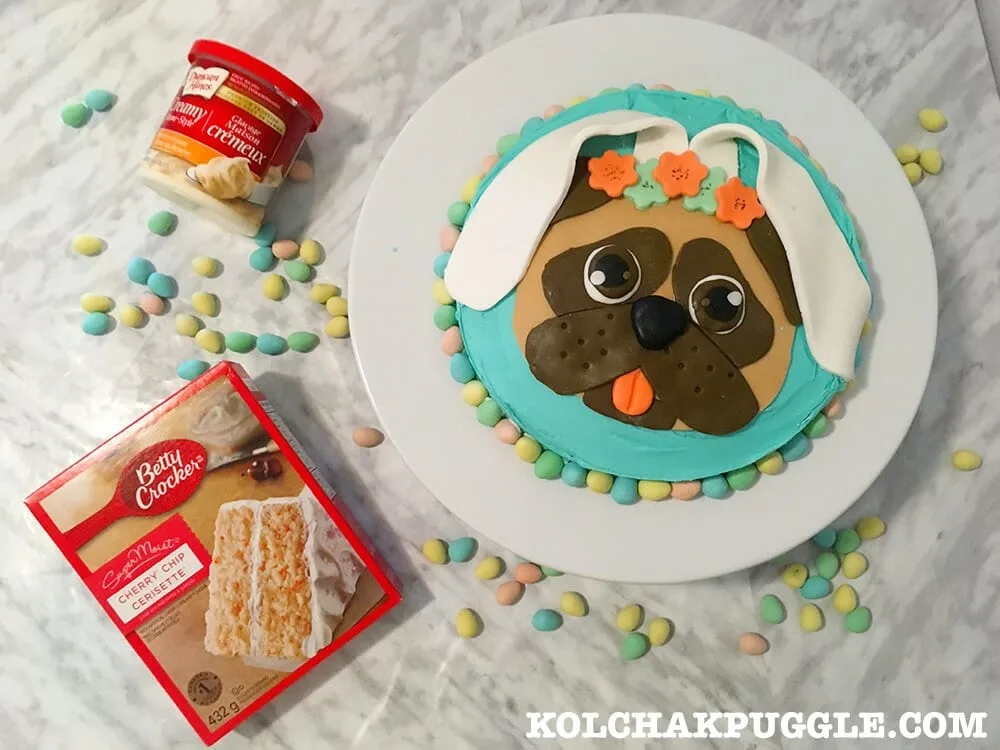
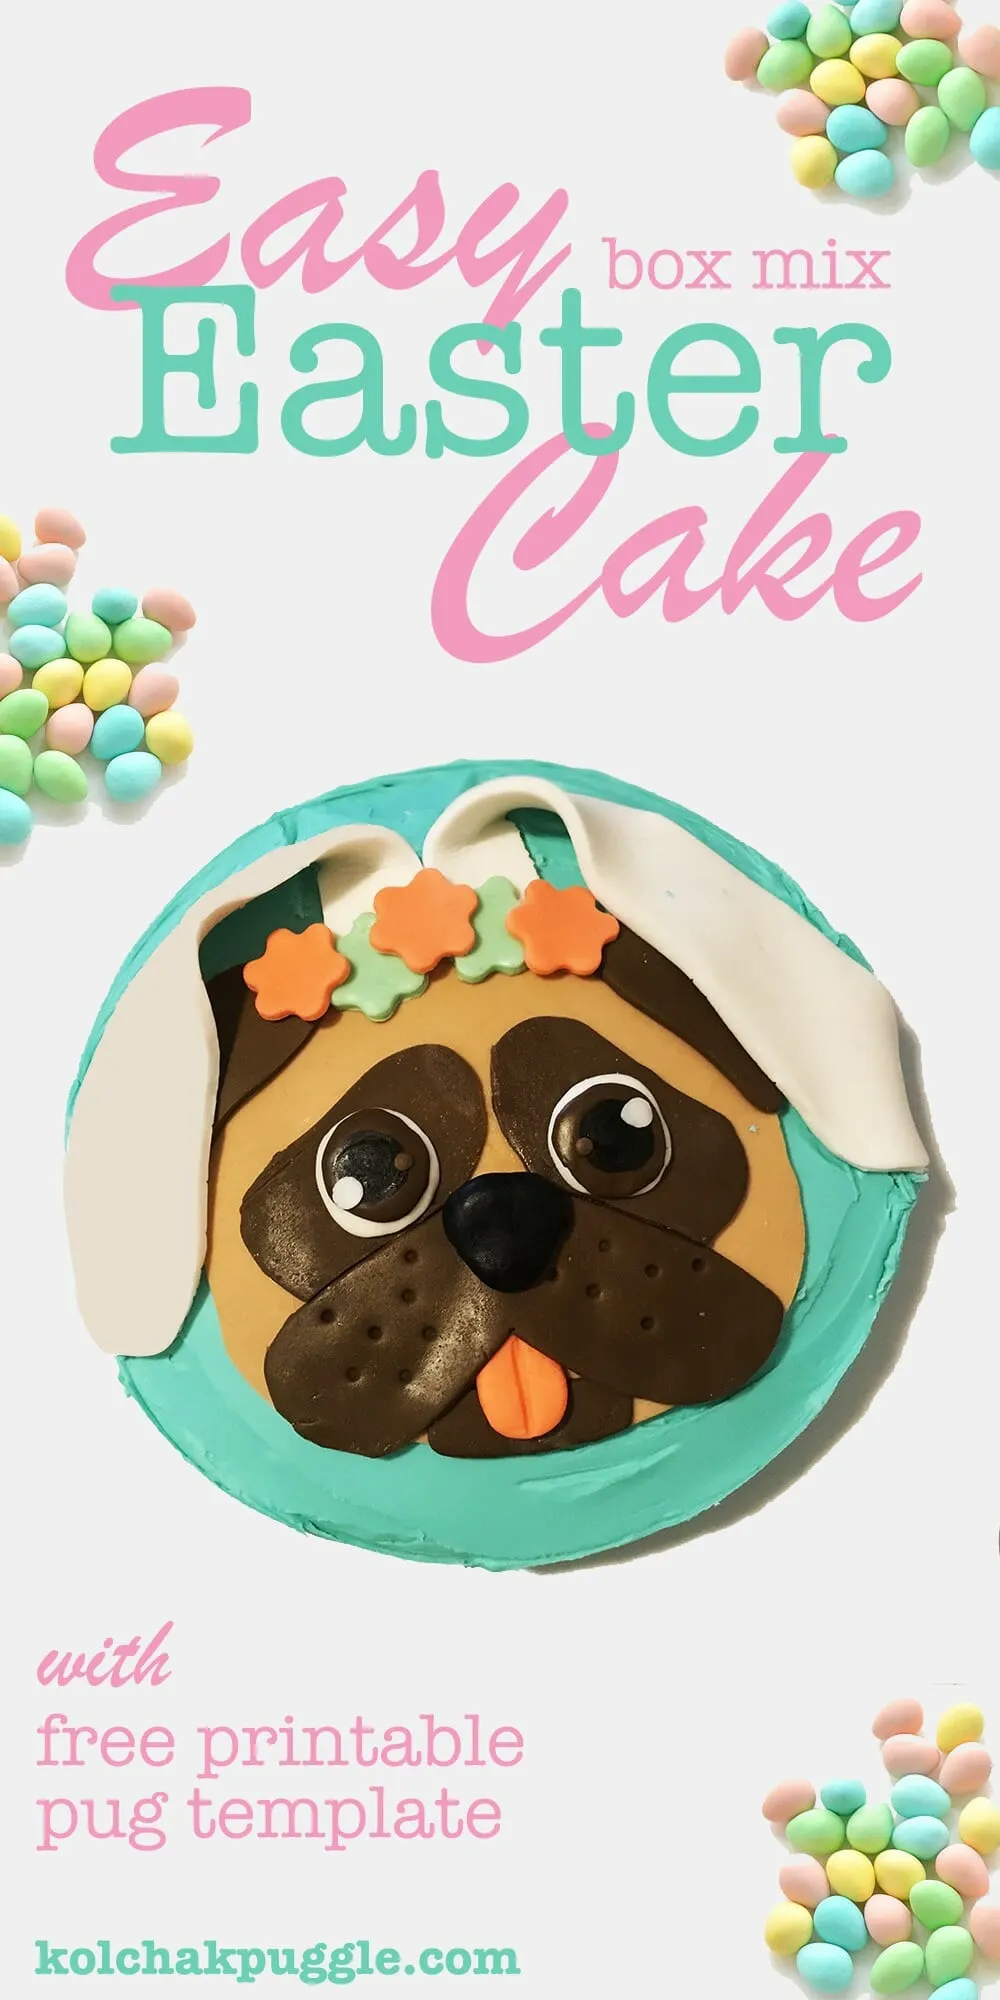
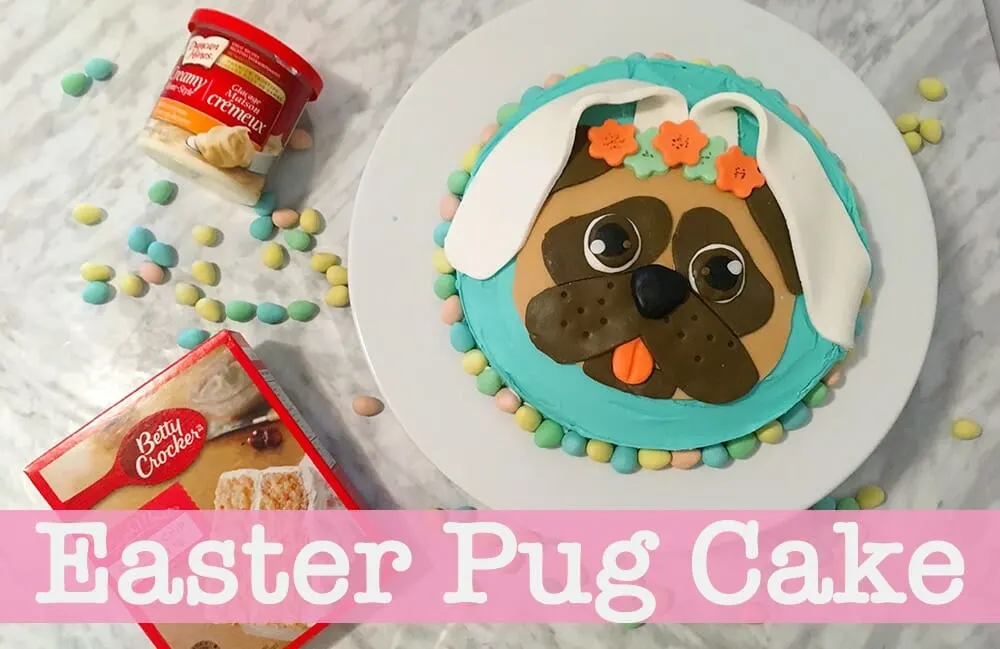
IT’S AN EASTER BUNNY PUG CAKE!
You
How to Make an Easy and Adorable Easter Pug Cake Your Kids Will Love
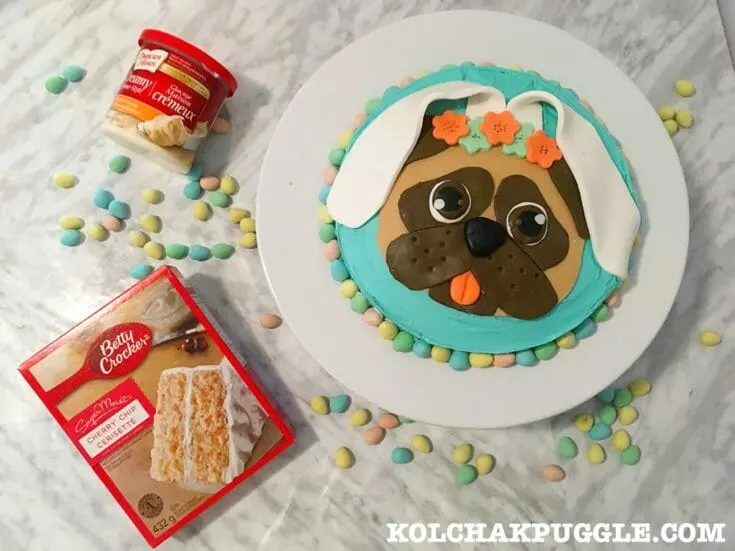
Making a fancy special occasion cake doesn't have to be difficult!
Materials
Cake
- 1 box cake mix - any flavour (I'm partial to cherry chip)
- Oil, Egg and Milk or Water - to the cake mix box directions
Decorations
- 1 can cake frosting
- Gel Food Colouring in Brown, Blue,Pink and Green *see notes
- Cadbury Mini Eggs (you only need like 2 of the small bags they sell in the single serve candy aisle, but I bought the 10 oz bag....for reasons.)
- White Fondant
- Black food marker
- 1 tsp. coconut, vegetable oil or butter
- A few tbsps. of powdered sugar
Tools
- 2 - 8" round cake pans
- 8" parchment circles
- Offset Spatula, if you have one or a butter knife
- Paring knife or Butter knife
- Hand towel or Paper towel
- rolling pin (or flat sided wine bottle)
- toothpicks
- Printer
- Scissors
Instructions
Bake your cake.
- Preheat the oven, per your cake mix box instructions. (I bet it's 350F though. It's almost always 350F.)
- Line your cake pans with parchment circles. I love these handy little pan inserts because your cake always slides out clean and you can just toss them after because #LAZY, but you could also grease the pan and dust it with flour, if you don't have parchment circles.
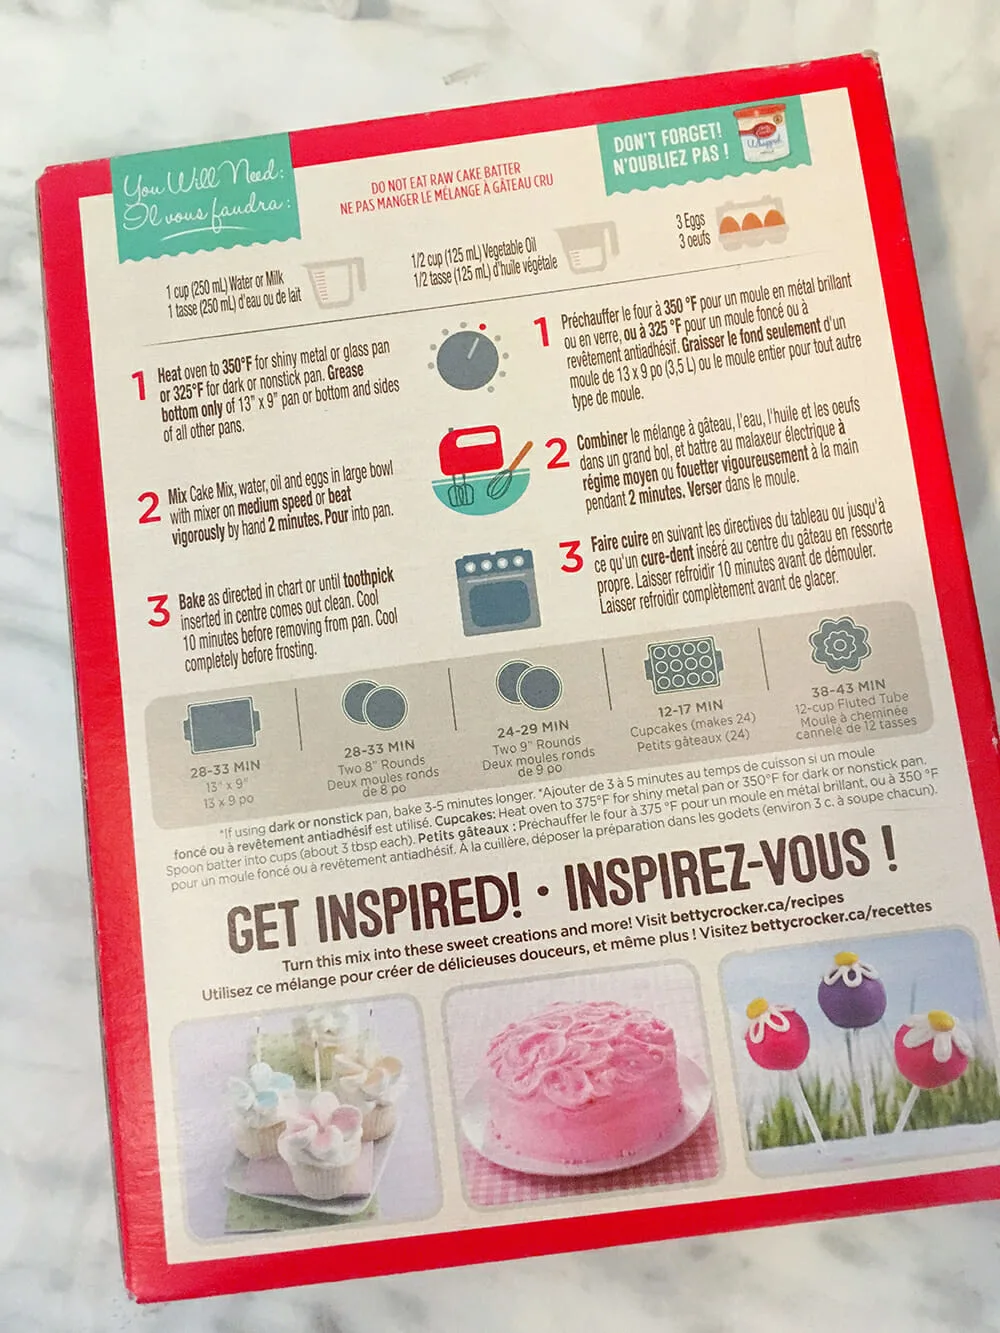
- Mix your cake mix, egg, oil and water or milk together per the box and pour into your pans.
- Bake for 28 - 33 minutes until the top is golden brown and a toothpick comes out clean when inserted in the centre.
- Remove from oven and allow to sit for 10 minutes. Remove from pan by carefully flipping the cake pan over and then lifting the pan off. Discard parchment.
- Allow the cake to cool completely (about an hour.)
While the cake cools, print out the free printable templates for your fondant work.
- Download the free printable pug face templates here.
- I printed them on card stock because I'm a bit of a bull in a china shop and I wanted them to stand up to my manhandling, but use what you've got. Regular printer paper is fine.
- Cut out each piece of the template. They've been labelled with what colour fondant you will cut them from.
Decorate your cake:
- Open the canned frosting.
- Stick a clean toothpick into the blue food gel and scoop out a small amount of food gel (less than a pea). Scrape into the icing.
- Stick a clean toothpick into the green food gel and pull it back out. Whatever stick to the toothpick is all you need! Scrape that into the icing.
- Use your offset spatula or butter knife to thoroughly mix in the colours. (If you're the kind of person who likes to wash dishes, you can go ahead and use a spoon, but seriously, who wants that?!). You can adjust the colour to your preference. Keep in mind that with food gel, the colour will deepen if you let it sit 5 - 10 minutes. ((If you want to make a different colour, you can check out the wilton colour mixing chart.)
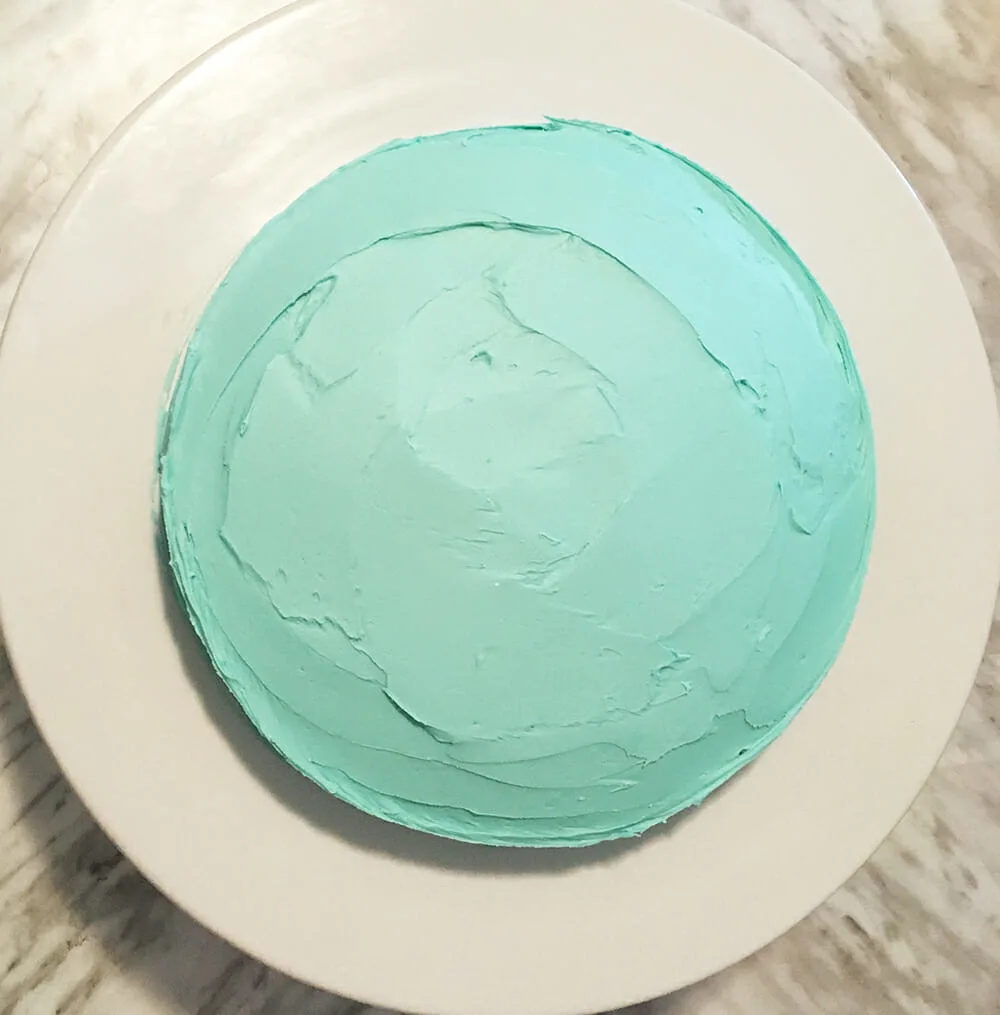
- Spread the icing onto your cake. The pug face if going to cover most of the top and the spreading lines will make it look textured and rustic, so I wouldn't worry about getting it perfect or smooth. That said, if that's your deal and you really want to attempt a buttercream cake with a super clean finish, you do you! Cake Central has a great tutorial on using the paper towel method.
For me though? I got to this stage and I was like "WELP THAT'S PROBABLY GOOD ENOUGH." (Also, notice the big colour difference! This photo was taken right when the frosting colour was freshly mixed. The first photo in this post was after a couple hours.)
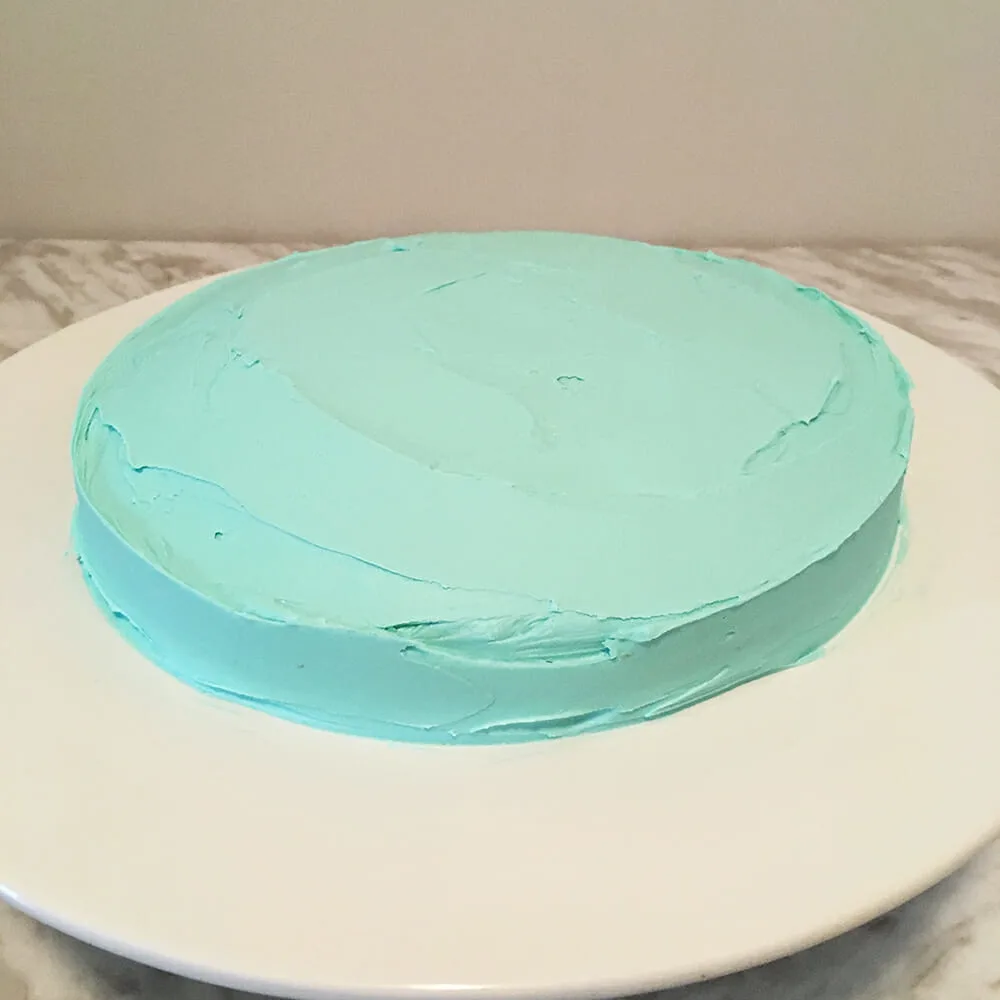
- Set your cake aside so the frosting can "crust". This is where the frosting dries to the touch and is no longer sticky on the outside.
- Open your fondant and pull off a chunk approximately the size of a hockey puck.
- Roll it in your hands kneading it until it's pliable, but firmer than play dough. Think of it like edible clay. Form the fondant into an oval shape.
- Dust the counter with a small amount of powdered sugar to prevent sticking
- Roll out the dough a little at a time, then flip it, adding more powdered sugar as needed to prevent sticking. Roll out the fondant to approximately 3/16"- 1/4" thick.
- Place one of the bunny ear templates on the fondant and trace the outside of them with your knife, cutting the fondant to match the templates. Set the ear aside. Roll the white fondant out again and cut the second ear.
- Dip your finger in a little bit of your oil and run it along the edge of the piece to smooth out the cut edge.
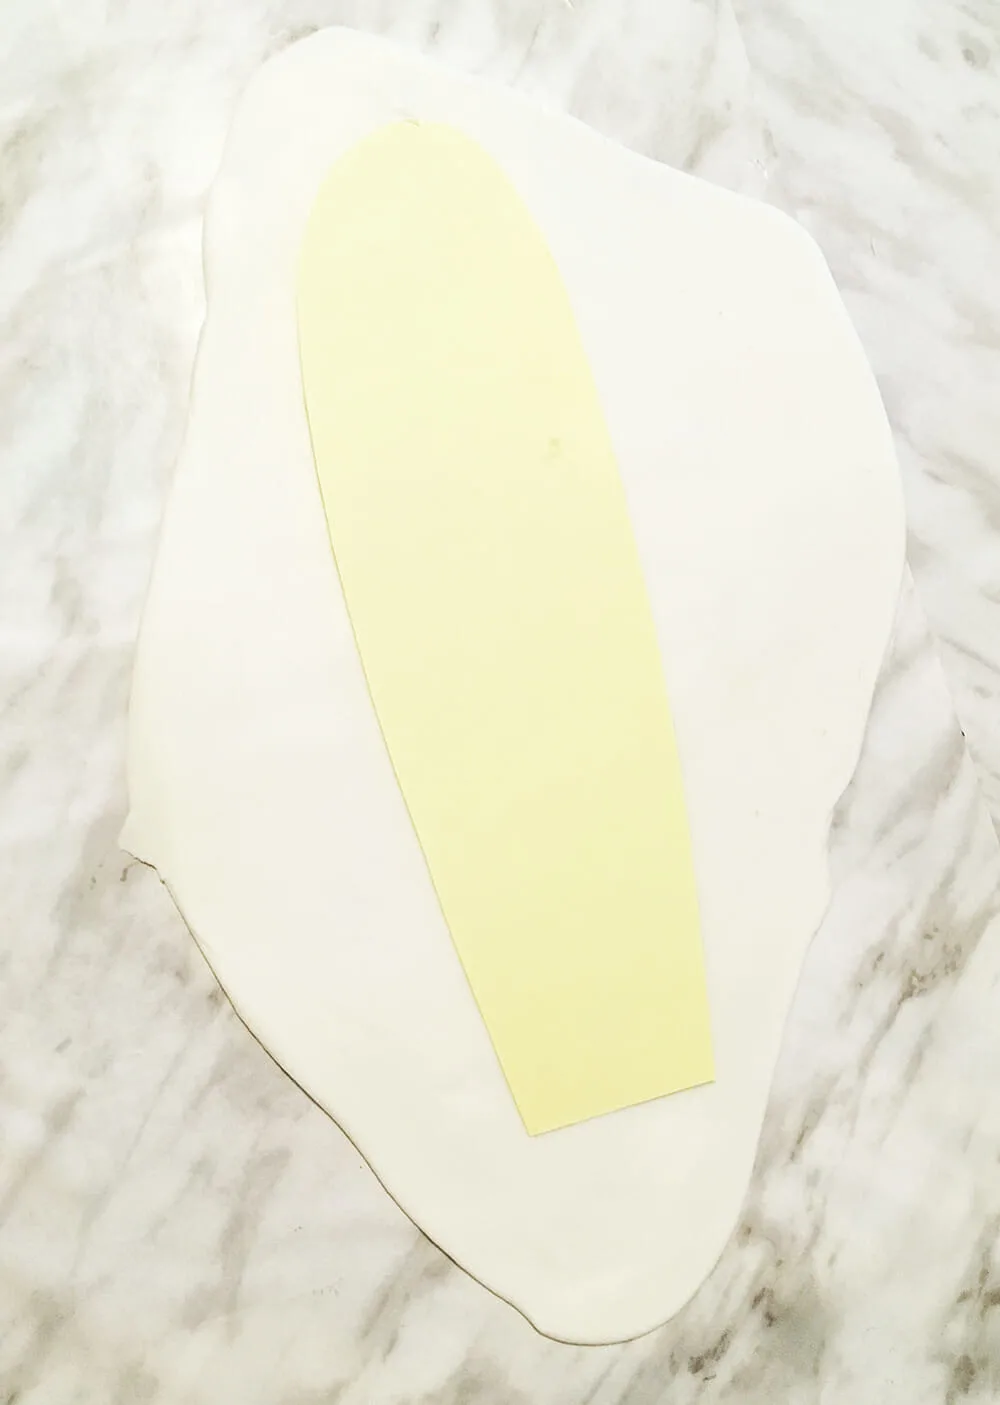
- Take another hockey puck sized piece of fondant.
- Dip a clean toothpick into the brown food gel and add a pea sized amount to the fondant.
- Knead the fondant, pulling it and folding it into itself until the colour is well combined. It should be a light brown pug colour. If you need to add more colour, do it. Just add a little at time until you reach your perfect pug fur colour. Don't worry if the colour looks streaky and odd as you knead it into the fondant. That's totally normal.
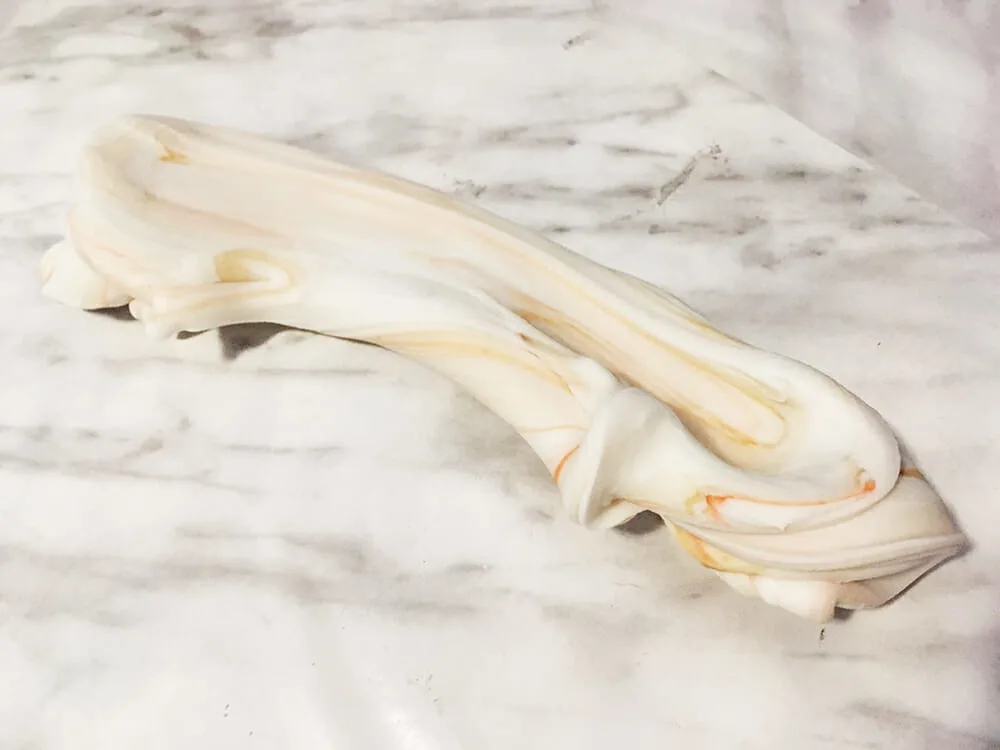
- Roll out the light brown fondant to 1/8" - 3/16" thick. Place the face template on the fondant and trace it with your knife to cut it out.
- Dip your finger in a little bit of your oil and run it along the edge of the piece to smooth out the cut edge.
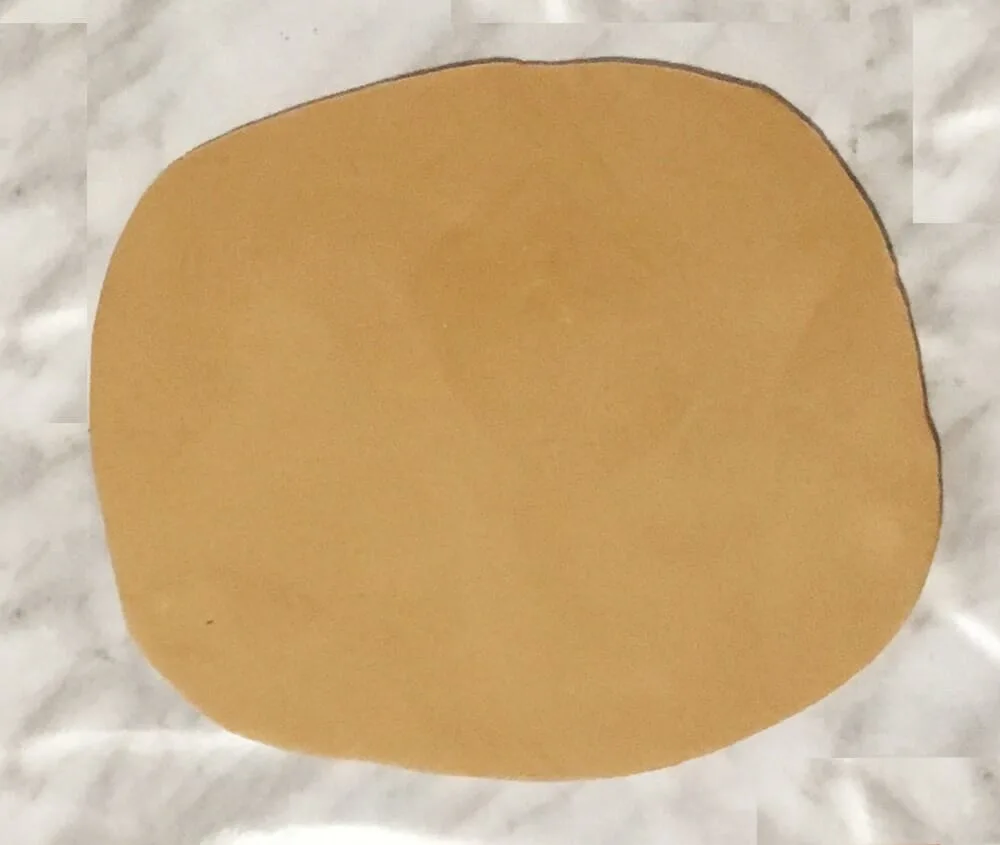
- Take another hockey puck sized piece of fondant and add your scraps of light brown fondant to it. Add a pea sized amount of brown food gel to it and knead it into the fondant. Repeat, adding more colour until it is dark brown. If the fondant gets sticky (and it probably will) add small amounts of powdered sugar to firm it up.
- Once it has reached a nice dark colour, roll it out to 3/16" thick. Cut out the nose, ears, eye patches and chin. You can knead the fondant back together and roll it back out as many times as you need to, adding powdered sugar if it gets sticky. If you don't have quite enough fondant, you can always make more.
- Use your fingers to smooth out the edges.
- Take a piece of white fondant the size of a large grape and colour it pink. Roll it into an oval and roll it out to 3/8" thick.
- Cut it to the size of the tongue template.
- Using the back of your knife, add a crease down the centre of the tongue.
- Use your fingers to smooth the edges and flatten one end.
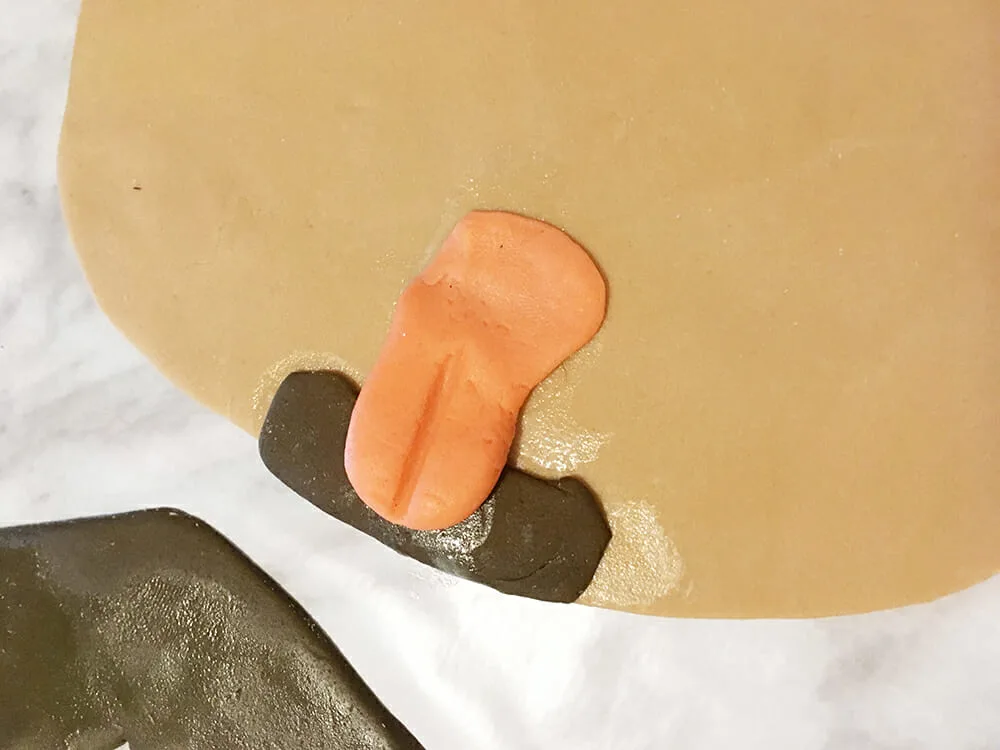
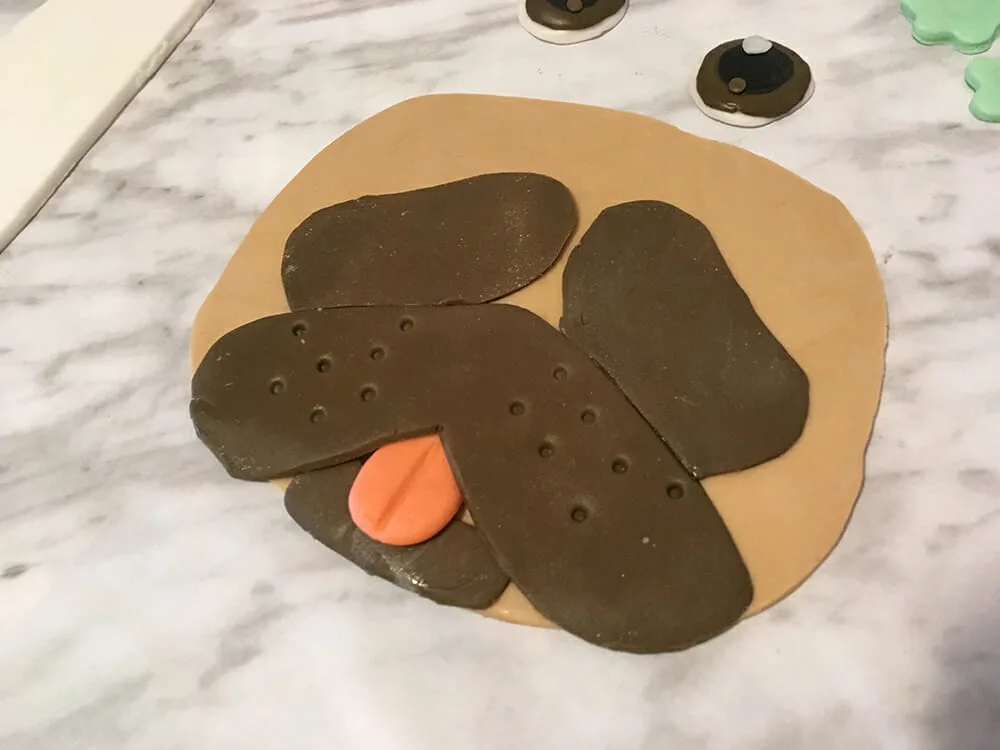
- Dip your paint brush in a small amount of water and paint the back of the chin piece. Press it onto the pug's face.
- Paint the back of the pug's tongue with water and press it onto the pug's face.
- Paint the back of the pug's snout with water and press it onto the pug's face. Use the round end of your paintbrush to dot it's snout.
- Paint the eye patches and press them onto the pug face
Make the pug's eyes
This is honestly my favourite part of making character cakes because this is when it comes to LIFE. They eyes are such an important part of that pug personality. And they're super easy to make.
- Break off chunks of white and dark brown fondant. The largest white piece should be the size of a large grape, the second largest the size of a pea.
- The dark brown piece should be the size of a green olive.
- The smallest white piece and the smallest brown piece should be the size of a grain of rice. Mix them together to make the medium brown. medium brown mix equal parts white & dark brown. Break off a rice sized piece.
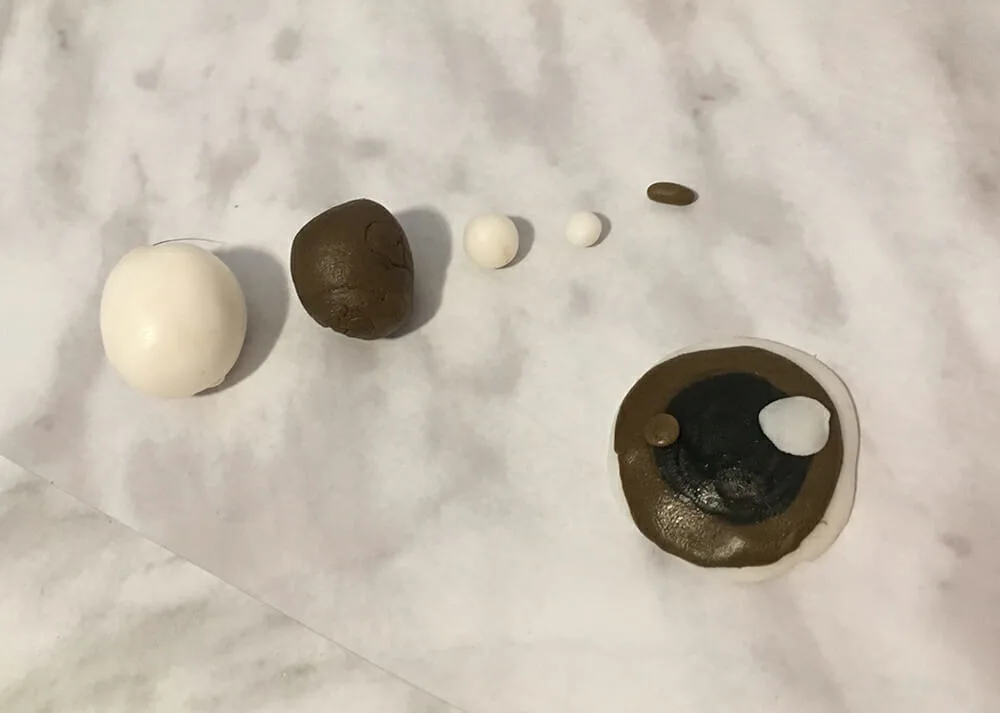
- Flatten the large white ball into a circle the size of the W circle on the template with your fingers. Flatten the dark brown circle onto it. Rub our finger across the surface of both until you have a smooth dome shaped piece with a brown centre and white edges.
- Use your black food marker to draw a large black circle over the centre of the eye. Set it aside and allow the marker to dry.
- Make the pieces for your second eye. Flatten the large white ball into a circle the size of the W circle on the template with your fingers. Flatten the dark brown circle onto it. Rub our finger across the surface of both until you have a smooth dome shaped piece with a brown centre and white edges.
- Flatten the smallest white circle and the small medium brown piece into circles and press them onto each eye.
- Paint the back of the eyes with water and place them on the pug's eye patches.
- Paint the back of the pug's ears and place them on the top of the pug's face.
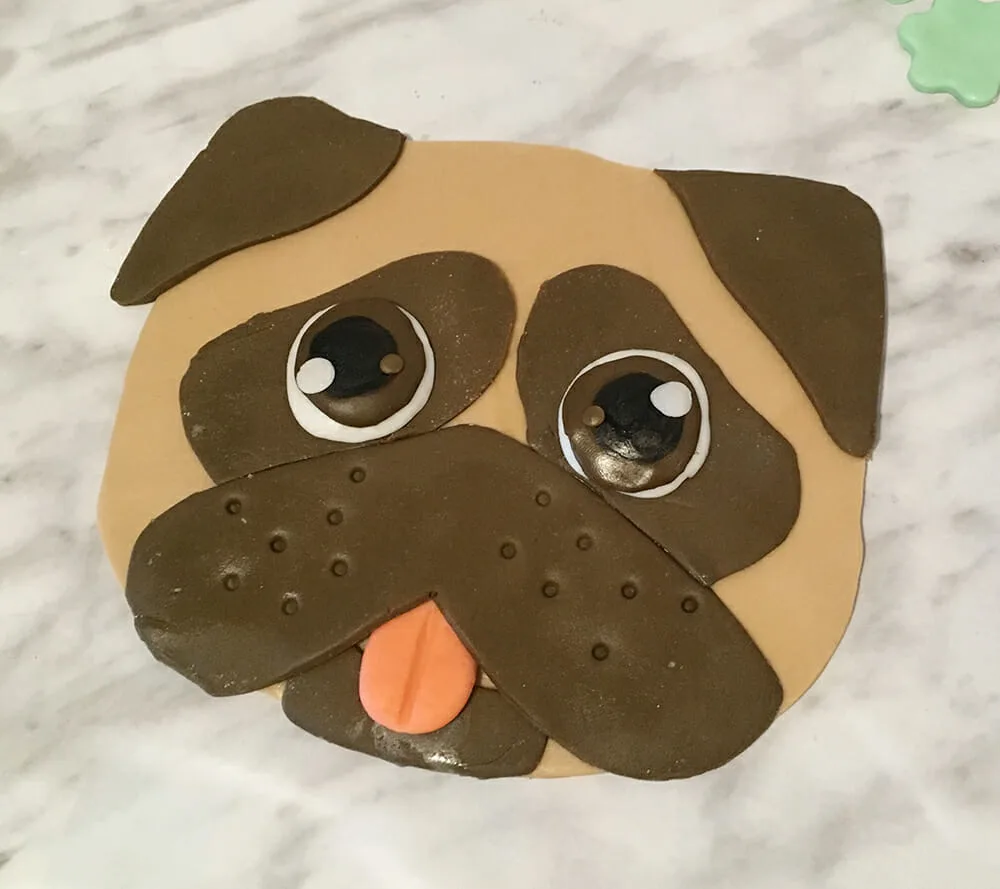
- Break of a piece of your left over dark brown fondant off and use your fingers to shape it into a triangle that is 3/8" thick and the size of the triangle template. Use your fingers to smooth out the edges.
- Use the food marker to colour it in black and allow it to dry.
- Break off two golf ball sized chunks of white fondant. Colour one pink and the other green.
- Roll them out to 3/16" thick.
- Use your knife to trim them into the flower shapes using the templates.
- With your fingers, smooth out the edges.
- Use the food marker to dot the centres of the flowers. Set them aside to dry.
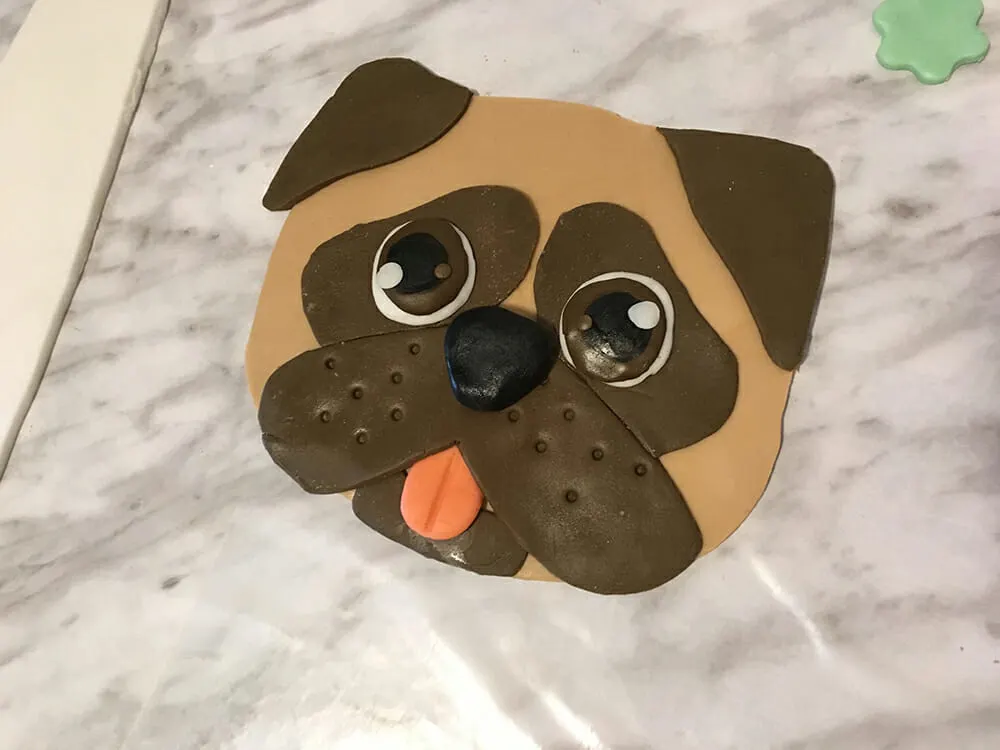
- Paint the back of the pug's nose with water and press it onto the puppy face.
Squeeeeeee! It's officially a puppy face now - do a happy dance!
OK, you're in the home stretch now. It's time to finish this adorable cake.
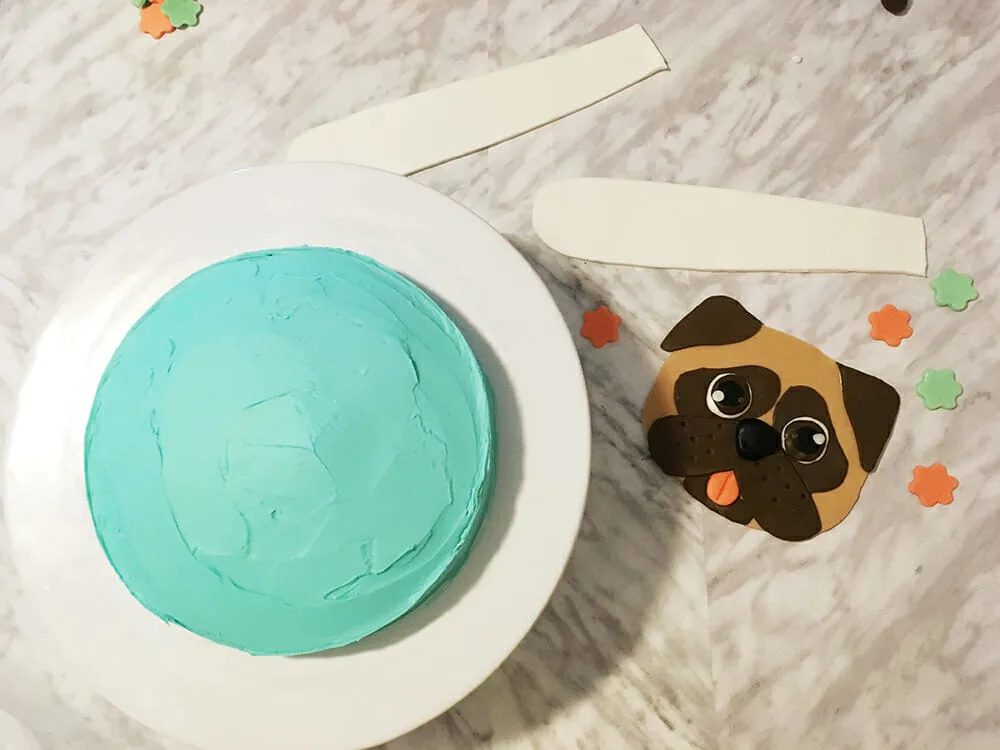
- Gently life the pug's face and very lightly place it onto the cake. You want it to be slightly lower than centre.
- Press the base of one of your bunny ears into the top of the pug's head. Gently fold the ear over and rest it at the side of the pug's face.
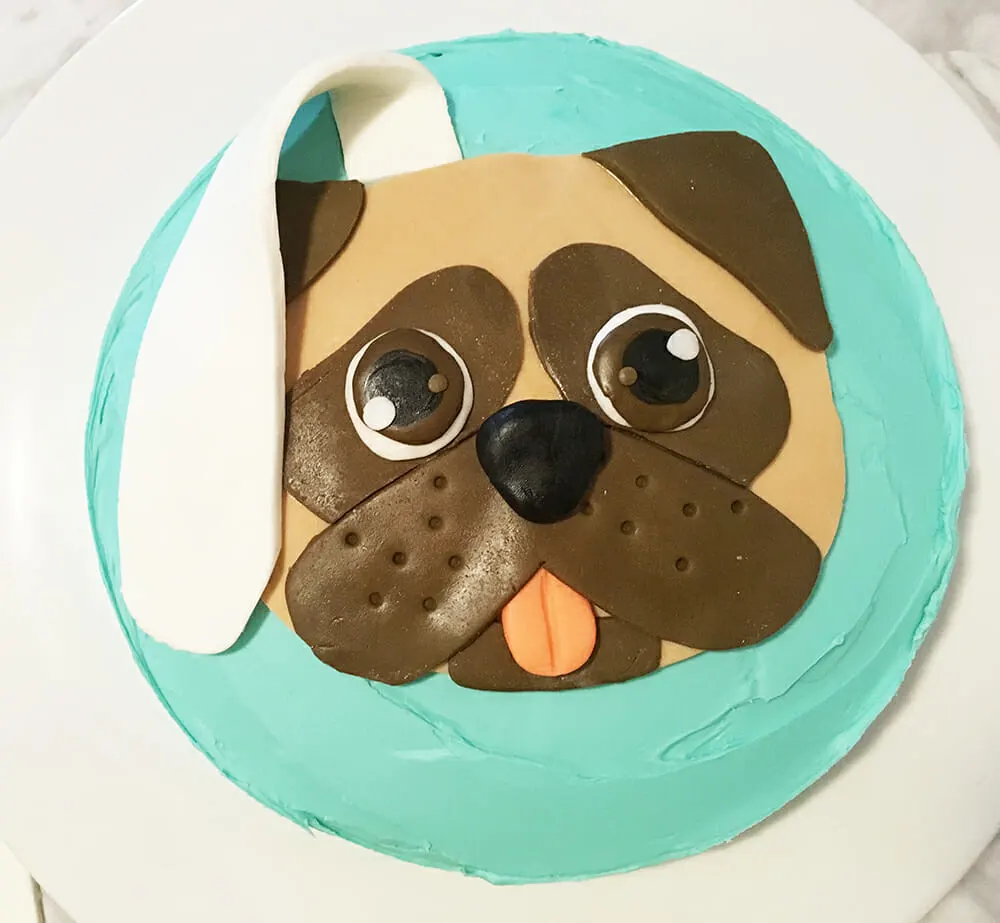
- Repeat with the second ear.
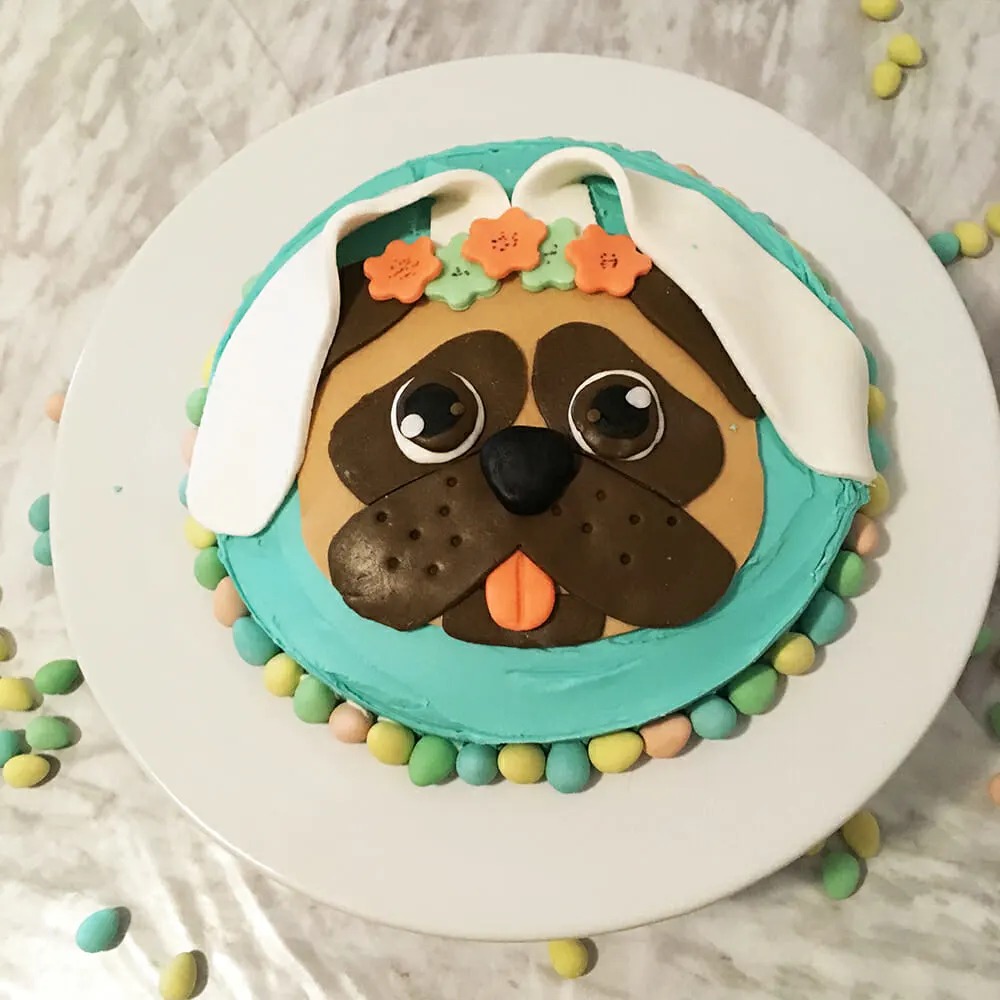
- Paint the back of the the flowers with water and place them across the pug's forehead to cover the join between the face and the ears.
- Open your mini eggs. Sample a few to ensure they are as delicious as you remember. Resist the temptation to eat them all.
- Place the mini eggs around the bottom edge of the cake.
Oh hey you guyssssssss. You did it! This Easter pug cake is the cutest thing right?!
Notes
Food Gel: Wilton makes this great food gel starter pack that has 8 basic colours and everything you need in it. I've linked to it on Amazon, but you guys, get it at Micheals or Joann and use your coupon!
Truth be told, I've linked to everything on Amazon, so you can see what I'm talking about, just in case the kitchen isn't your natural habitat, but you can buy all of this a lot cheaper at your local big box or dollar store.

Cheryl Chervitz
Tuesday 9th of April 2019
This is adorable. I will have to try and do it, thanks for sharing it.