


As a member of the Etsy affiliate program and an Amazon Associate, I earn from qualifying purchases.


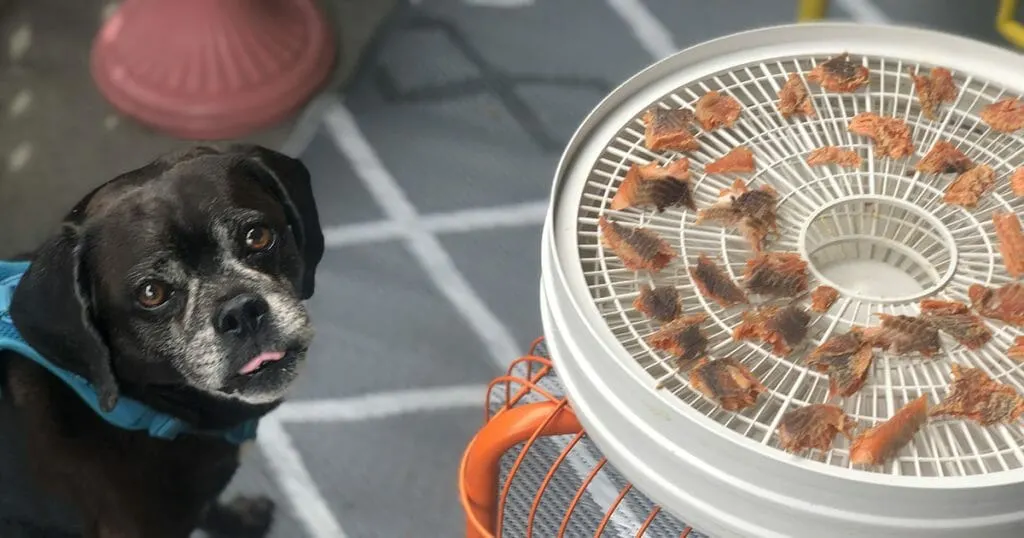
It’s no secret that I love making dehydrator dog treats.


They’re like the little black dress of my dog treat menu. Even my “fancy” dehydrator dog treat recipes are so so simple. Most contain three directions: slice, marinate, dry. They’re the perfect “set it and forget it” dog treat recipe. They require almost no kitchen know-how, are nearly impossible to screw up, and are absolutely always a hit with Kolchak.
They tend to be made of lean proteins and fresh produce making them low calorie healthy dog treat options.
But, if you’re not familiar with the process of dehydrating food, it can be intimidating to get started!

I can’t count how often I get asked about how to make dehydrator dog treats. It looks simple, but people worry about things like food safety, storage, and preservation. Plus, who wants to take on a hobby that needs a lot of fancy specialty equipment?
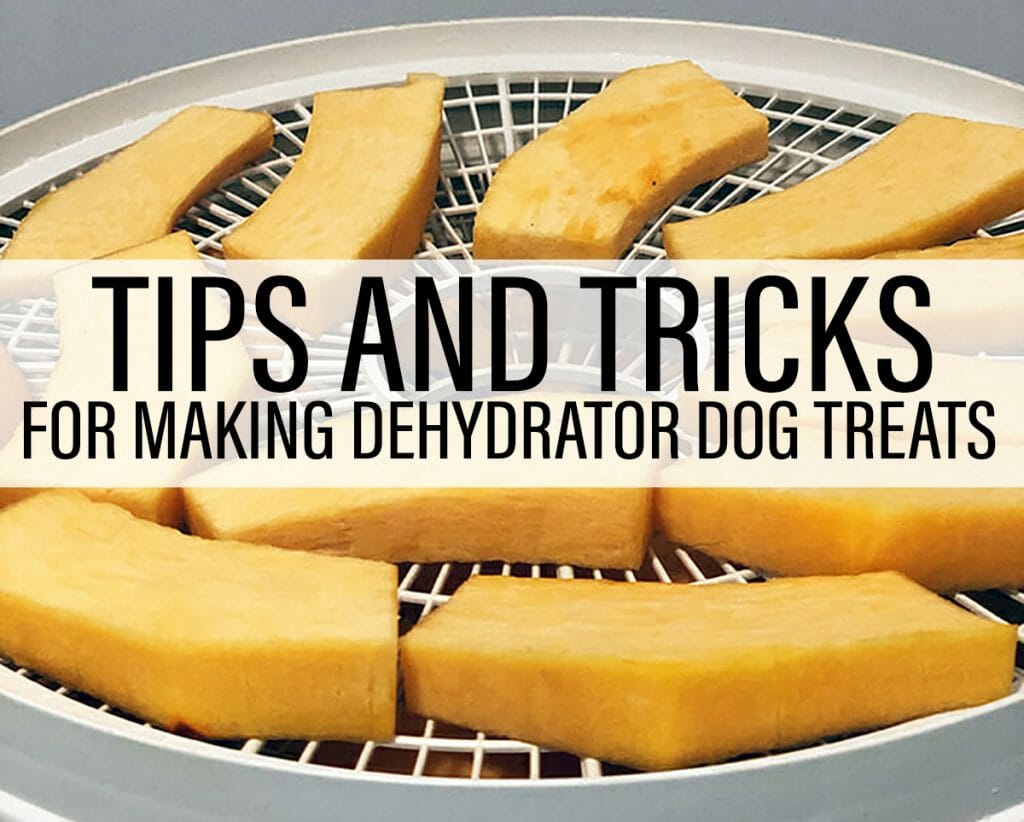
But we’ve got you covered with our Essential Guide to Making Dehydrated Dog Treats at home.
We’ve been making dog treats at home for over a decade, so we’ve tried a lot of tools and a lot of methods. In this guide, we’ll talk about the four simple tools you need to make dehydrated treats at home. Plus share our tips and tricks to make sure the treats you make are safe and healthy.
Get a drink, grab a snack because this post is. a. long. one. BUT, if you’re interested in exploring how much your dog will love homemade treats made in a dehydrator? Worth. It.


You’re going to need a few tools before you can get started.
1. A Kick Butt Chef’s Knife makes food prep so much easier.
My mom, bless her heart, cuts everything with a steak knife and I’m like:
It hurts me to the very core of my kitchen-loving heart. The truth is, a good knife can make all the difference between whether slicing things to dry in your dehydrator is a breeze or a hassle.
For thin-slicing meat, fruit, and vegetables, I like a chef’s knife with a sturdy handle. This versatile knife is MVP of my kitchen and I use it for slicing almost everything. If you’re going to splurge on one tool, make it this one. Do it. Your dog deserves it. YOU deserve it.


$: Cuisineart Graphics Collection 8″ Chef’s Knife
As far as budget knives go, this one can take a beating and keep doing the job. The price is right, but at over 11 ounces it can be heavy and the grip can be hard to hold for a while.
Get it for around $15 on Amazon
$$: Victorinox Fibrox Pro 8″ Chef’s Knife
More than eleven thousand five star reviews are what convinced me to try this budget-friendly knife. I was not disappointed. It’s lighter than the Cuisineart knife and well-balanced making it easier to hold. It’s also dishwasher safe (a must in my lazy kitchen).
Get it for around $40 on Amazon
$$$: Global 8″ Chef’s Knife
If you’re ready to spend a bit more on a knife, this baby is a great choice. Made with high-performance stainless steel and boasting a lifetime warranty, this knife is made to last. The handle is a great fit for smaller hands and has a great, lightweight balance to it.
Get it on Amazon for around $150


BONUS: Do you struggle with slicing things evenly? If consistent slicing just isn’t your jam, a mandolin can be a life-saver. I have had this Swissmar Borner Mandoline for years. There is this cute food show I got to with my cousin every year. I saw this mandolin at work and immediately fell in love. But, safety first! can’t recommend a cut-resistant glove enough though! Veggies are slippy and cuts can happen while you’re finding your groove with this fancy tool.
Get it on Amazon for around $50
2. Food safety is my primary concern when choosing a cutting board.
Making sure your food is prepared in a clean, food-safe environment is always important, but it is even more so when that food is going to be dehydrated. Excess bacteria can cause dried foods to spoil.
There’s no right answer when it comes to cutting board materials. To me? Care and maintenance is the most important factor. So whether you choose plastic, bamboo, glass, or wood? Always have one board for meat and one for everything else. Wash and disinfect it appropriately after every use. And replace it once there are grooves in it, as those grooves are very though to clean properly.


$: 4 Piece Non-Stick Cutting Mats
Confession: I love cheap thrills and these mats fit the mark for me. They’re bright, they’re fun, and they’re easy to store. They also wear out like nobody’s business, especially when you do a lot of chopping. While this style of cutting mat is my go-to for photos and quick jobs? If you plan to cut a lot or cut often, you’ll want something sturdier.
Get them on Amazon for around $10 per set
$$: Totally Bamboo Paw Shaped Bamboo Cutting Board
So, this is probably more of a novelty option, but the truth is, when you’re shopping cutting boards and you write a dog blog and there’s a PAW, you include it.
Get it on Amazon for around $15
$$$: Greener Chef Extra Large Bamboo Cutting Board
I know it sounds counter-intuitive, but the USDA actually recommends bamboo cutting boards because they absorb less moisture and are harder than traditional wood cutting boards. They are also more resistant to the grooving and damage that can trap bacteria in plastic cutting boards.
Get it on Amazon for around $25
3. A Dehydrator to Dry Your Treats in is Kind of the Most Important Thing
One question we get asked all the time is if you HAVE TO have a countertop dehydrator to make dehydrated dog treats?


I get it. That one cup blender for the morning shakes that ended up tasting like a soggy salad? The milk frother that just kind of splashed cream everywhere? The George Foreman Grill? We all have small appliance regrets. My dehydrator is the hardest working small appliance in my kitchen though. I use it to make dog treats. I use to curb food waste by drying excess produce and meat before it spoils. I use it to make things like soup mix to throw in the crockpot on rainy days. I love it, but, the truth is, you don’t need a dehydrator to make dehydrated dog treats.


$: Oven Safe Tiered Baking Racks
Surprise! You don’t need a dehydrator to make dehydrated dog treats. Using racks like this, you can absolutely make them in the oven. Since traditional ovens don’t have fans moving the air around, the treats will take a little longer. You’ll have to flip them once or twice, but this is a great affordable option for the casual treat maker.
Get them on Amazon for around $25
$$: Nesco Snackmaster Pro
This is the dehydrator you’ll most often see in our blog photos – though ours is an older model! I’ve had it for almost 10 years, use it frequently and it’s still. going. strong. My one complaint would be space. You can’t do a big batch with this machine. While they sell extra trays, I don’t think things dry as well once you stack ’em up.
Get it on Amazon for less than $100
$$$: Excalibur 9 Tray Electric Food Dehydrator
aka my dream machine. Oh, the space! The airflow! I see it. I like it. I want it. I… can’t quite justify the price tag. It would be an amazing machine for anyone who had a garden and needed to preserve large amounts of produce or who bought meat in bulk to make a lot of treats at once. Someday, I will have it.
4. An Airtight Container to Store Your Dog Treats In
One of the worst feelings is to make a big batch of dog treats and then have them spoil. Trust me, I’ve done this and it H U R T S. And you cannot imagine the shocked look on Kolchak’s face as I dumped dog treats into the trash. It’s a waste of time and money. It’s important to store your homemade dog treats appropriately, so they last as long as possible.
I love a cute, stylish dog treat jar, but when store treats long term, I go for function over fashion. I want containers that are truly going to extend the life of my DIY dog snacks.
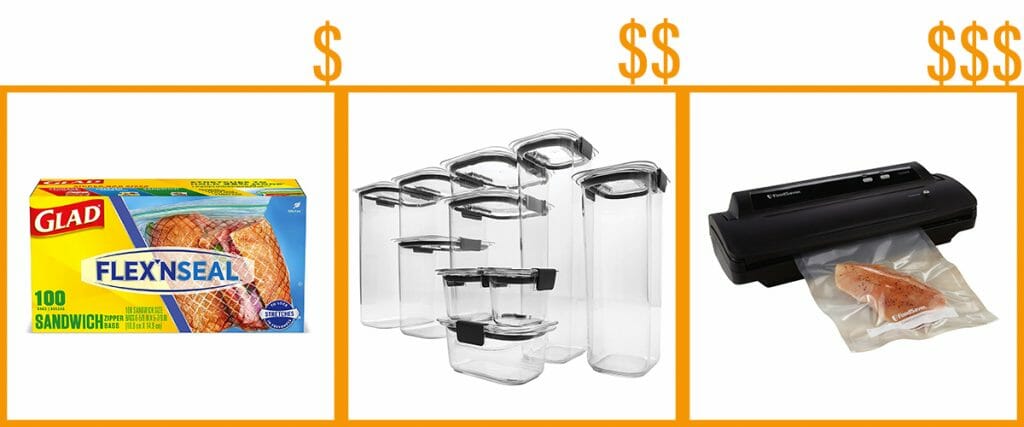

$: Zip top bags
If you’re honestly not sure if you’re going to make treats often, baggies do the job. I love these flex seal bags because they have a little stretch to them. You can pack them pretty full without them breaking. More treats mean less air in the bag.
Grab ’em on Amazon for around $20 for 400 bags
$$: Airtight Food Storage Canisters
While I always have a cute treat jar out on display to grab snacks from, inside my pantry is a different story. FUNCTION, FUNCTION, FUNCTION. These top-rated Rubbermaid airtight storage canisters are a favourite of mine. They are square and stackable making sure every inch of my dog cupboard is well used. They can be washed and used over and over, so I feel good about making an environmentally responsible choice.
Get a set on Amazon for around $60
$$$: A Food Saver Vacuum Sealer
I snagged a vacuum sealer on sale almost 10 years ago and I’ve never regretted it. This machine works by sucking the air out of your packaging and melting the plastic for the perfect airtight seal. With air and moisture locked out, dehydrated dog treats can be stored safely for longer.
Snag yours on Amazon on for about $100
OK, so you have your tools, now what?
You need a dog treat recipe, but not just any recipe. We recommend using recipes made specifically for the dehydrator. Because dehydration works by slowly evaporating the moisture in your treats at a low temperature, it won’t get hot enough to trigger many of the chemical reactions that make cakes and cookie recipes work. We have a ton of great dog recipes on our dehydrator treats page, but these are three of our favourites.


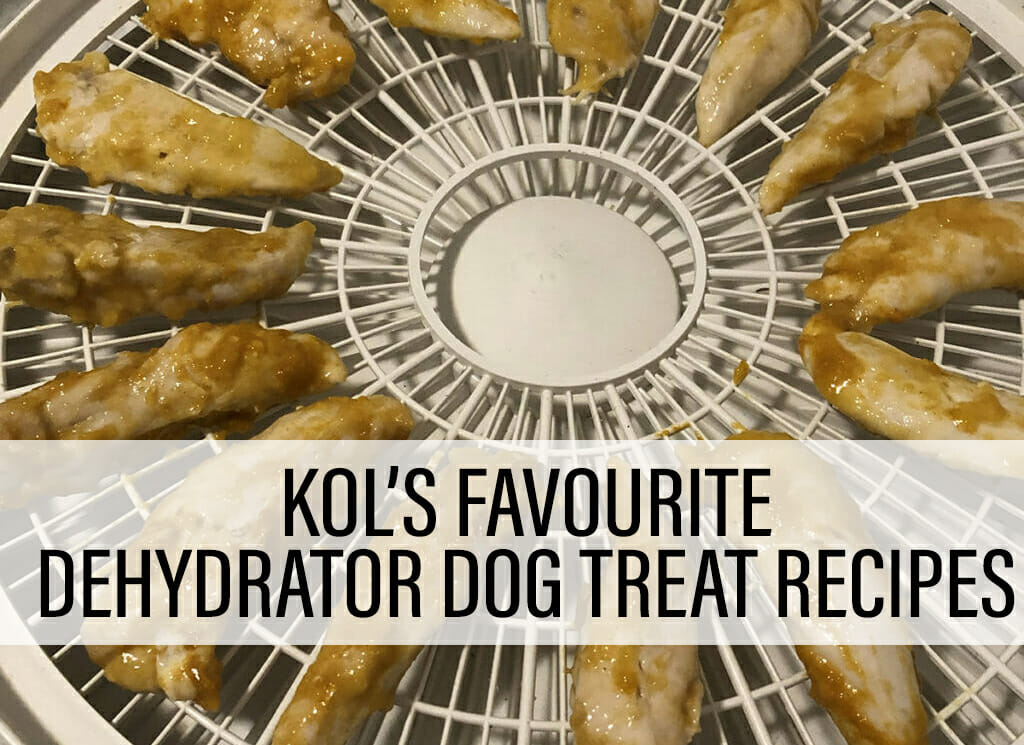
CHICKEN: DIY Flavoured Chicken Dog Chews
After all of the scares and worries about commercially made chicken chews, these dog treats were the very first thing I learned to dehydrate. You can marinate them or dry them plain, it doesn’t matter. Lean chicken breast always makes a great healthy dog treat.
VEGGIE: Green Bean Crunchy Treats for Dogs
Some of us (*ahem*me*) have dogs that could afford to lose a few pounds. Green Beans are an amazing low-calorie dog treat option, but not all dogs love plain veggies. This recipe combines beans and just a touch of dried meat to give it a flavour dogs love without a lot of added calories.
FISH: Dehydrated Salmon Snack Dog Treats
Kol absolutely loves Salmon. Since we live on the West Coast, these dried salmon snacks are a staple during the gorgeous summer months. We love using locally caught fish.
But honestly, these ideas are just the TIP OF THE ICEBERG when it comes to what types of dog treat you can make in your dehydrator.
Find our full dehydrator dog treat recipe library here.


You’ve got questions; we’ve got answers. We’re addressing some of our most frequently asked questions.
Frequently Asked Questions
Do you need to cook meat or fish before you put it in the dehydrator?
Since dehydrating happens at a low temperature, your treats will not get hot enough to kill off any foodborne bacteria. There are two ways to safely prepare dehydrated meat dog treats.
It is especially important to be careful when drying some types of fish, like Salmon or Trout. These fish are susceptible to a little parasite called salmon flukes. Salmon Poisoning Disease or Elokomin Fluke Fever are no joke. Always fully cook your fish to kill off any danger before feeding it to your dog.
Option One: Pre-cook your meat.
I often make dog treats out of meat that has already been cooked. For example, our turkey treats are a great way to use up leftover holiday turkey. Treats made from pre-cooked meat or fish will be drier and more crumbly than those cooked from raw. They break apart or crumble easily. They’re great as a food topper, to add a sprinkle of flavor to water, and for small training pieces.
Meats, like beef or pork, need to be cooked to a minimum internal temperature of 160F; chicken to a minimum of 165F; and fish to a minimum internal temperature of 145F. You can check out the USDA guide for internal temperatures here if you’re cooking something not on my list. .
Option Two: Flash cook your treats in the oven after drying.
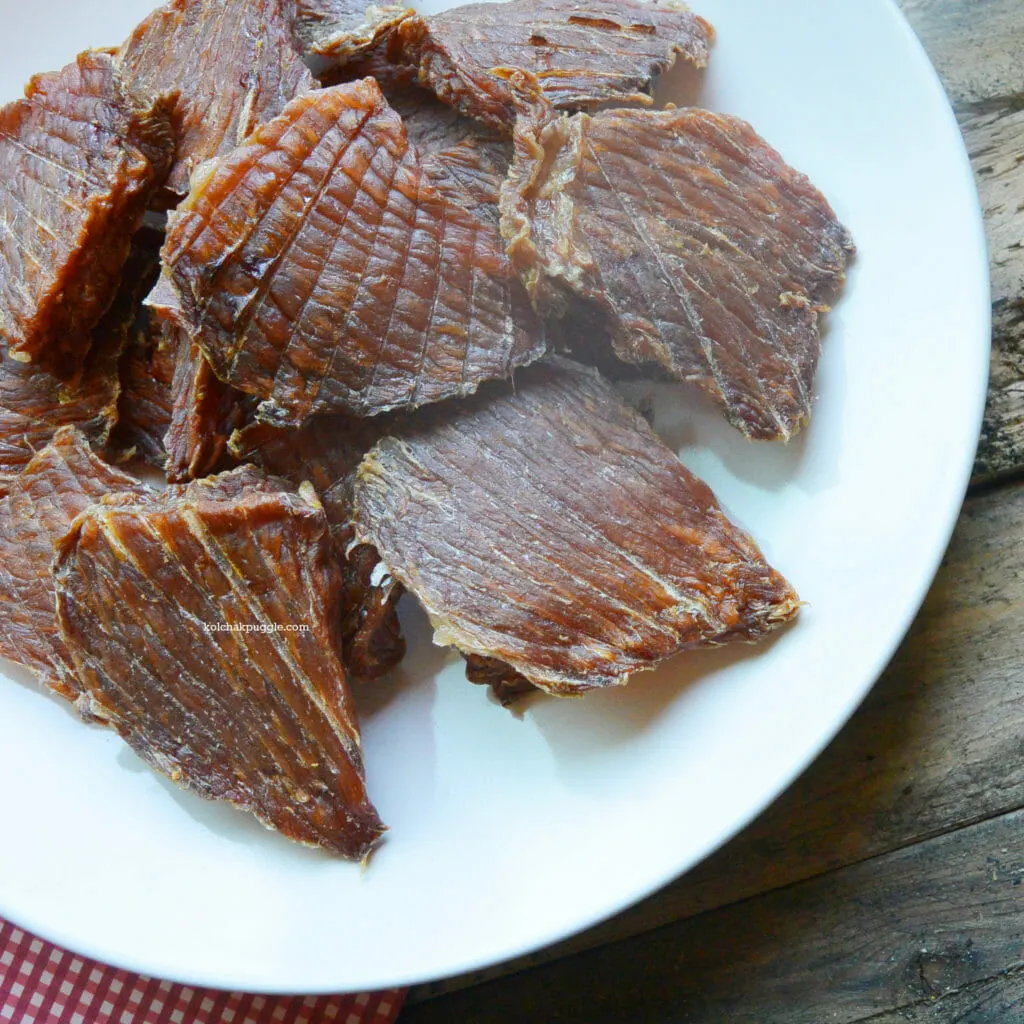
Flash cooking is a popular method for preserving the taste and texture of your dehydrated meats. Meats that are dried from raw then flashed in the oven will create a traditional flexible, chewy jerky style treat. They don’t break apart as easily making them good for keeping your dog busy for a few minutes. (Unless, like Kolchak, your dog is secretly a velociraptor in a dog suit, then all bets are off.)
To flash cook your treats, dry them in your dehydrator as per the recipe directions. Pre-heat your oven to 275F. (Make sure you let your oven heat all the way up before popping your treats in!) Lay your treats out on a cookie sheet. If they are 1/4″ or thinner, bake them for 10 minutes. If your treats are thicker than 1/4″, add 5 minutes for every additional 1/8″ of thickness.
Always allow your homemade dog treats to cool completely before you package them.
Can I make dog biscuits in a dehydrator?
I don’t recommend it. The temperature in a dehydrator does not get hot enough for the leavening agent to activate properly. And it also doesn’t get hot enough for binding ingredients, like eggs, to work effectively. To be honest, your dog cookies could turn out kind of terrible.
That said, you can use a dehydrator to extend the life of dog treats you have already baked.

We love making a baked dog treat like our banana carob bones or our cheese dog biscuits, then putting them in the dehydrator until they are dry and crisp. (Think like a dog cracker instead of a dog cookie.)
To dehydrated baked dog treats, bake as per the recipe, then place the biscuits in your dehydrator. Dry on the lowest setting for 4 – 6 hours until the cookies snap cleanly when you break them in half and the inside is completely dried with no remaining moisture. Allow them to cool completely before packaging.

How long are dehydrated dog treats good for?
This was a tough one for me because it’s kind of a moo point around here: Kol usually eats them before spoilage is even a possibility. He’s a treat hound, what can I say! But it’s important to know how long you can safely store dehydrated dog treats so you don’t make your dog sick.
Store fully dehydrated jerky treats for dogs in an airtight container in a cool dark place for 4 -12 months.
With fattier treats, like salmon, I usually store them in an airtight container in the fridge as fats spoil faster than lean proteins.
For longer-lasting storage, you can also freeze your dehydrated treats. I prefer to vacuum seal treats going into my freezer to preserve their best quality.

Try to keep your slices as uniform as possible.
For meats, I find they slice best if they are partially frozen. For heartier root vegetables, gently cooking them for 10 – 15 minute can make them easier to cut consistently.
Trim off as much fat and gristle as you can.
Leaving fat on the meat will cause your treats to spoil faster. Gristle will become very tough for your dog to chew and could be a choking hazard. Always try to choose leaner cuts of meat for the best possible results.
For thinner, crispier treats, use a meat mallet.
Not only will it tenderize the meat, but all of your pieces will also be a consistent thickness and they’ll dry faster.
Don’t overcrowd the dehydrator.
Your treats will dry faster and more consistently if you leave lots of open space for air to flow.
Always make sure your treats are perfectly dry all the way through.
Even a hint of moisture will lead to mold. Treats should break in half cleanly and have no moisture or soft spots in the center.
Add oomph to veggies with a meat powder.
Not all dogs love veggies right away. You can make healthy low-calorie veggies a special dog treat by tossing them with powdered meat before you put them in the dehydrator.
To make meat power, simply pulse kibble or a dehydrated dog treat (pre-cooked treats work best) in a food processor for a minute.

Have you ever made dehydrated treats for your special pooch?
Drop us a note in the comments, or hop on over to our Facebook page to introduce yourself and chat!
Susan
Friday 24th of January 2025
When you make beef or chicken treats, you said they are crispy if you slice it thin. Are they hard or are they like chips? I'm trying to avoid hard jerky that can get stick in their throats.
Jodi | the DIY Pet
Sunday 26th of January 2025
The thinner you slice, the more they will be like chips, but they would have to be very very thin in order to break apart.
Mario Smith
Sunday 10th of January 2021
Thank you for such an in-depth guide about how to cherish our loving dogs with nice treats. Definitely bookmarking this so I can revise it every weekend.