As a member of the Etsy affiliate program and an Amazon Associate, I earn from qualifying purchases.
Sewing isn’t my favourite task.
In fact, if I had a catchphrase, it would probably be “can I hot glue that?”, so frankly, no one was more surprised than I was that I’ve spent more than a minute sewing mask this year. Making sure people who wanted a mask had one felt like one little thing I could do this year to help my community, so I’ve been sewing. 2020 is full of surprises.
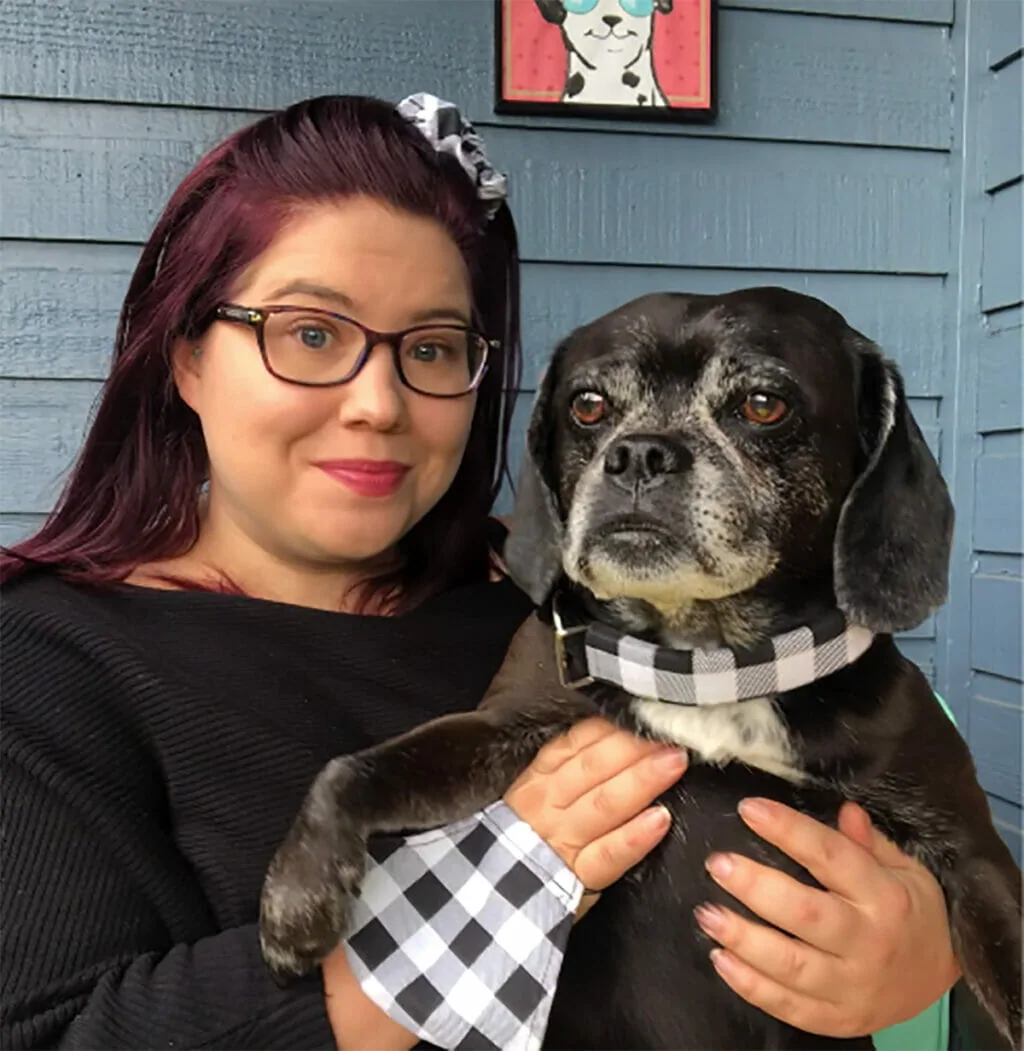
There’s a fair bit of scrap fabric leftover when my masks have been cut and it occurred to me, these long thin strips would make really adorable DIY dog collar covers! Koly and I can match!! I assume he’s never wanted anything more than to match me because obvs, I’m the coolest and he adores me. As evidenced below.
Why make a dog collar cover instead of a dog collar?
As much as I love the idea of having a collar for every occasion, we don’t. First, I don’t know where I’d store them all. Second, handmade dog collars aren’t exactly… low cost. A collar cover on the other hand can be stored flat and they’re easy to stack in a storage box. Because there is no hardware on them, they’re quite affordable to make, so I won’t feel bad about having dozens of them and most importantly, a collar cover is purely decorative, where an actual dog collar is a safety item. I’m just not confident enough in my (or my decades-old sewing machine’s) ability to sew a dog collar that could safely withstand pulling or catching on bushes without coming apart.
Plus, it is so easy to sew a cover for your dog’s collar.
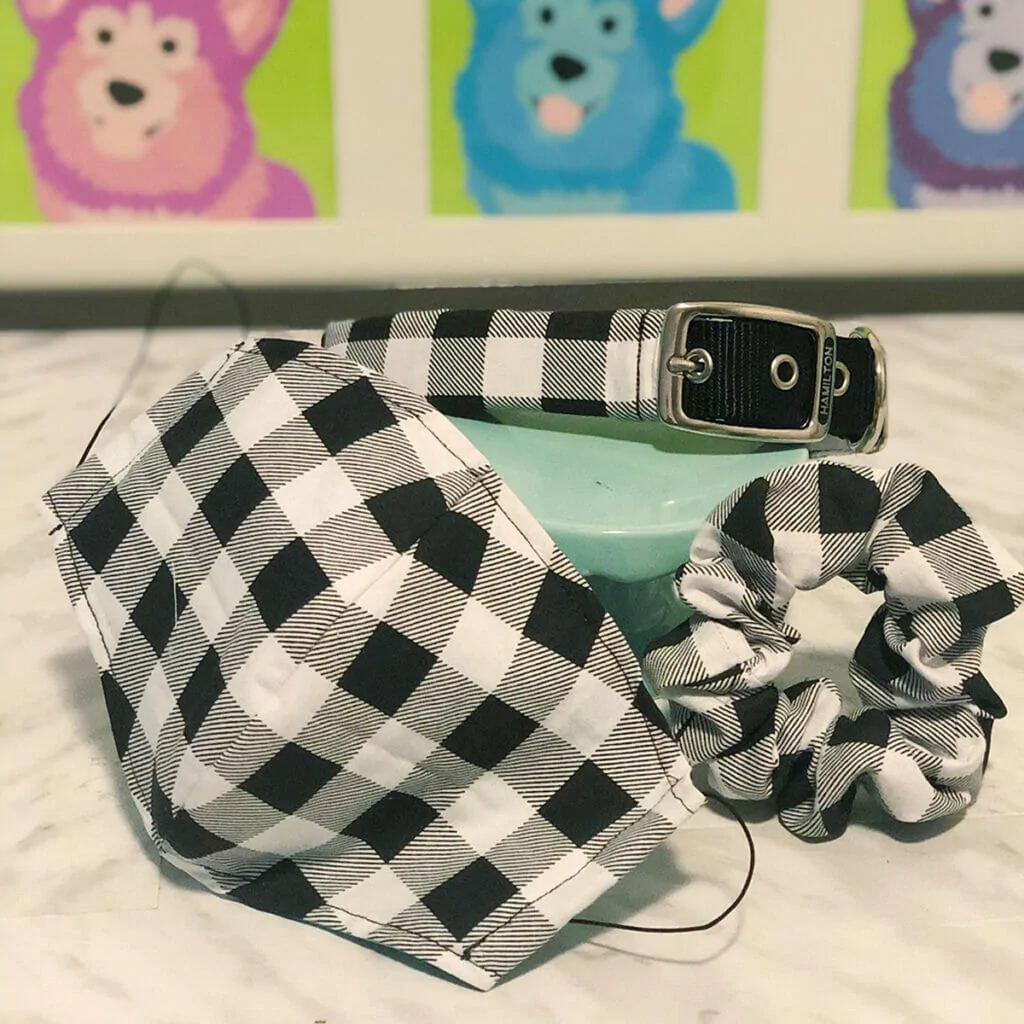
Our tutorial works for both buckle collars like the one I use for Kolchak and for plastic side-release style collars. They easily velcro on or off and they look super cute. You can easily make a BUNCH so your dog has a special collar for pretty much any occasion.
Confession: I cheated a little though.
There are a ton of people on the interwebs offering free patterns for mask sewing. And I mean, why fix something if it ain’t broke? I don’t need to design my own mask pattern because there are so many and they’re great. I have been using the Craftpassion basic patterns to make my masks, but the amazing community over there has come together to offer MANY variations on the pattern, including masks with pockets, masks with clear windows to make lip reading easier, longer masks to accommodate beards, with and without nose wires, etc. Joanne and her community have really done a bang-up job of helping find the perfect fit for everyone.
You can find all of her free to use patterns on the Craftpassion website. For myself, I’m using the Women/Teen sized standard pattern with no pocket or nose wire. The fit is near perfect for me.

Since it doesn’t look like this pandemic or mask mandates are going away anytime soon – and since now that I know even the common flu kills an incredible number of people every year – I’m a mask convert. I owe an apology to every Vancouverite I’ve ever given side-eye to for wearing a mask. The respect mask wearers show their community truly warms my heart.
So, I make masks. And if you’re going to wear something like a mask? Why not make it cute and fun while you’re at it?!
I love the idea of making masks that match Kolchak’s homemade dog collar covers!
How to Make a DIY Dog Collar Cover (Plus a Matching Mask & Scrunchie)
Turn you and your best doggo into a stylish pair with these easy, stylish DIY dog collar covers and matching fabric masks and scrunchies.
Materials
- Around 1/2 yard cotton fabric of your choice to make a collar cover, scrunchie & mask
- Matching thread
- 3/4" wide pieces of low-profile (thin) Velcro
- 1 dog collar - I chose a plain black buckle collar to reduce bulkiness and so it would work with any pattern I out over it
- Approx 30" x 1/4" elastic
- Fabric-safe chalk marker or pen
- **see supply notes**
Tools
- Sewing machine
- Scissors
- Measuring tape or ruler
- Safety Pin
- Hand-sewing needle
Instructions
HOW TO MAKE A DIY DOG COLLAR COVER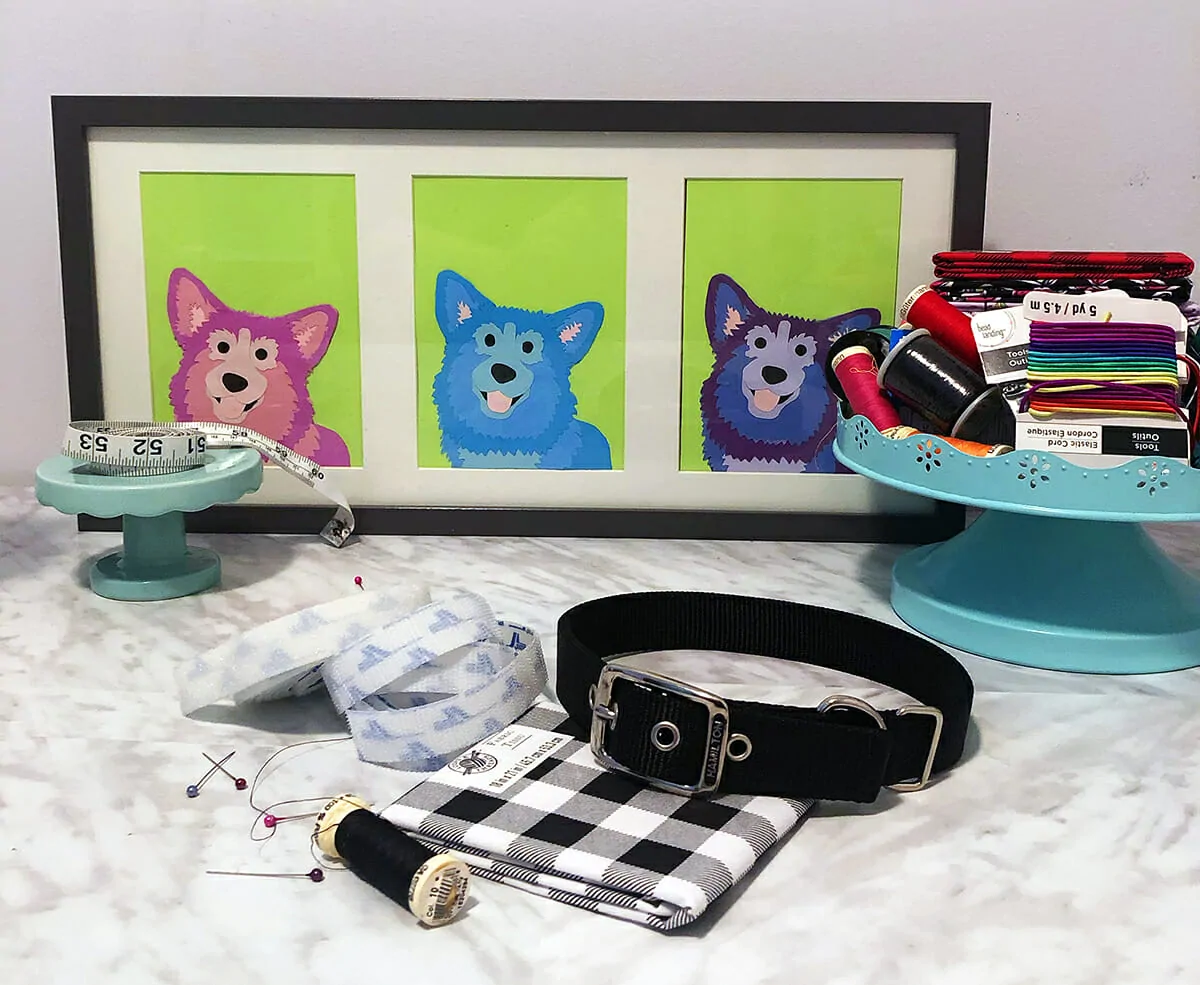
1. A responsible sewer would probably iron their fabric before they started. I tossed it in the dryer to remove wrinkles. I've made these without doing either. You do you.
2. Lay out your fabric and place your dog's collar along one edge. Take note of how the pattern runs and think about how that pattern will look running along the length of your dog's collar.
3. Measure from the buckle to the hole you will use when your dog is wearing the collar and add 1/2". Use a fabric-safe pen to mark the length of the piece you need to cut on your fabric. Kol's collar was 11" so I cut my fabric 11 1/2" inches long
4. Measure the width of your dog's collar, multiple that by 6 and add 1/2". Use a fabric-safe pen to mark the width of the piece you need to cut on your fabric. Kol's Collar was about 1" wide, so I cut my fabric 6 1/2" in wide.
5. Fold over the short edges of your fabric 1/4. Most people iron this fold or pin it to hold it in place while sewing, but I'm lazy, so I ran my fingernail across the folded edge a few times to set it. I find lightweight cotton holds a fold pretty well. Again, do what suits you best. 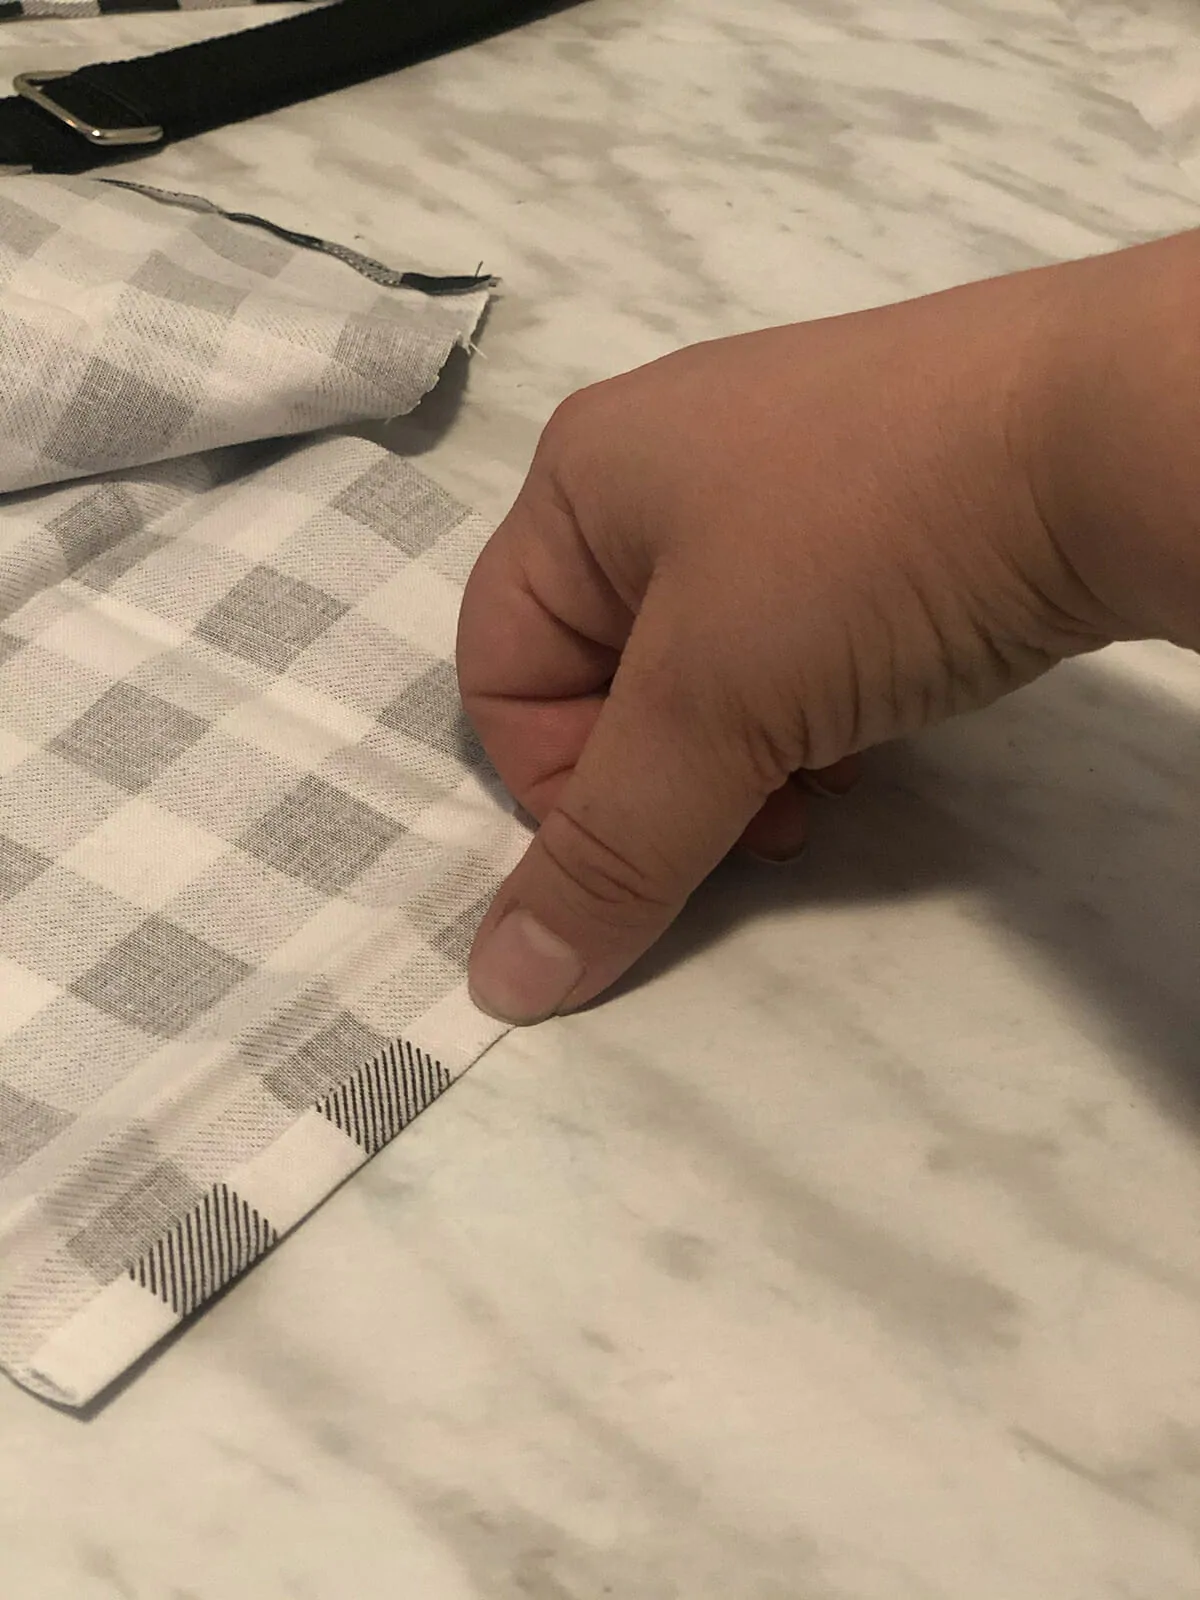
6. Sew creased ends in place.
7. Fold your fabric in half lengthwise, pattern side in, and sew the cut edges together to make a fabric tube.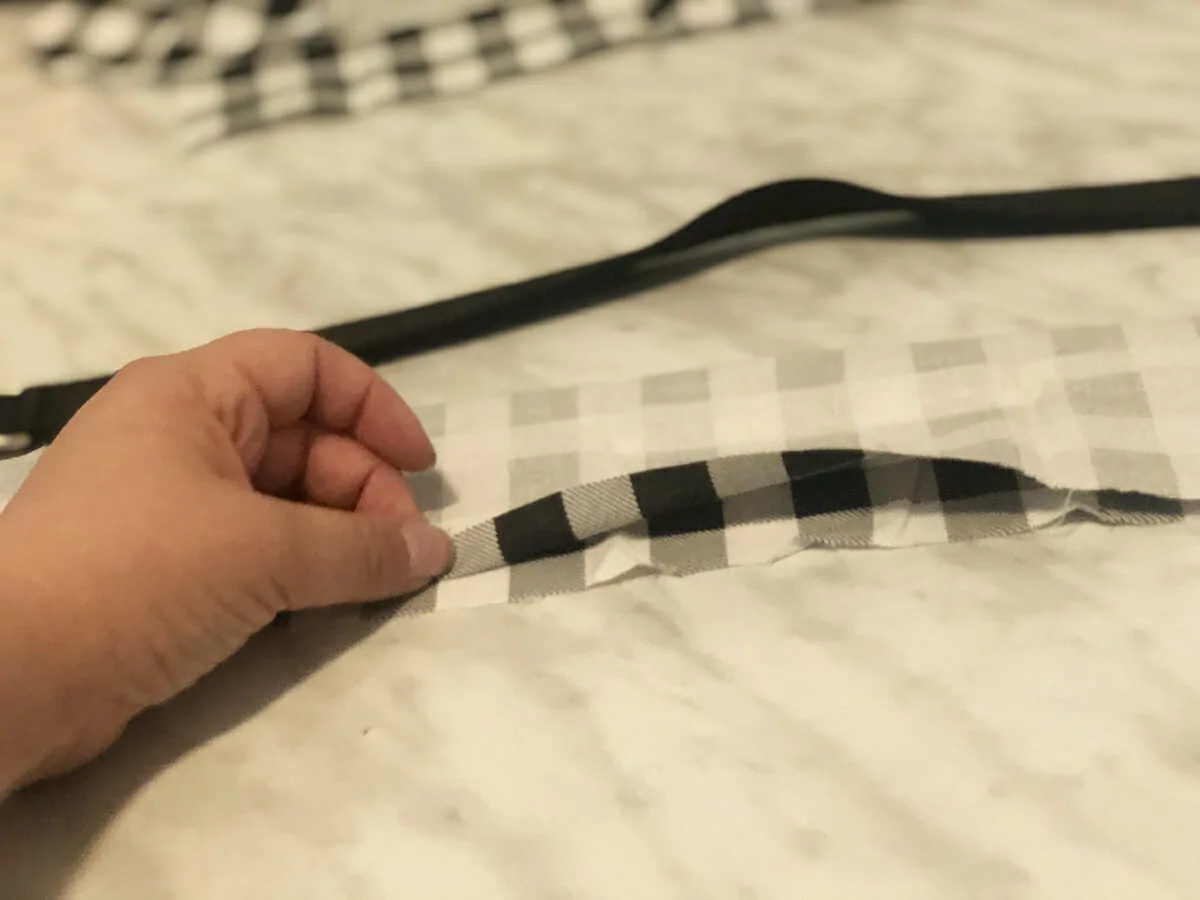
8. Flip your fabric tube, so it is right side out and iron or crease so it lays perfectly flat. If desired, sew the edges of your rectangle so they stay flat. (This is a nice finishing step and makes it easier to work with but is also 100% not necessary, so if you're already cursing at your sewing machine, like I was, feel free to skip this step!) 
9. Cut your velcro into 1" pieces. You will need approx. 1" of velcro for every 2" of your Fabric rectangle Kol's collar was 11", so I used 6 x 1" pieces of velcro.
10. Sew your soft velcro pieces along one long side of the fabric.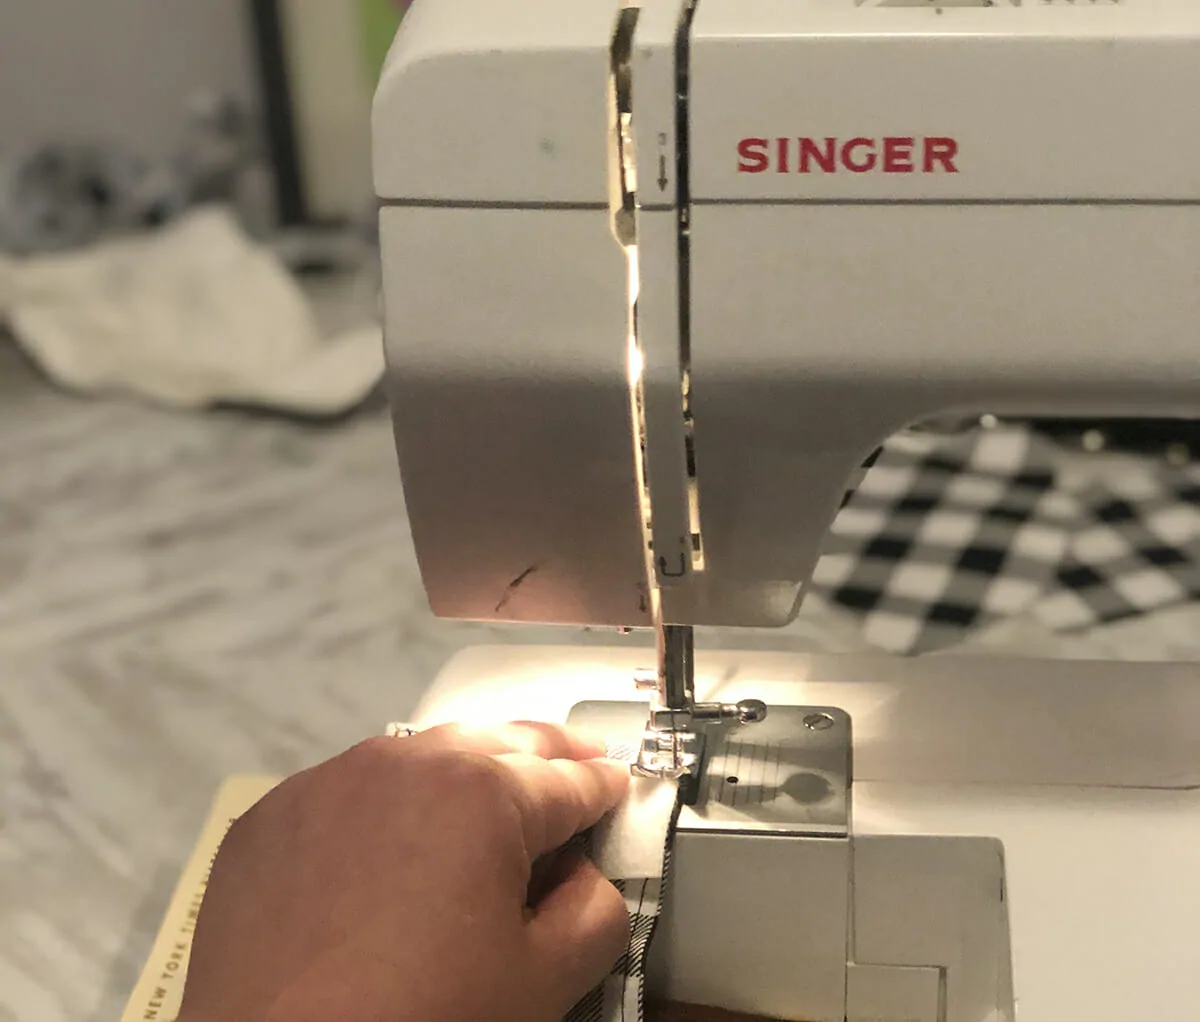
11. Flip over your fabric piece, so the soft velcro is face down. Place your hooked velcro pieces along the opposite edge, taking care to ensure they will line up. Sew in place.
12. Place your collar in the center of your fabric piece, fold edges over, and velcro in place snugly.
You did it! You made an adorable cover for your dog's collar.
HOW TO MAKE A MATCHING SCRUNCHIE
1. Cut a strip of fabric 11" long x 3 1/2" wide
2. Fold the fabric lengthwise so the pattern side is together. Sew along the long edge to create a fabric tube
3. Turn the fabric tube right side out.
4. Cut a 9" length of elastic
5. Thread your safety pin through one end of the elastic and use the pin to pull the elastic through the tube.
6. Remove the pin and double knot the two ends of the elastic together tightly (or sew the ends, but it seemed hard, so I didn't)
tuck in the cut ends of the fabric, so they are hidden
7. Use a needle and thread to hand sew the ends together and hide the elastic.
HOW TO MAKE A MATCHING FABRIC FACE MASK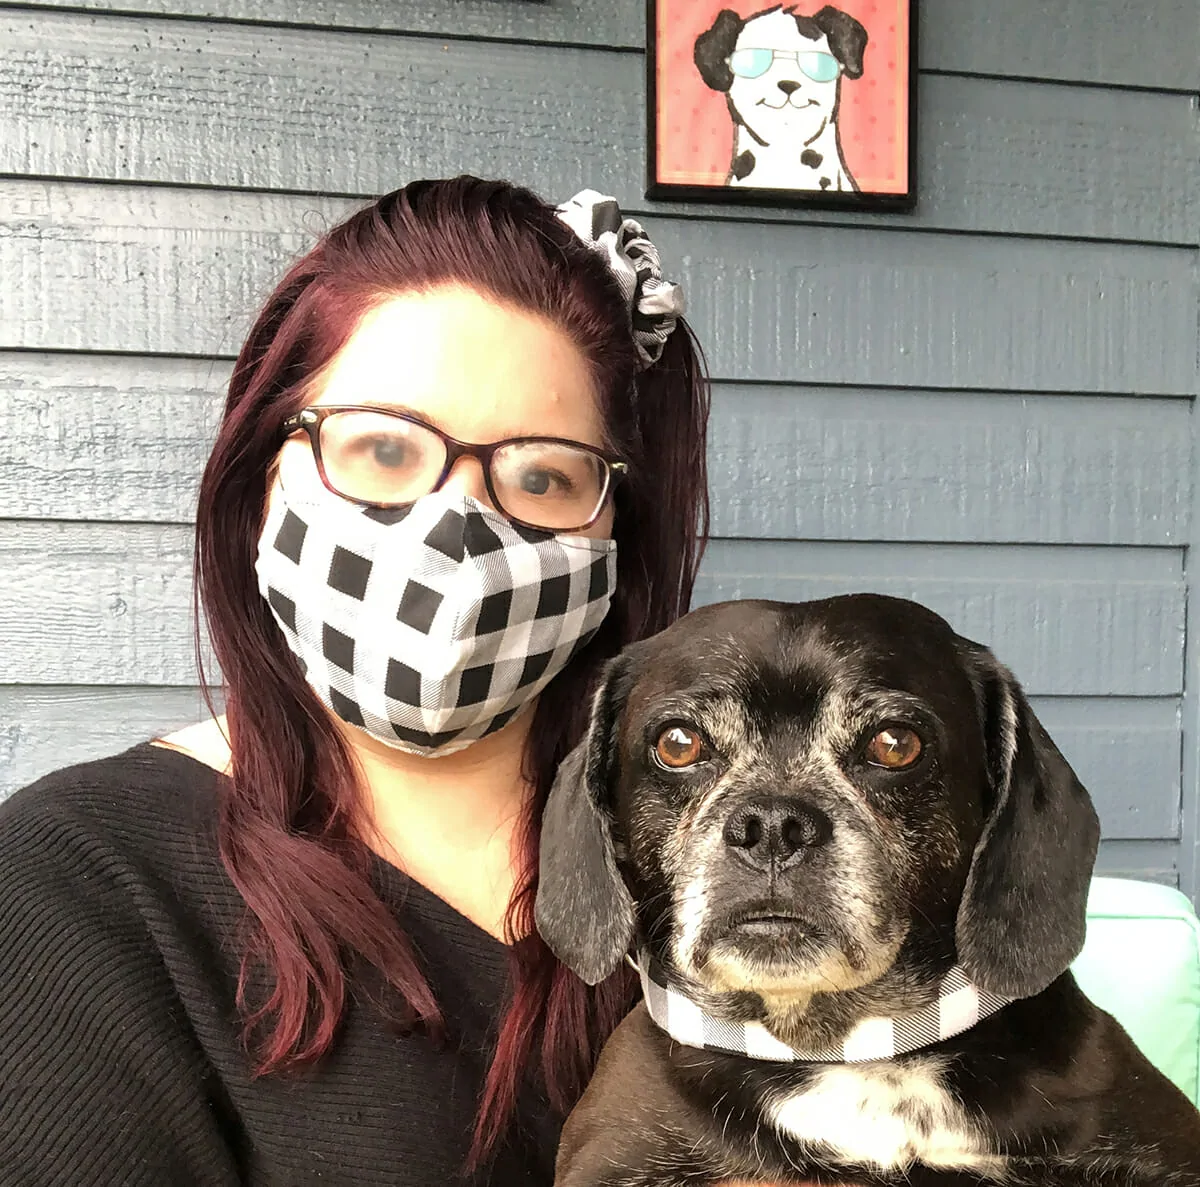
Here, I bow to the master. I've been following the Craftpassion mask-making tutorial step by step, including using her patterns which are available for children, teens, women, men, bearded men, with and without filter pockets, with clear sections for lip reading and more.
You can find that full fabric mask tutorial including free downloadable patterns on the Craftpassion websitehttps://www.craftpassion.com/face-mask-sewing-pattern/.
Notes
Supply Notes:
You will need approx. 1" of velcro for every 2" of your dog's collar cover. Kol's collar was 11", so I used 6 x 1" pieces of velcro.
I strongly recommend against using sticky-backed velcro for this project - like I did - because the adhesive gums up your machine and you have to clean it every 10 minutes while you curse.
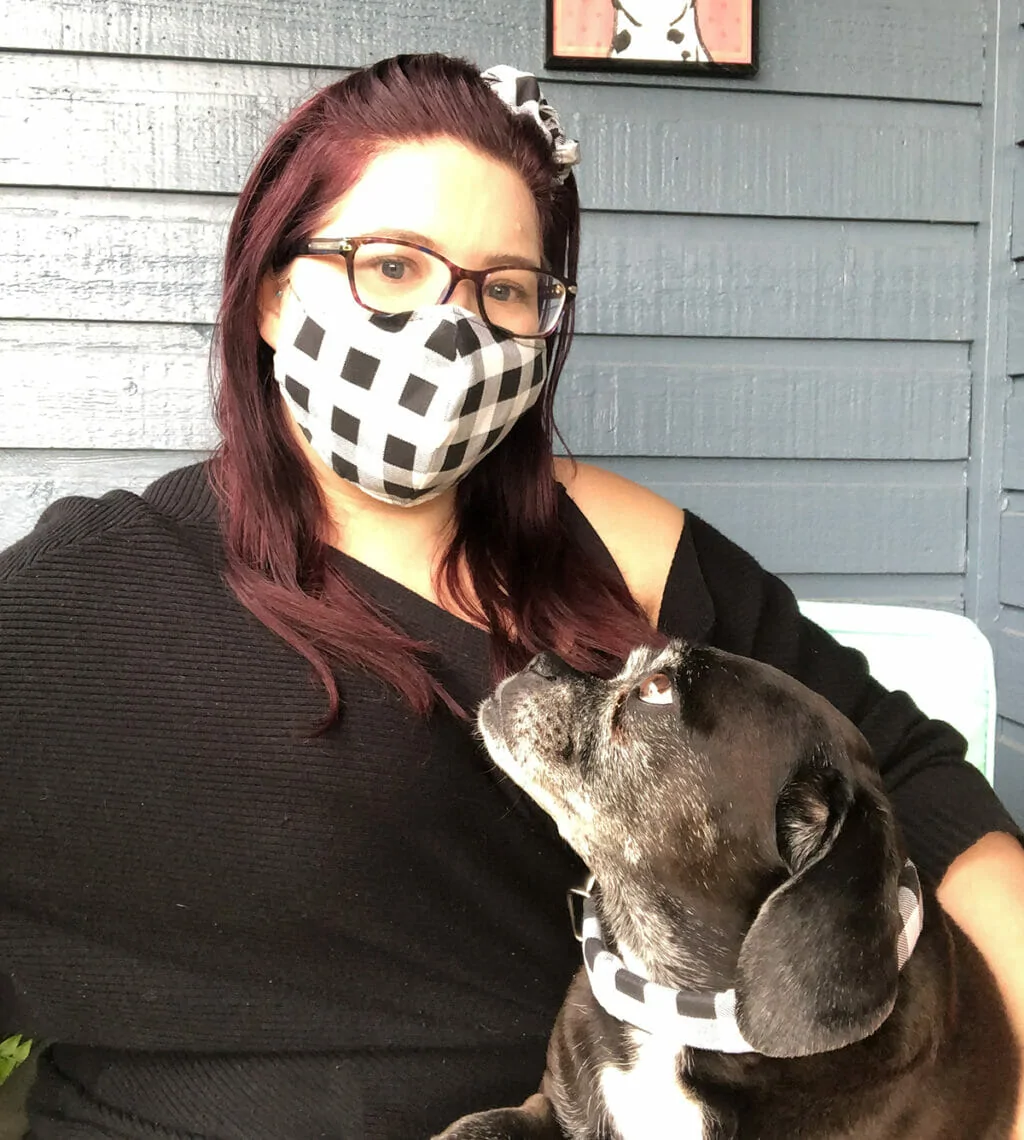


DIY Fabric Face Masks and Matching Dog Accessories - Dalmatian DIY
Wednesday 11th of November 2020
[…] pals at Wag Wear Repeat have mask-matching over the collar dog bandanas and Kol the cutie has a DIY detachable dog collar wrap that matches both his mom’s mask and scrunchie. Strolling in […]